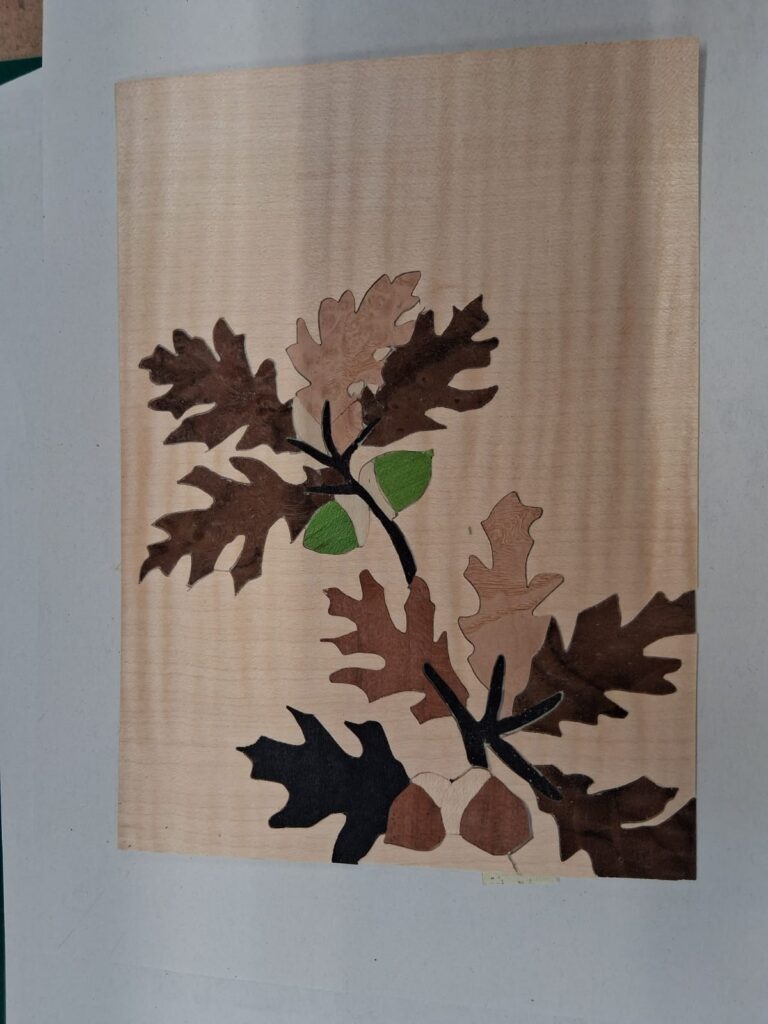
In March 2026, I stepped into a whole new technical avenue of woodworking by attending an intensive two-day marquetry workshop at the Farnham School of Furniture Making, guided by master woodworker and tutor Aidan McEvoy.
Marquetry—the art of creating decorative patterns or pictures using thin wood veneers—has always fascinated me. This project served as my formal introduction to the craft, focusing on dynamic grain orientation, color mapping, and precision cuts to bring an intricate motif to life.
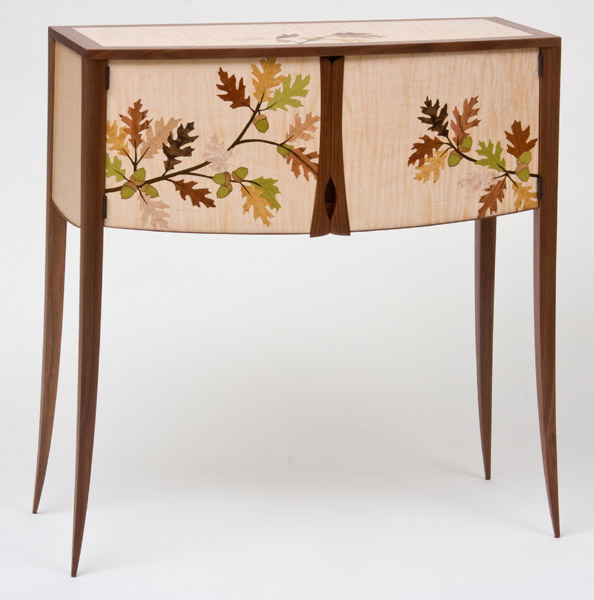
From Craig Thibodeou Fine Furniture
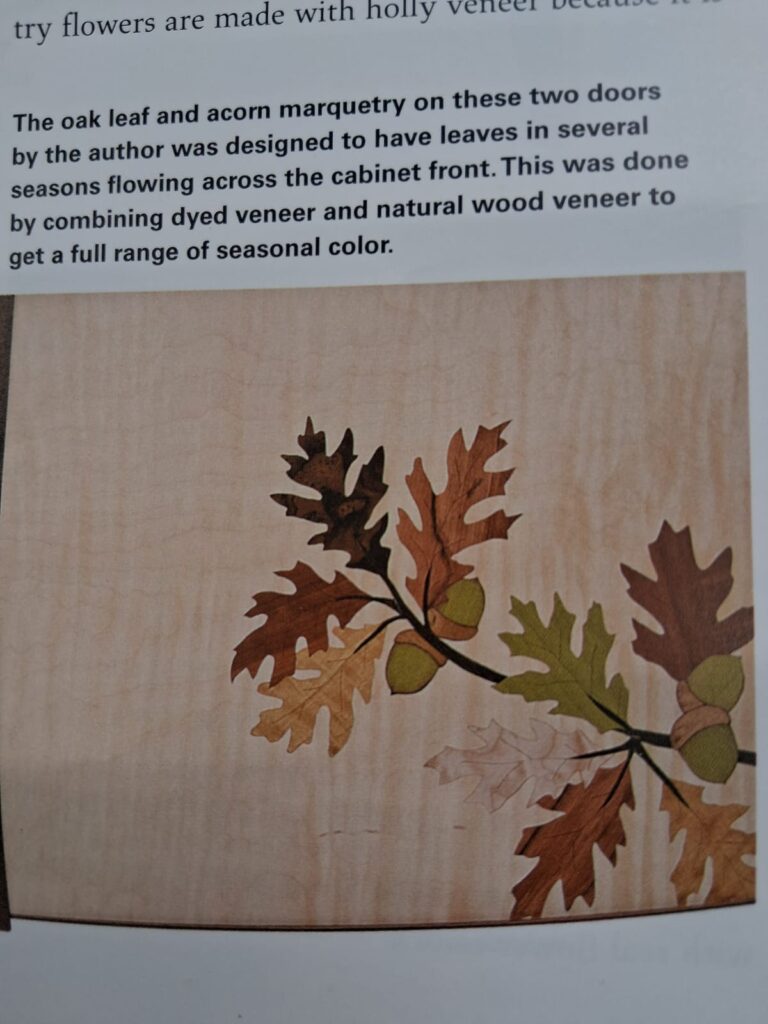
The inspiring reference artwork featuring flowing oak leaves and acorns across a cabinet face.
Inspiration for this piece was borrowed from a beautifully crafted cabinet design featuring sprawling oak leaves and acorns. Translating that organic flow into wood veneers required meticulous planning and absolute focus at the bench.
Tools needed
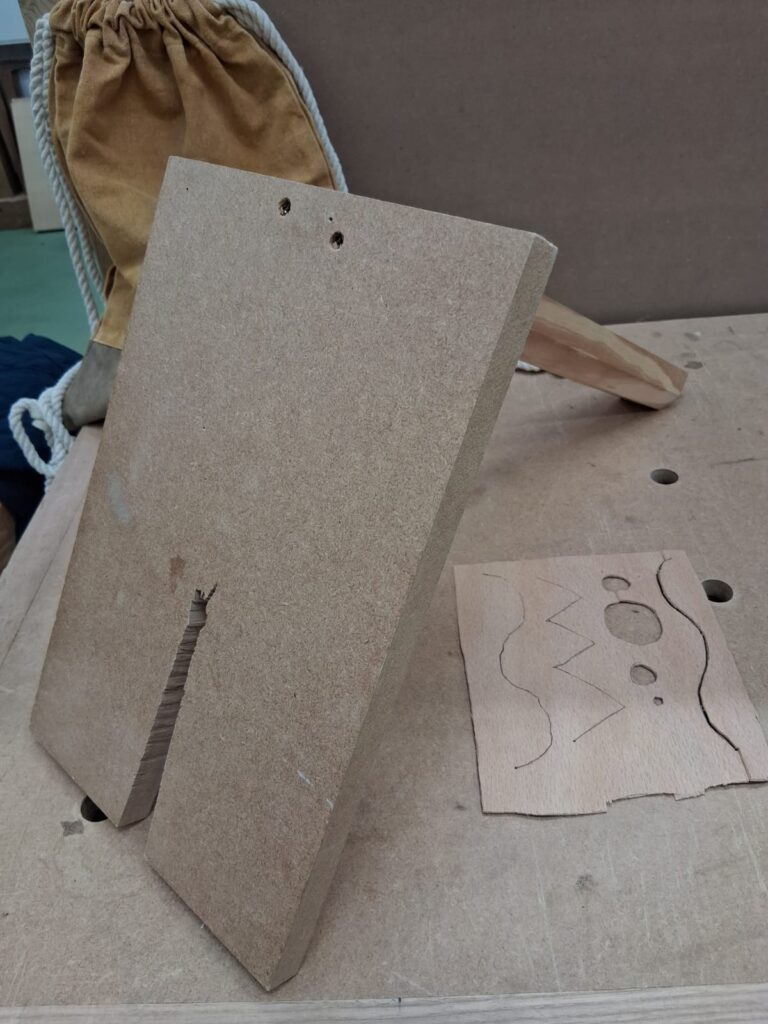
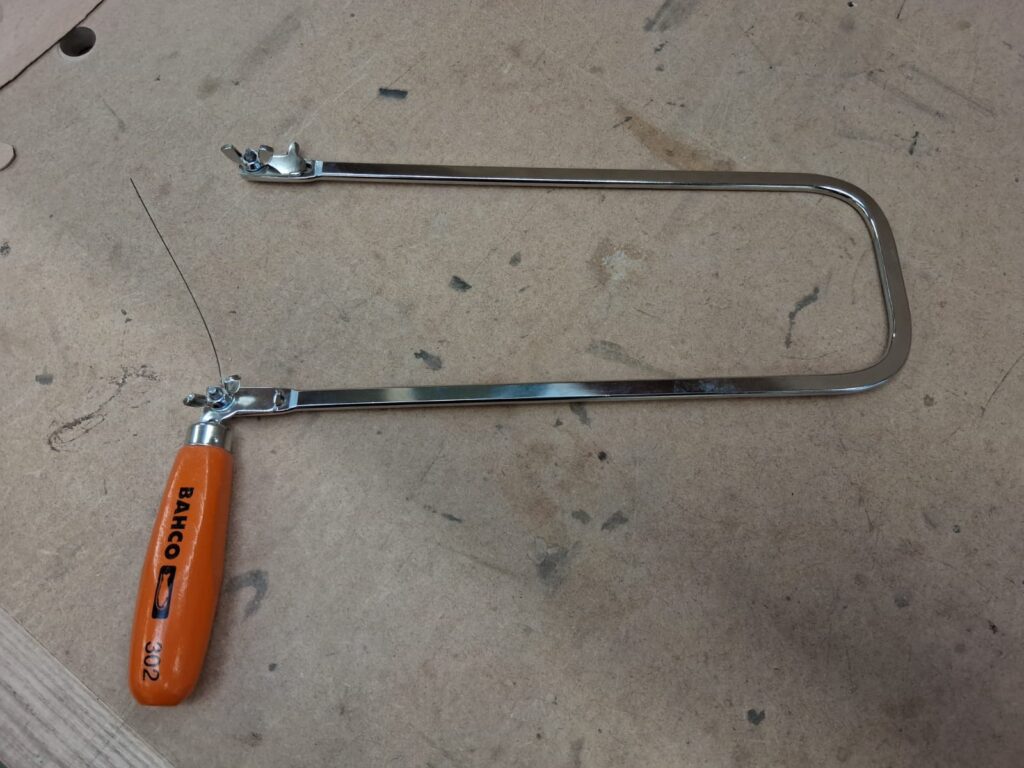
One of the most surprising parts of the craft was how remarkably few tools were required—just a marquetry donkey, a fine fretsaw, and an endless supply of tape that could be peeled off surprisingly quickly once everything locked into place.
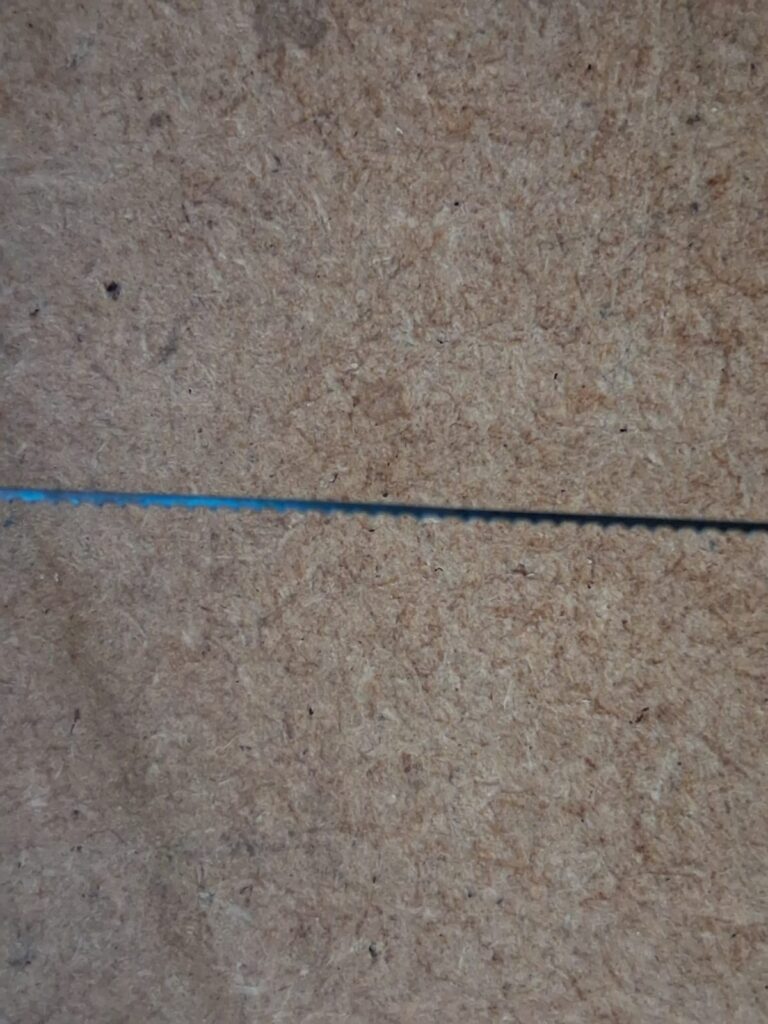
The marquetry donkey & few trial cutsFret SawFret Saw Blade
Step-by-Step: The Marquetry Process
Step 1: Design Mapping & Color Coding
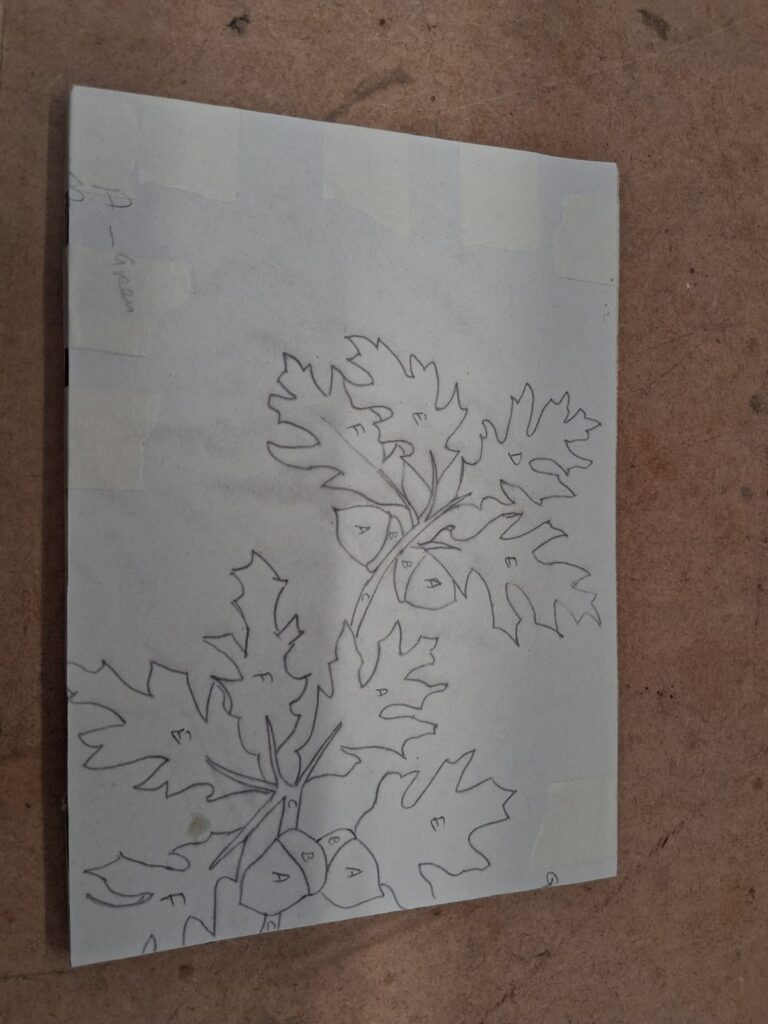
Before making a single cut, the design had to be mapped out completely. I created a master template drawing of the oak leaves, twigs, and acorns, assigning specific letters to every single element to map out wood species, tones, and grain directions.
Mapping out the design with letters (A, B, C, D…) to keep track of colours, species and gran flow.
Step 2: Veneer Selection & Packet Preparation
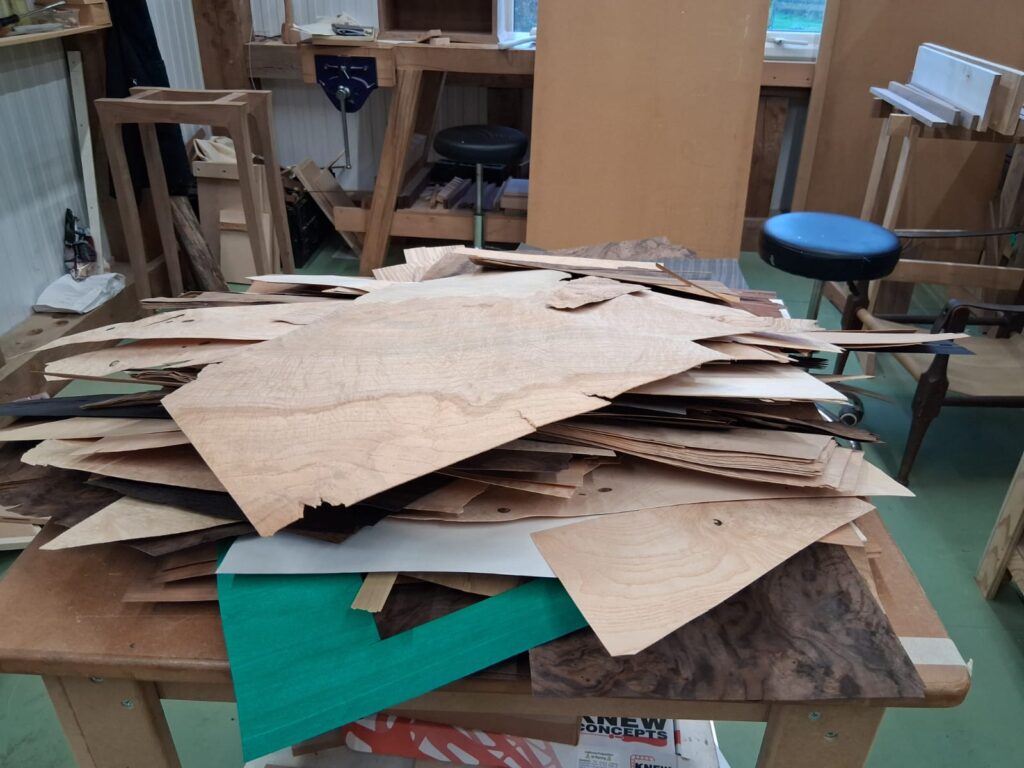
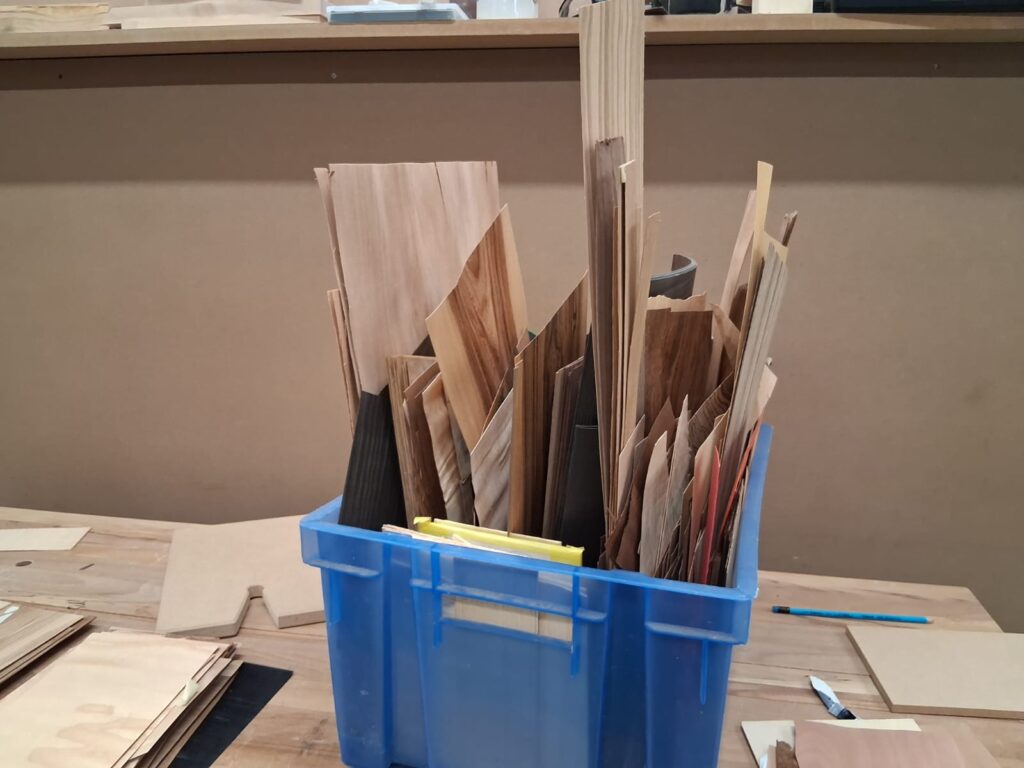
To give the composition a sense of depth, shadow, and realistic seasonal variation, we selected roughly eight distinct wood veneers—ranging from deep, dark walnuts and burled woods to pale sycamore/maple and dyed green veneers for the acorns.
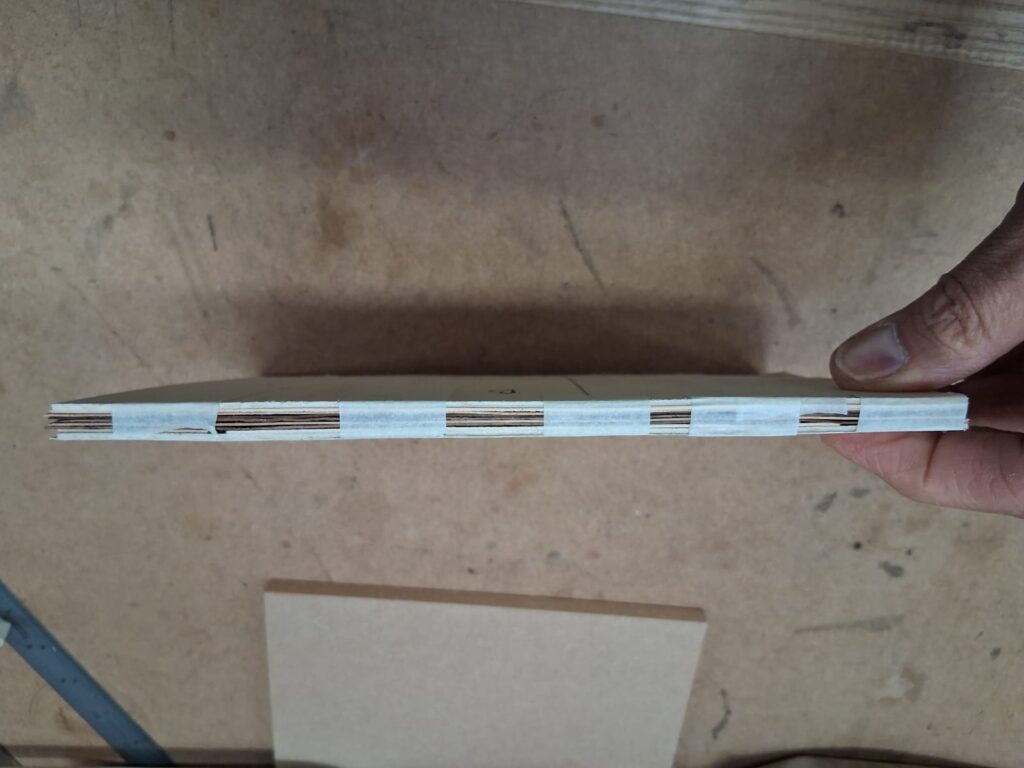
I stacked the chosen veneers into a tight sandwich or “packet,” backing it with cardstock and securing it so the layers wouldn’t shift during sawing. The master template was glued directly onto the top face.
The stacked veneer packet taped up and ready for precision cutting.
Step 3: Precision Sawing (The Packet Method)
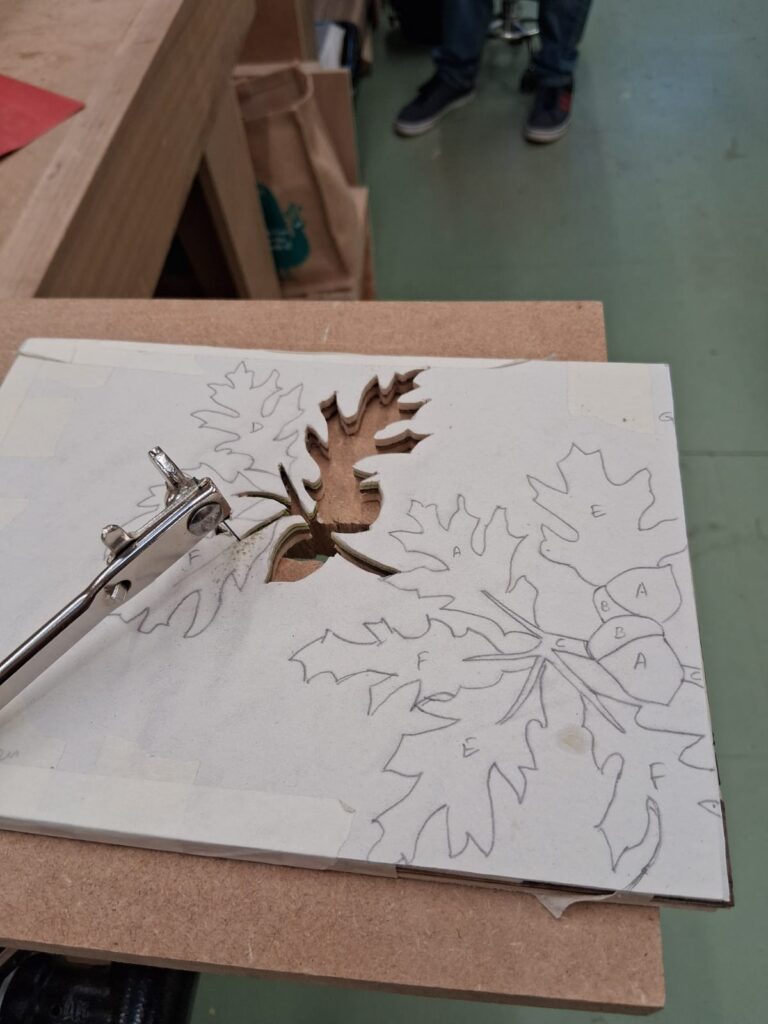
Using a fine fret saw / pierce saw held perpendicular to the bench, I began cutting out the individual leaves, twigs, and acorn caps through all eight layers simultaneously.
Navigating tight curves and delicate oak leaf points with a fine fret saw.
This was by far the most grueling and exhausting part of the two days. Navigating the delicate, brittle nature of thin veneers while cutting tight, sharp oak leaf points required unbroken concentration. One slight slip or angled cut, and a leaf point could break off.
Step 4: Sorting the Jigsaw
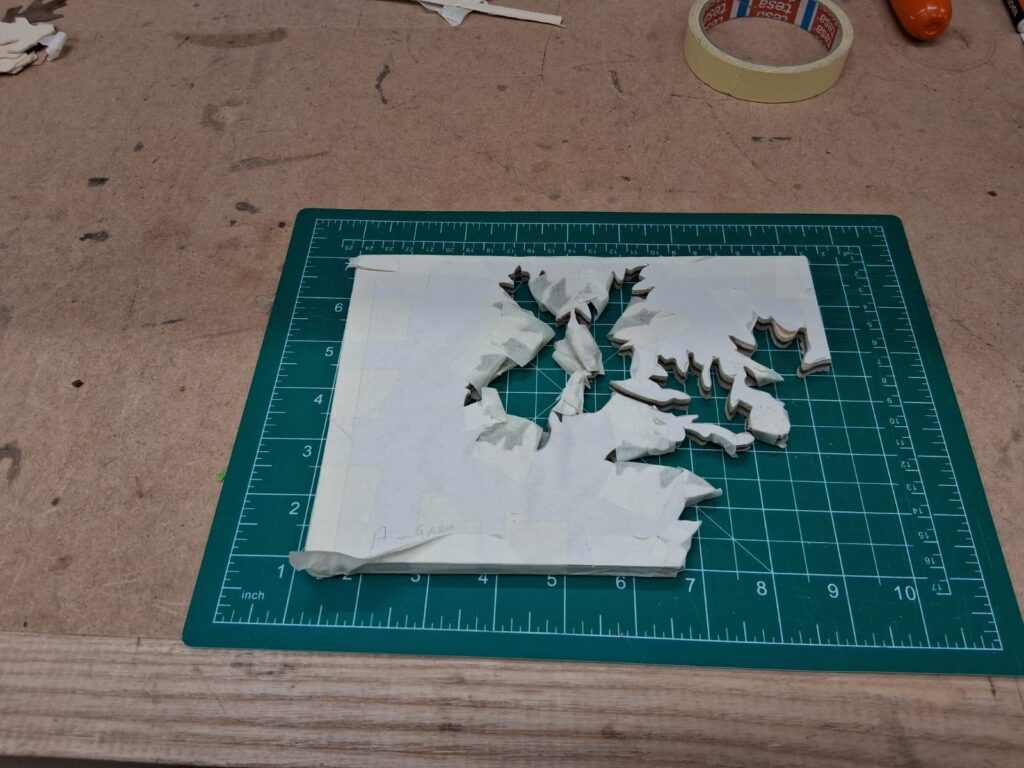
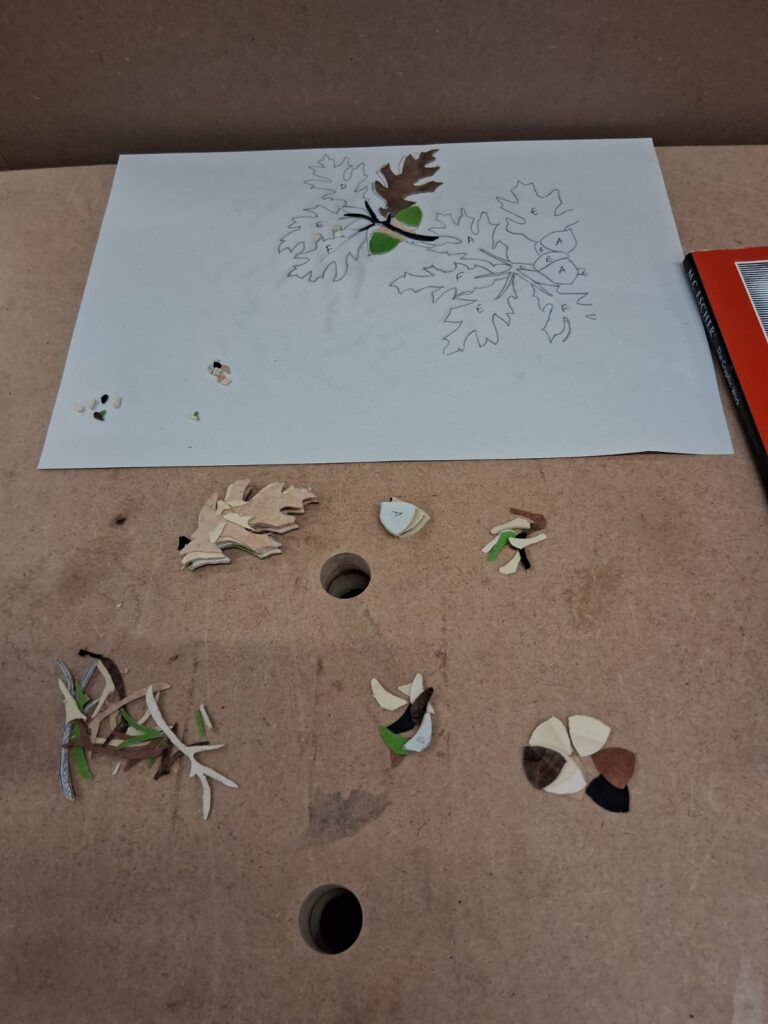
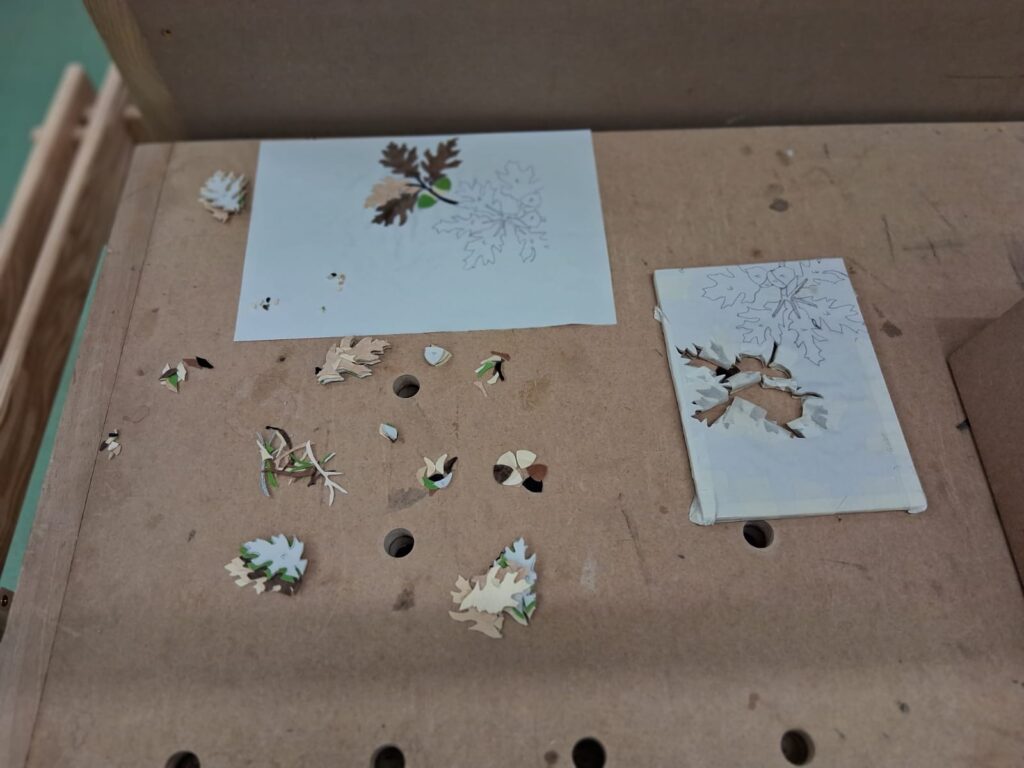
Once all pieces were cut out, the packet was disassembled. What lay on the bench was a massive, delicate wooden jigsaw puzzle! Because each shape was cut through multiple veneer species at once, I had an array of color choices for every single leaf section.
All cut components organized across the bench top before assembly.
Step 5: Assembly & Veneer Taping
Working off the original master drawing, I began fitting the selected veneer pieces back together like a puzzle, starting with the central twig and building outward leaf by leaf.
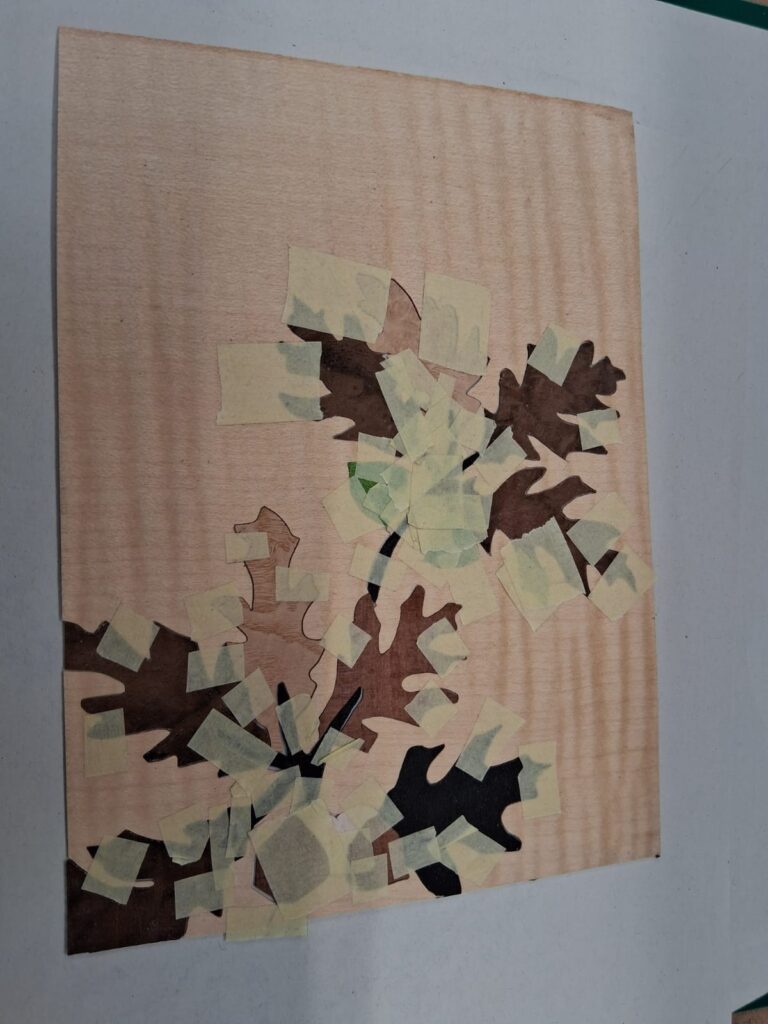
Laying individual pieces into place and locking them down temporarily with veneer tape on the back.
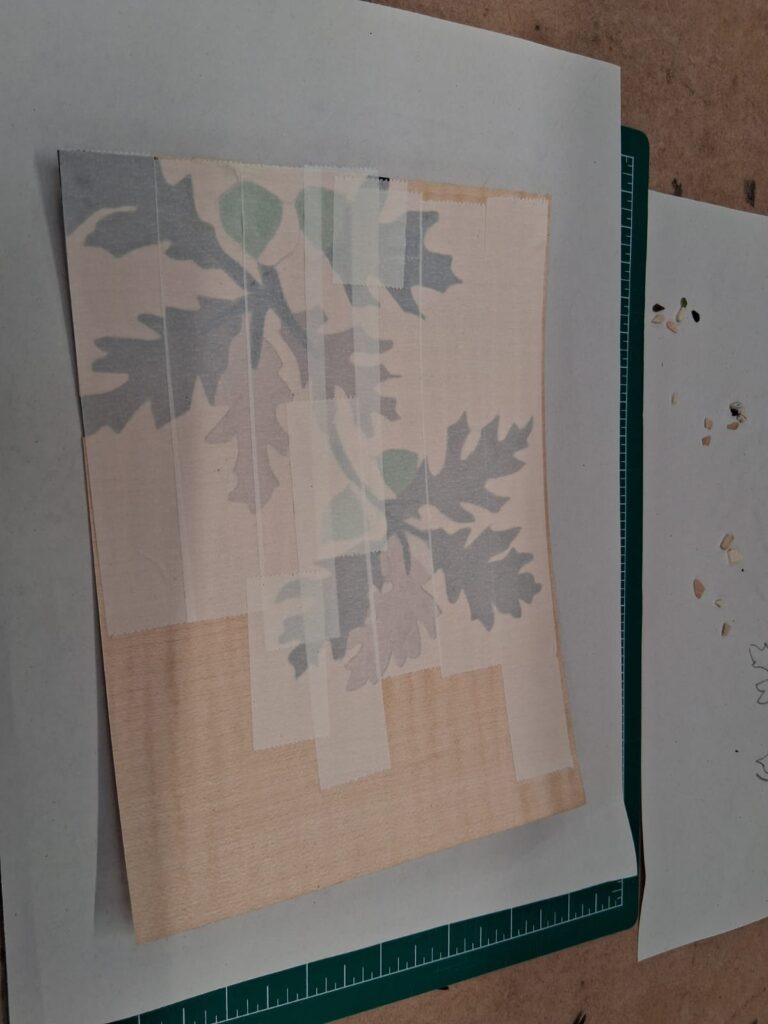
To hold the loose pieces tightly together without gaps, small strips of blue painter’s tape and specialised paper veneer tape were placed across every seam on the face.
The fully taped-up front surface, holding the entire oak leaf scene together under pressure.
The Final Reveal
After two intense days of sore fingers, steady breathing, and endless cuts, peeling away the temporary paper tape revealed a stunning result:
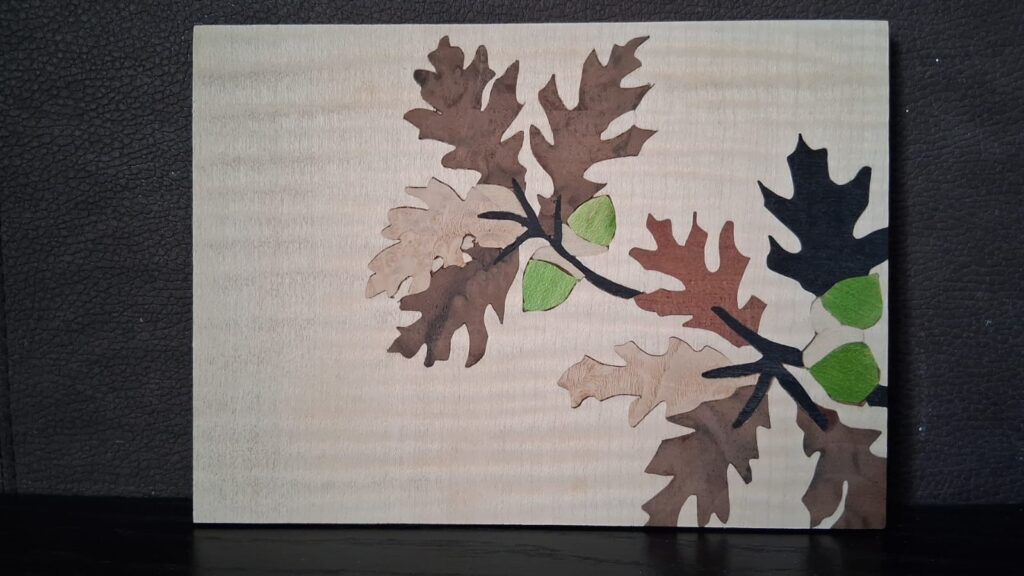
The completed oak leaf marquetry panel set against a beautifully figured background veneer.
The contrast between the rich dark leaves, burled mid-tones, pale highlights, and vibrant green acorns locked together seamlessly against the rippled background veneer.
Seeing all those tiny, fragile pieces lock into a single, cohesive plane under tape pressure made every grueling minute at the bench completely worth it. A massive thanks to Aidan McEvoy and the Farnham School of Furniture Making for an unforgettable masterclass in fine craft!