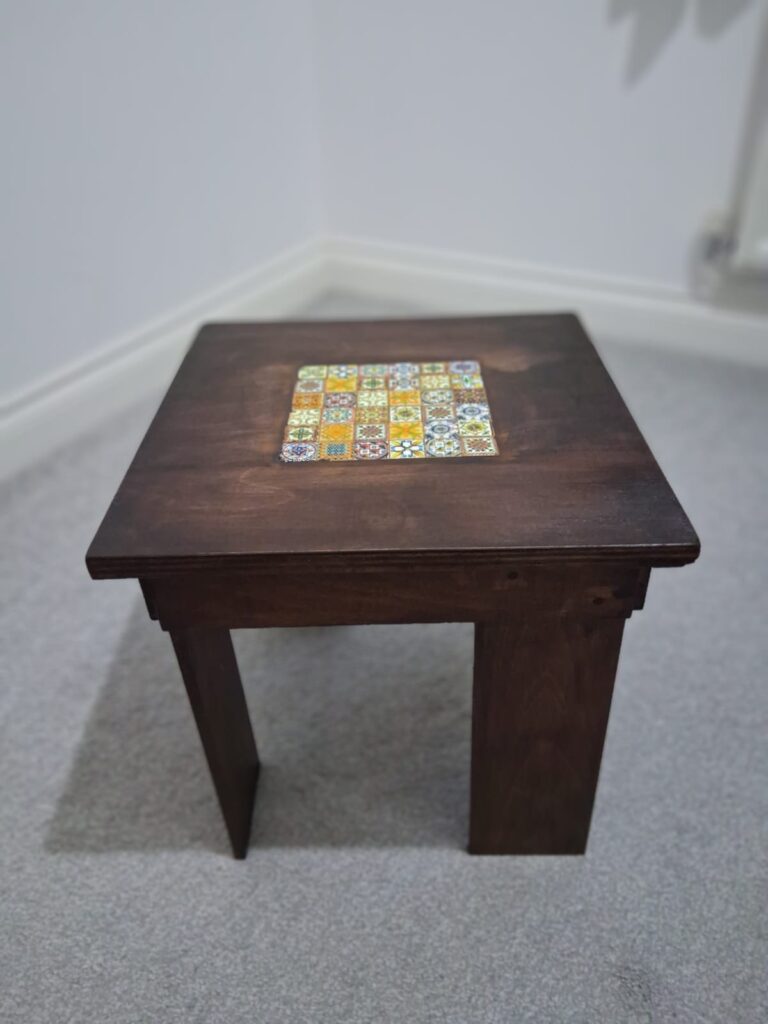
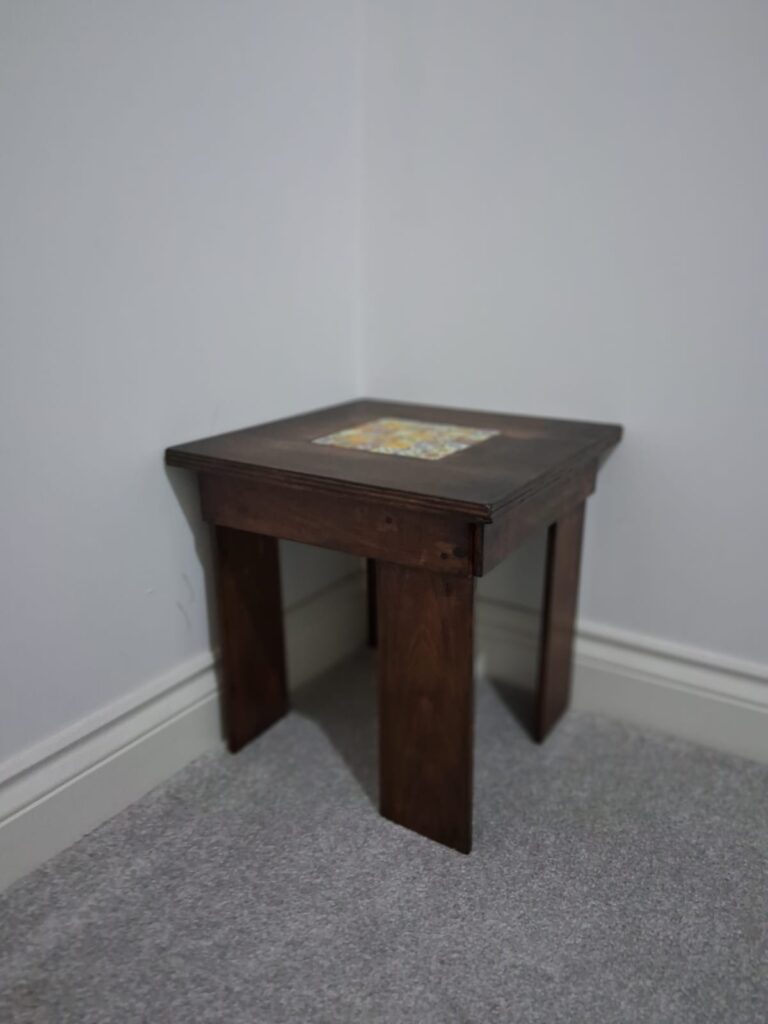
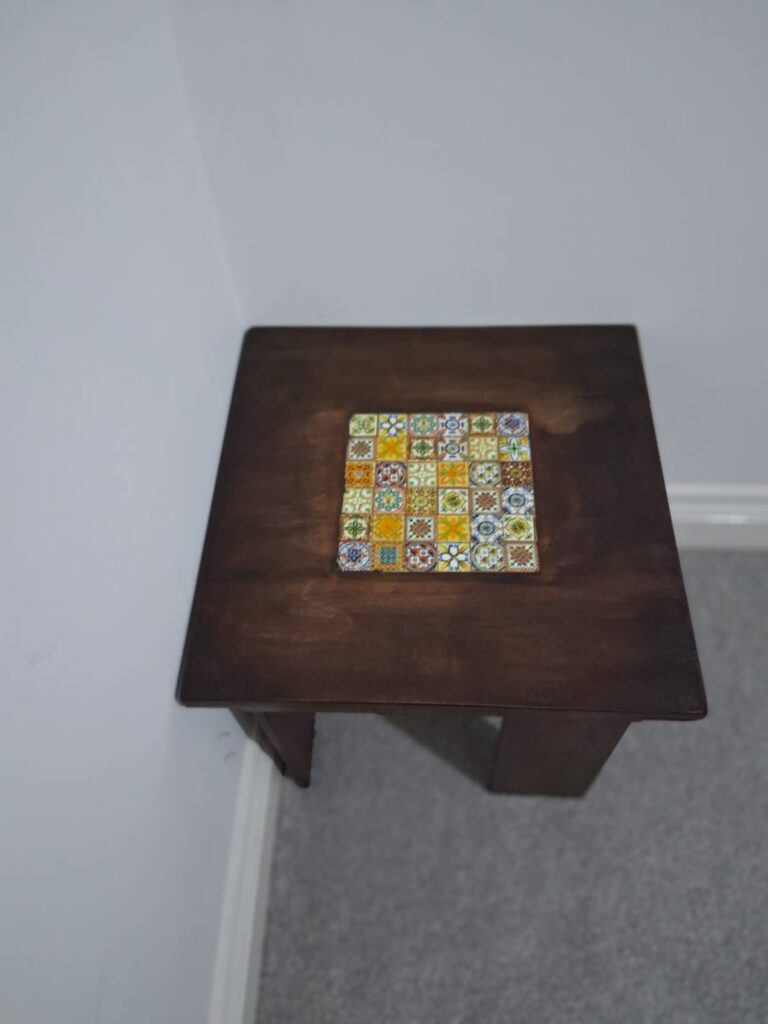
The finished beech side table with its dark, anchoring stain and embedded Moroccan tile center.
We had an old, mass-produced IKEA bedside table that had been sitting in our home for a long time, and my wife was completely ready to see it go! On her request, I set out to design and build a replacement from scratch—a project that turned out to be another milestone in my woodworking journey.
Completed in March 2026, this small side table became an intense experiment with 100% wooden joinery (not a single nail used), mixed-material flush inlays, and rich surface finishing.
Zero Screws: 100% Traditional Joinery
Driven by a commitment to classic craftsmanship, I decided from the beginning that this piece wouldn’t rely on metal screws, brackets, or mechanical fasteners. Instead, the top was from plywood, rest of the frame is built from solid Beech wood and held together purely with traditional wooden joinery and dowels.
Take a close look at the base—the legs aren’t your regular identical posts! Instead, I opted for an asymmetrical, panel-like leg structure to give the table a unique modern profile – did my wife like it – not really !!
It pushed me to measure precisely, double-check tolerances, execute tricky inset inlays, and occasionally learn “what not to do” the hard way when fitting complex joints. The result is a rock-solid, grounded piece of furniture that feels as sturdy as it looks.
The Adhesive Dilemma: How to Stick Tile to Timber?
One of the biggest hurdles on this build was figuring out how to bond ceramic tiles to a wooden surface.
From past experience, it was pretty clear that standard PVA or wood glues just won’t adhere properly to non-porous ceramic tiles over the long haul. So, how do you make them stay put?
Evo-Stik Multi-Purpose Impact Instant Contact Adhesive saved the day.
After some digging (including remembering a technique from one of Paul Sellers’ videos – think it was around making a leather strop and a tutorial on veneering), I turned to instant contact adhesive—specifically, Evo-Stik Impact Cement. Applying a coat to both the wooden recess and the back of the tiles created a instant, tenacious bond that locked the ceramics permanently in place.
Taming the Mosaic Mesh & Grouting
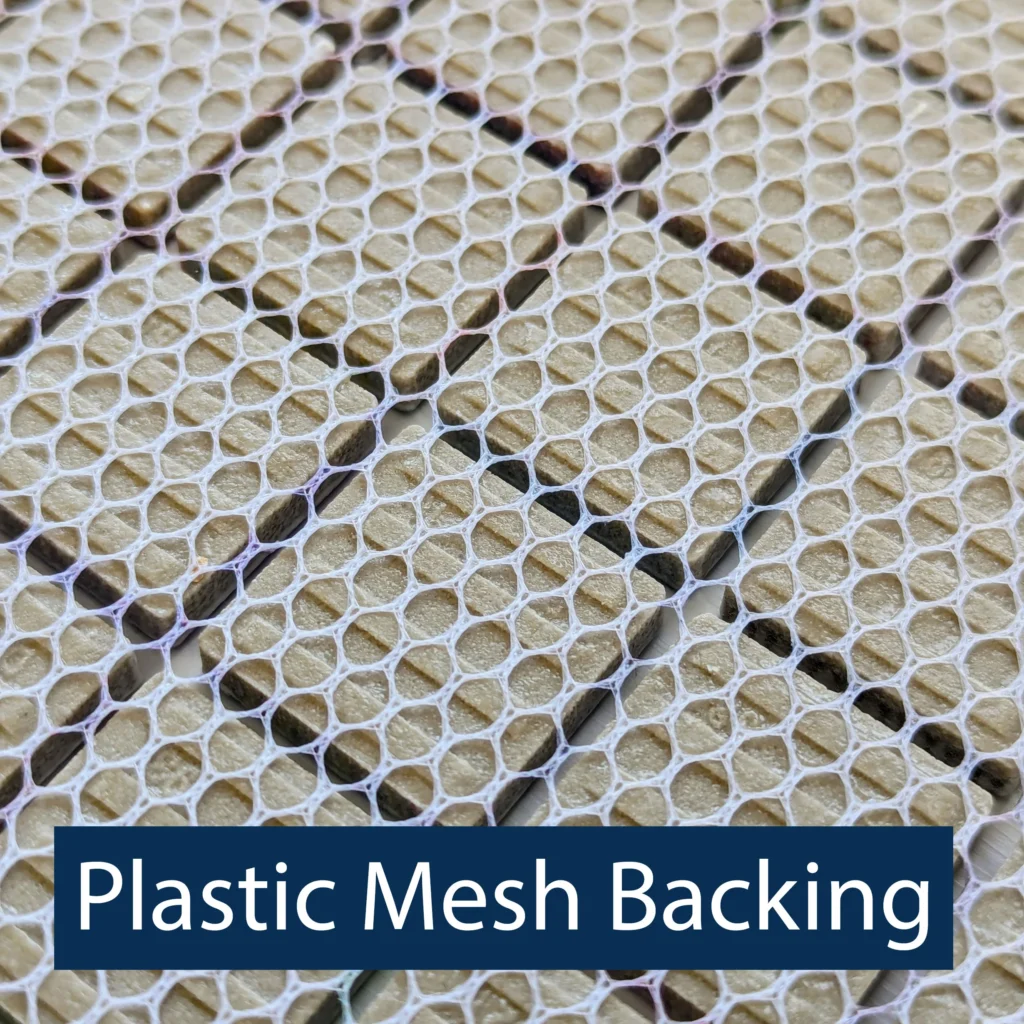
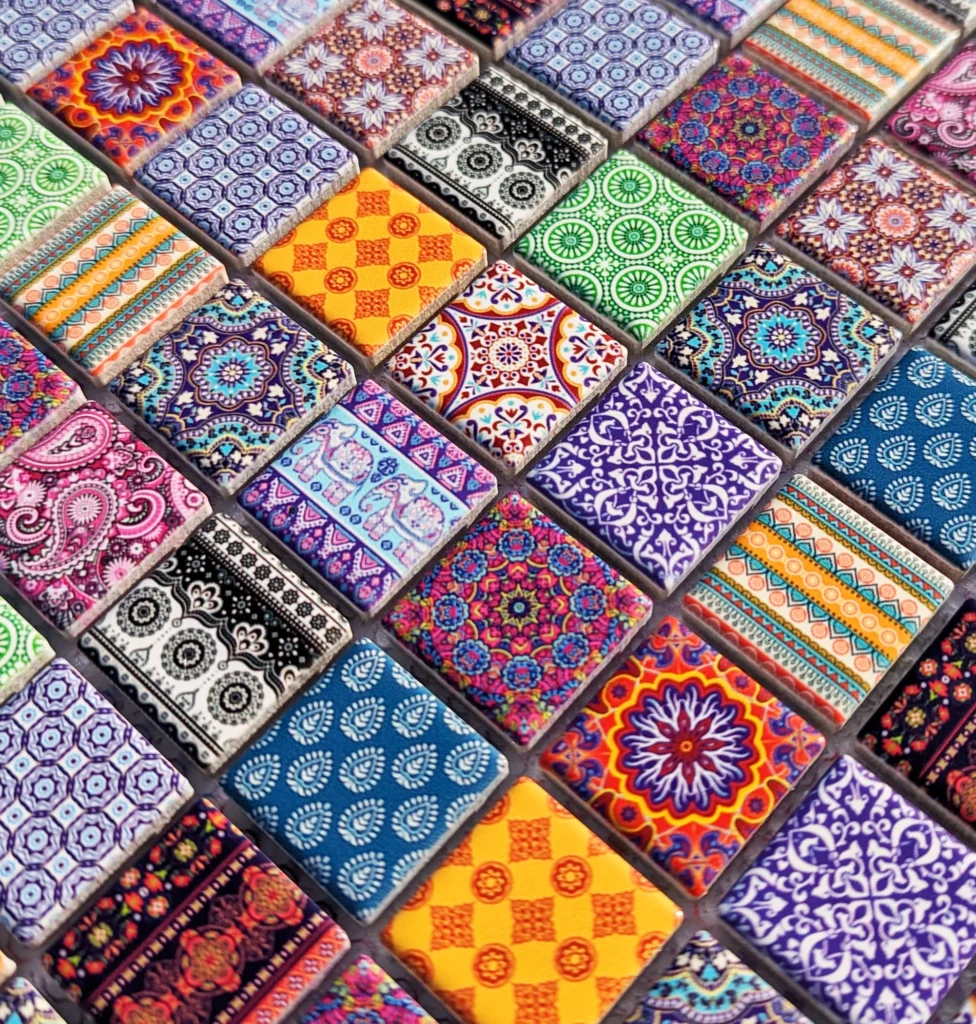
Getting the tiles glued down was only half the battle. The vibrant, patterned Moroccan mosaic tiles came attached to a plastic mesh backing.
The vibrant ceramic tiles with their plastic mesh backing.
I spent a good chunk of time scratching my head over how to fill the gaps cleanly without destroying the wood frame. I didn’t want to buy a big tub of standard wall tile grout or wall putty, so I decided to:
Strip the tiles off the plastic mesh individually to control their placement.
Set each tile directly into the recessed tabletop using the impact adhesive.
Fill the small gaps using wood fillers I already had on hand in the workshop.
Was it the cleanest, most professional grout line finish in the world? Not quite! Working wood filler into tiny gaps around glazed ceramic is tricky, and it definitely left a few handmade quirks. But it filled the voids, stabilized the surface, and kept the project moving forward without needing extra specialised materials. If you watch carefully, you can still see some strains on the outer-edge of the mosaic.
Finishing Touches
To bring everything together, I finished the beech wood frame with a deep, dark wood stain. The dark tone completely transformed the light beech timber, creating a heavy, rich border that frames the bright yellow, orange, and blue patterns of the ceramic tiles.
It was an incredible project full of real workshop problem-solving—from routing a clean flush inset to experimenting with contact adhesives and traditional dowel joints. Most importantly, it replaced our old bedside table with something unique, handmade, and completely fastener-free!