Some woodworking projects go smoothly from initial cut to final coat. Others test your patience, force you to adapt, and end up teaching you more than a dozen easy builds combined!
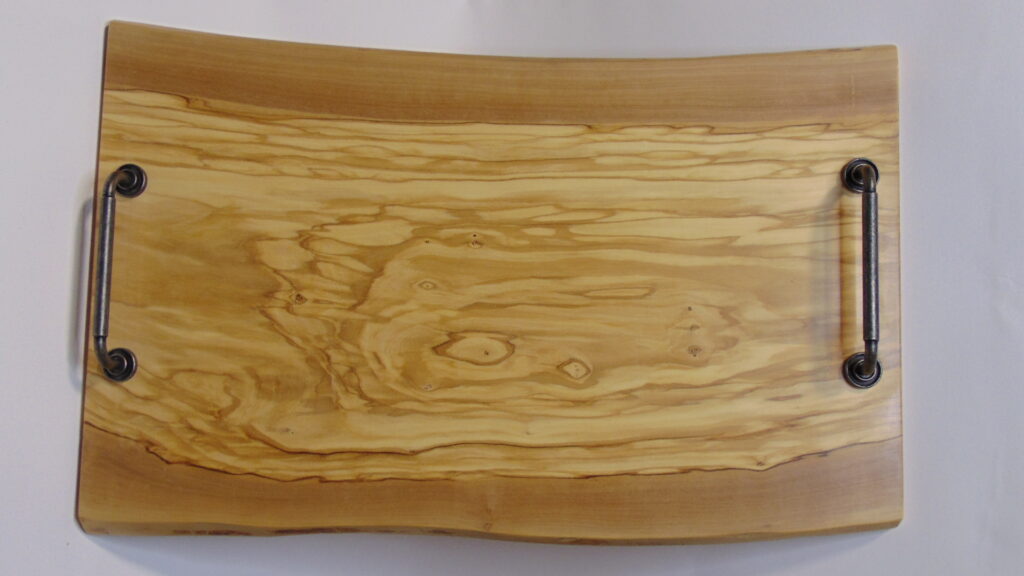
This custom live-edge charcuterie board was definitely one of the latter—and easily one of the most rewarding pieces to come off my bench.
A Special Milestone Commission
Back in December 2025, my cousin celebrated his 60th birthday over in India. I wanted to make him something truly special for the occasion—a handmade presentation piece that highlighted the raw beauty of natural timber.
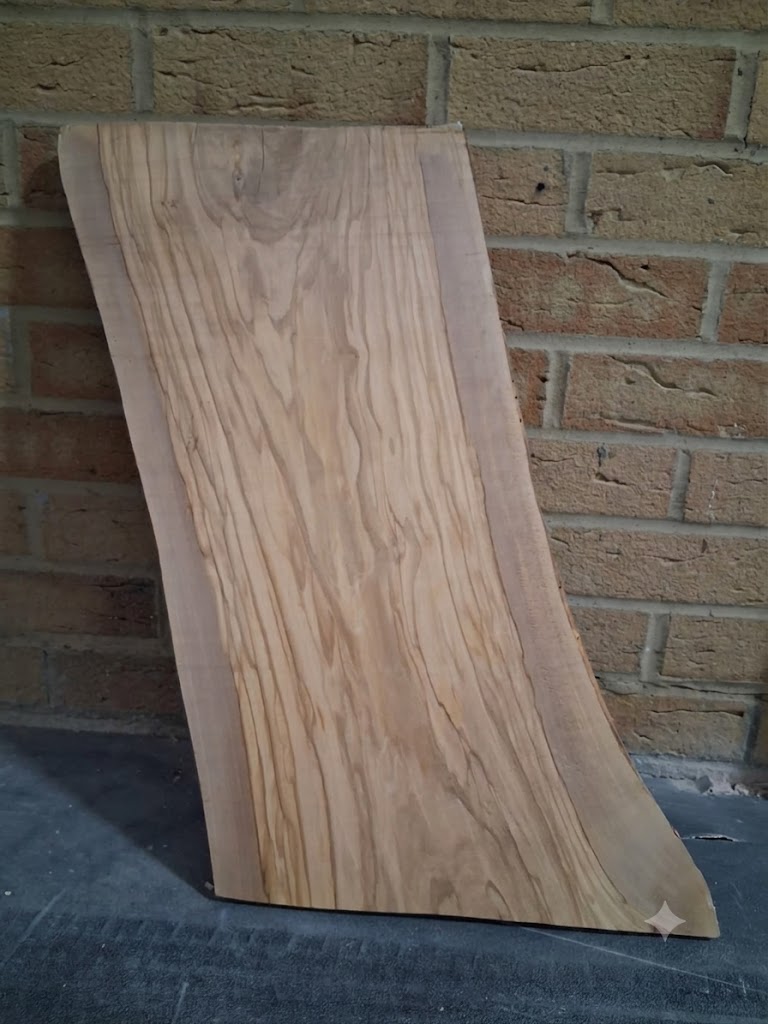
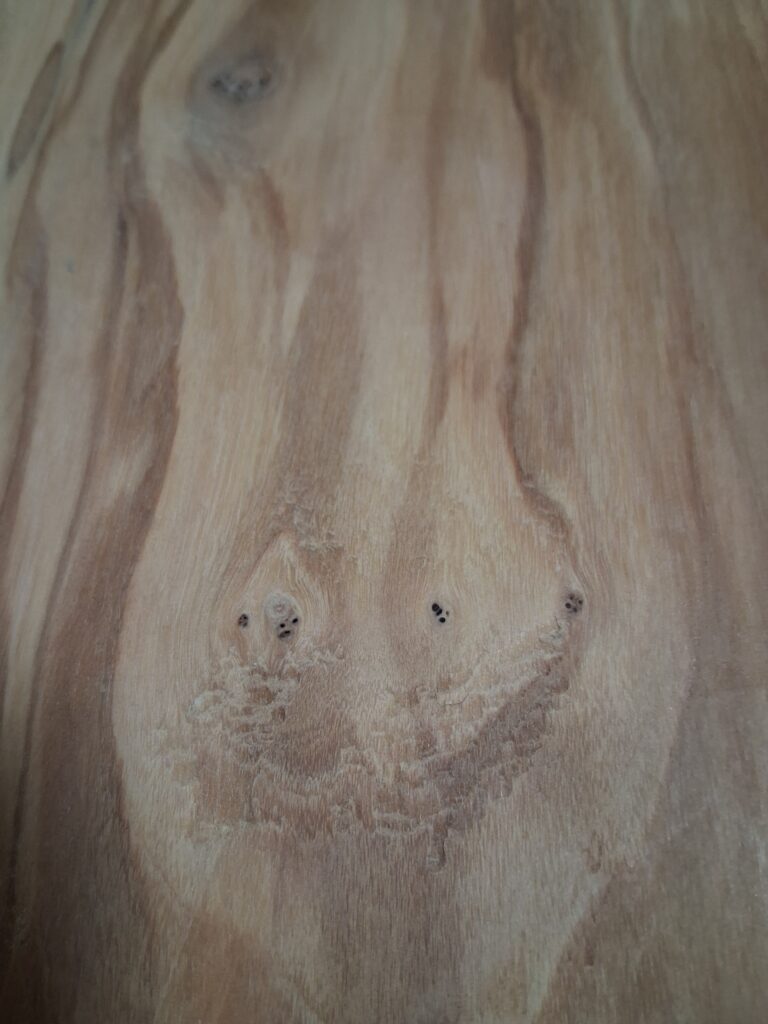
I headed over to Surrey Timbers and found a stunning slab of solid olive wood with gorgeous live edges. The grain was incredibly wild, filled with swirling figure and warm golden hues. I knew instantly it would make an amazing charcuterie board, but I severely underestimated just how challenging that figure would be to tame!
Remaining half of the original live-edge board that I purchased. The image is original, I just used Gemini to remove timestamp, but it added its logo.. fair enough
The Planing Crisis: Tear-Out & Trial
When I brought the slab back to the workshop, I immediately hit a major roadblock: flattening.
Without access to a heavy-duty industrial thickness planer, I turned to my tutor, Marcus, for a bit of help. Bad luck struck right away—his mechanical planer was out of commission.
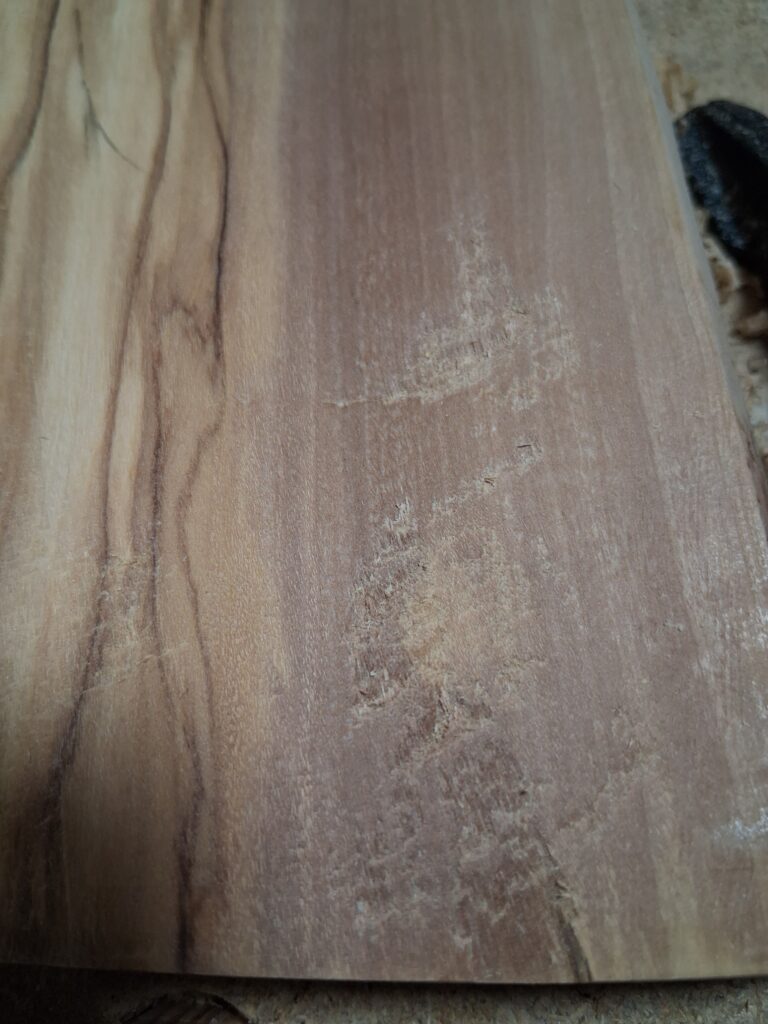
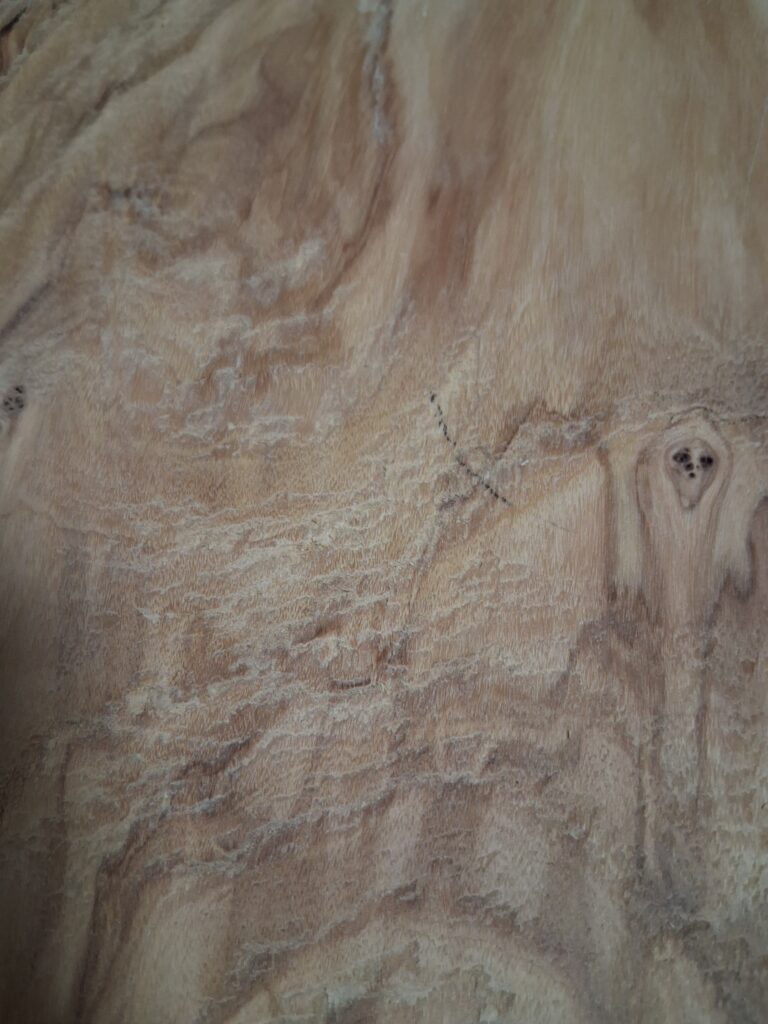
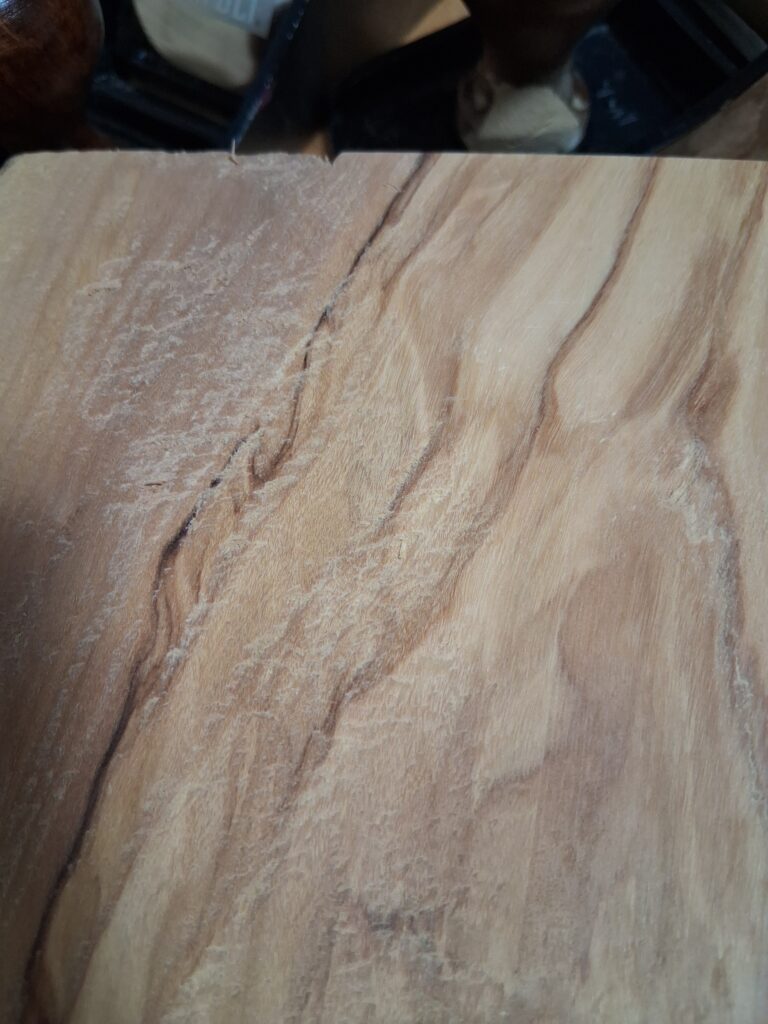
Marcus kindly offered to loan me a traditional hand plane instead. I gave it my best shot, but my relative lack of experience paired with olive wood’s dense, interlocking grain proved to be a brutal combination. Instead of smooth ribbons of wood, I ended up with:
Severe grain tear-out
Deep nicks on the surface
Frustratingly rough, uneven patches
The tear-outs
It became clear very quickly that standard hand planing wasn’t going to cut it on this piece.
The Pivot: The Router Flattening Sled
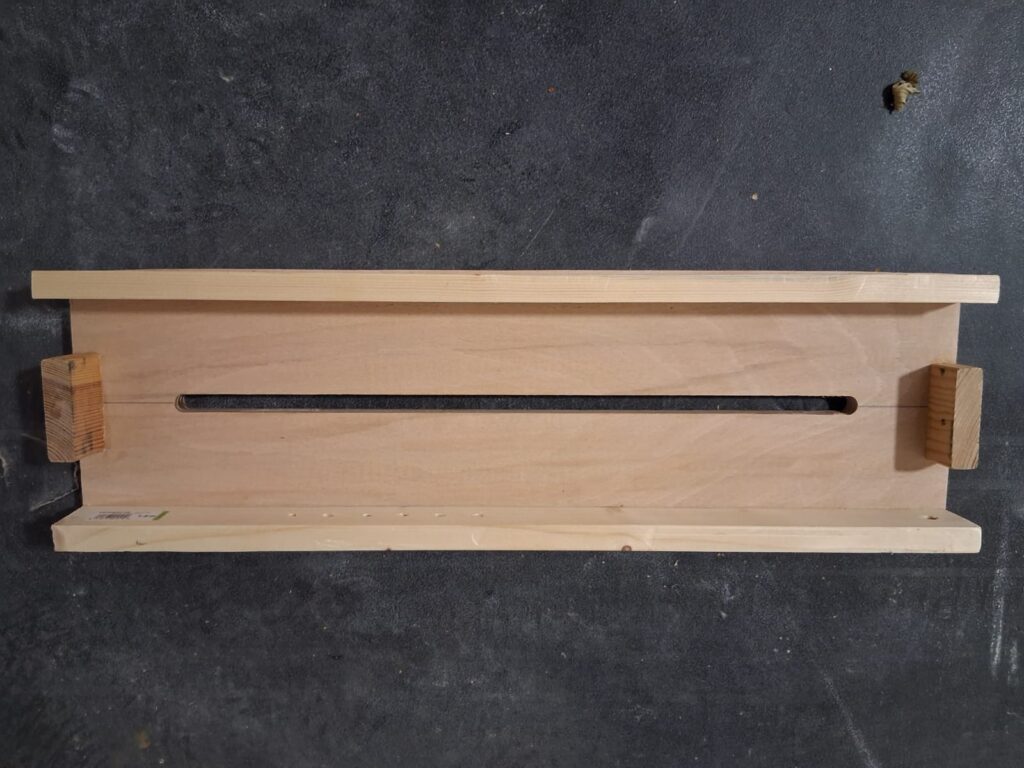
Realising I needed a different strategy, I dove down a YouTube rabbit hole late that night researching alternative flattening methods. The solution? A router flattening jig.
The router jig created with pieces of wood lying around in an hour
I rigged up my plunge router to act as a manual surfacing planer. By sliding the router back and forth across a level frame over the slab, I could slowly skim off the high spots millimeter by millimeter.
While it was incredibly time-consuming and required meticulous control to make sure both faces were perfectly coplanar, it worked like a charm! The router cleanly shaved through the unpredictable grain without pulling or tearing the timber.
The Final Touches
Once the slab was flat and sanded down through the grits, it was time to turn it into a functional serving tray:
Hardware: I mounted a pair of heavy-duty, dark cast iron handles on either flank, giving it an industrial contrast against the organic edges.
Finish: To protect the wood and make it food-safe, I treated it with a rich beeswax polish. The moment the wax hit the timber, the deep golden grain and dark streaks popped instantly.
Lessons Learned
Shipping the finished piece out to India in time for my cousins milestone birthday was a fantastic feeling.
More than anything, this project was a huge milestone for my own confidence in the workshop. It taught me how to problem-solve when tools fail, how to rethink a process on the fly, and how to safely handle wild, highly figured hardwoods.