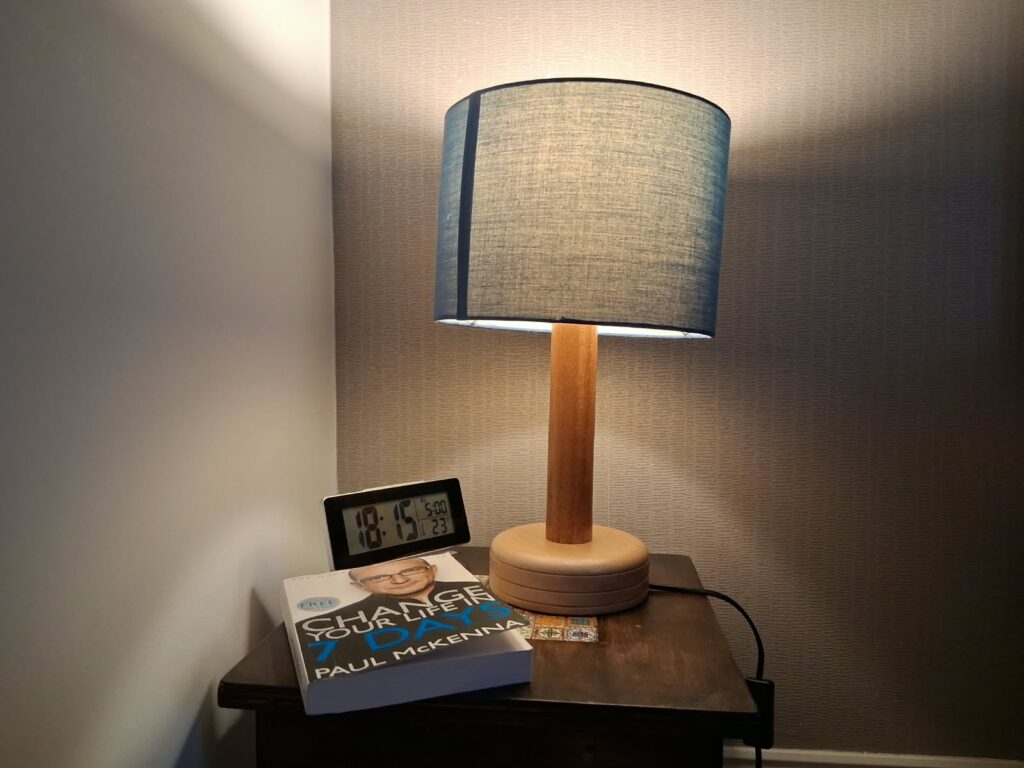
When my daughter headed off to university, she took our table side lamp with her. Instead of heading to the store for a replacement, I took it as the perfect excuse to finally tackle a project I’ve been wanting to try for months: my very first attempt on a woodturning lathe.
This turned out to be one of the smoothest, most enjoyable projects I’ve worked on at the bench, thanks in large part to the generous guidance of Jim at our community shed. Jim, a resident expert on the lathe, kindly walked me through the essential basics, demonstrating mounting, tool angles, safe chisel handling, and woodturning techniques.
Step 1: Turning the Cherry Base
The foundation of the project came from a block of cherry timber gifted to me by Tim from SFWW during a visit to his workshop early in 2026. It had been sitting on my wood rack for months, waiting for the right build.
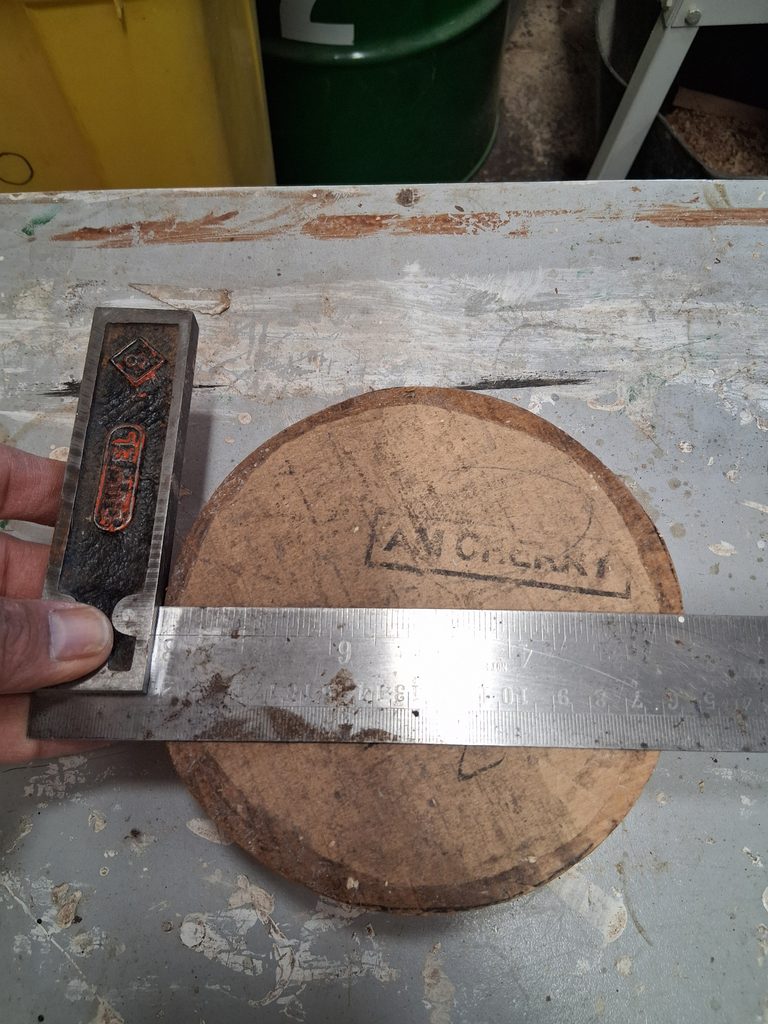
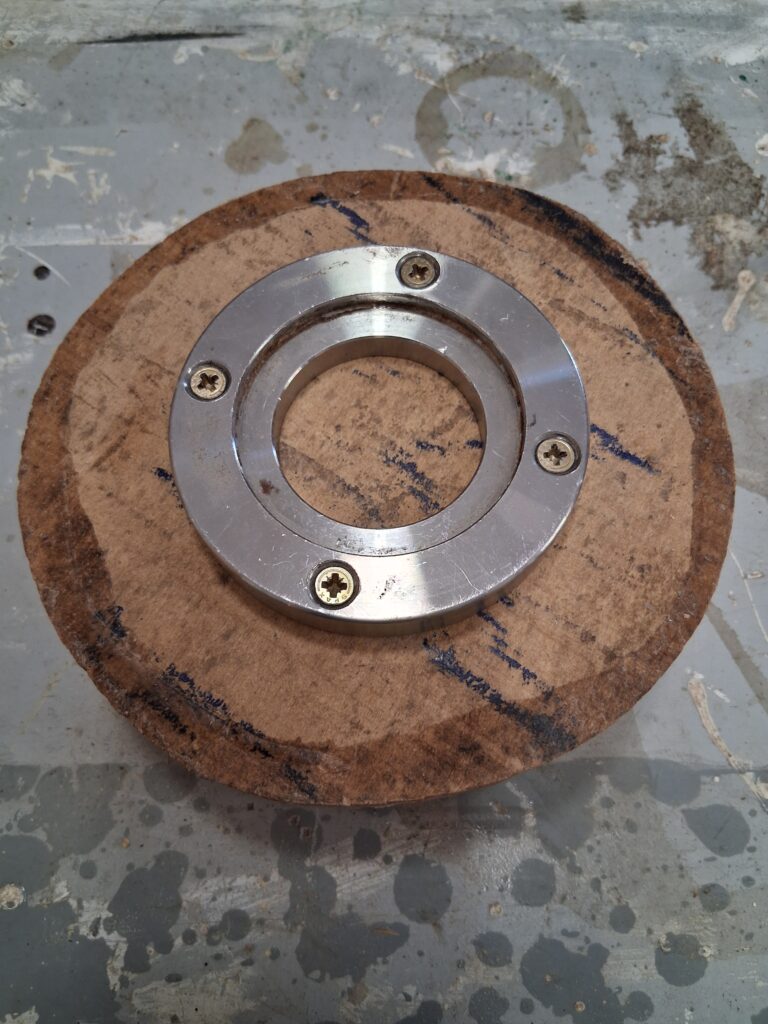
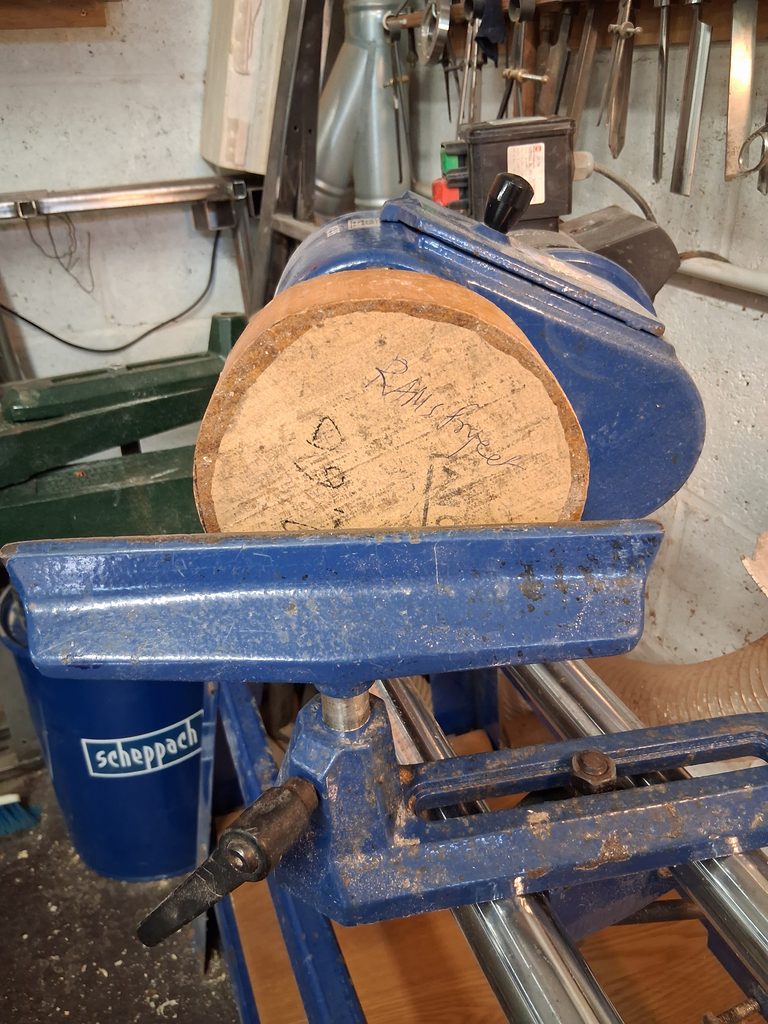
Under Jim’s watchful eye, we mounted the cherry blank onto the faceplate and started turning. As the tool met the wood, the rough exterior yielded a remarkably smooth, rich grain structure. It shaped up cleanly into a stable, handsome circular base.
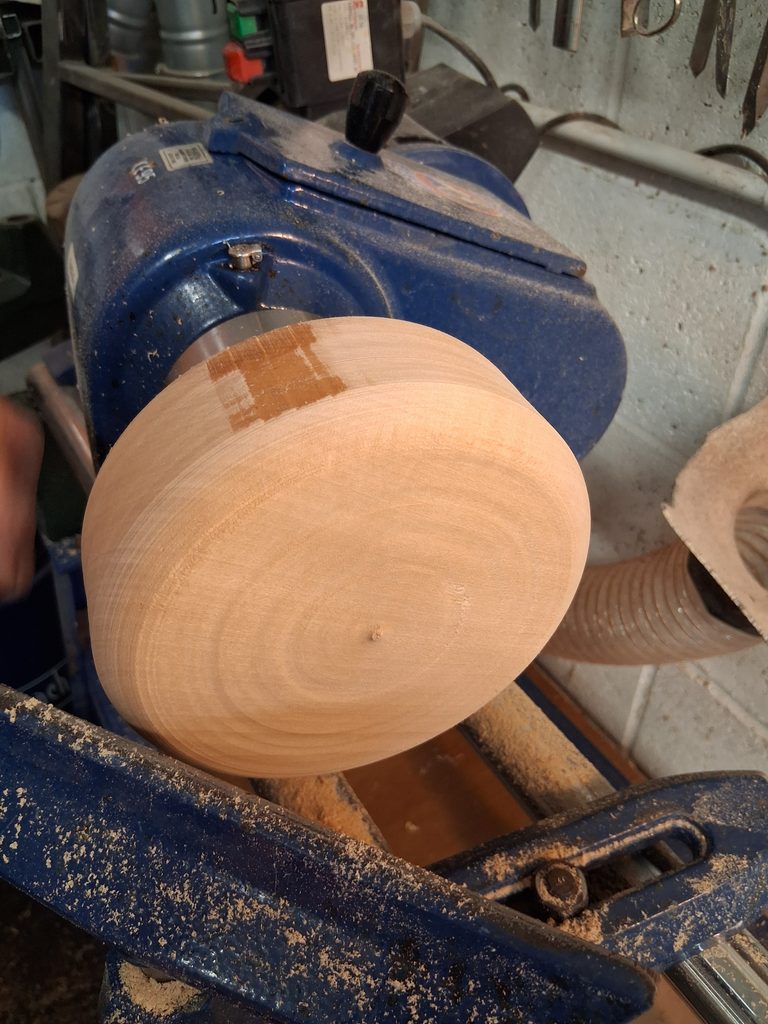
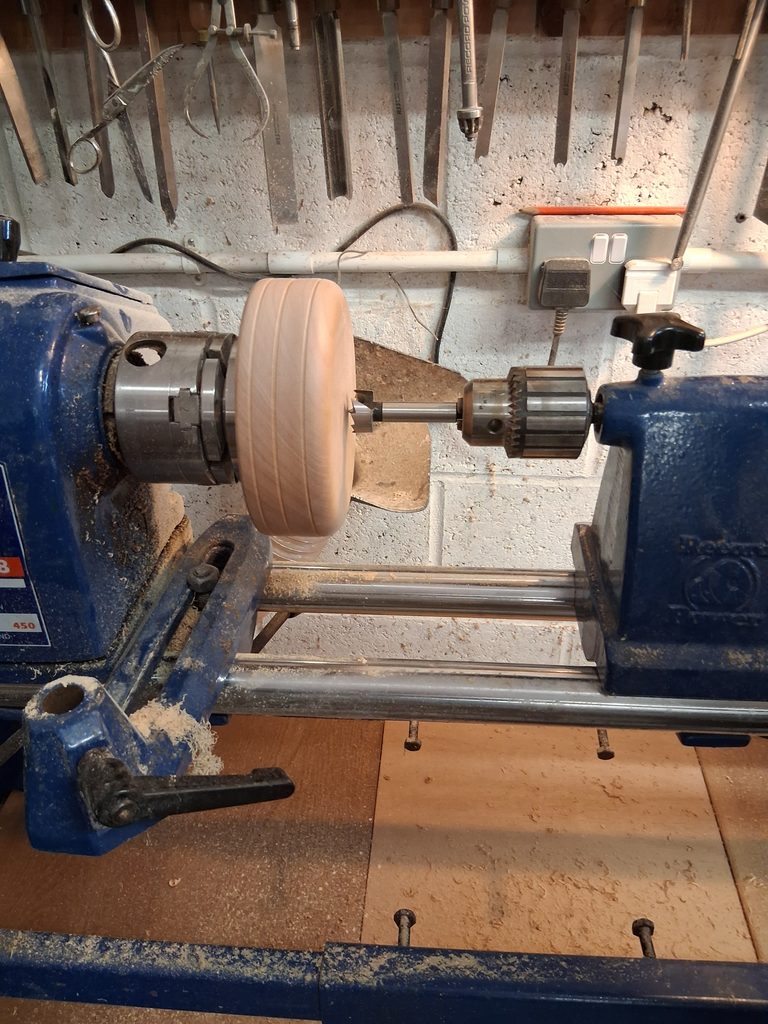
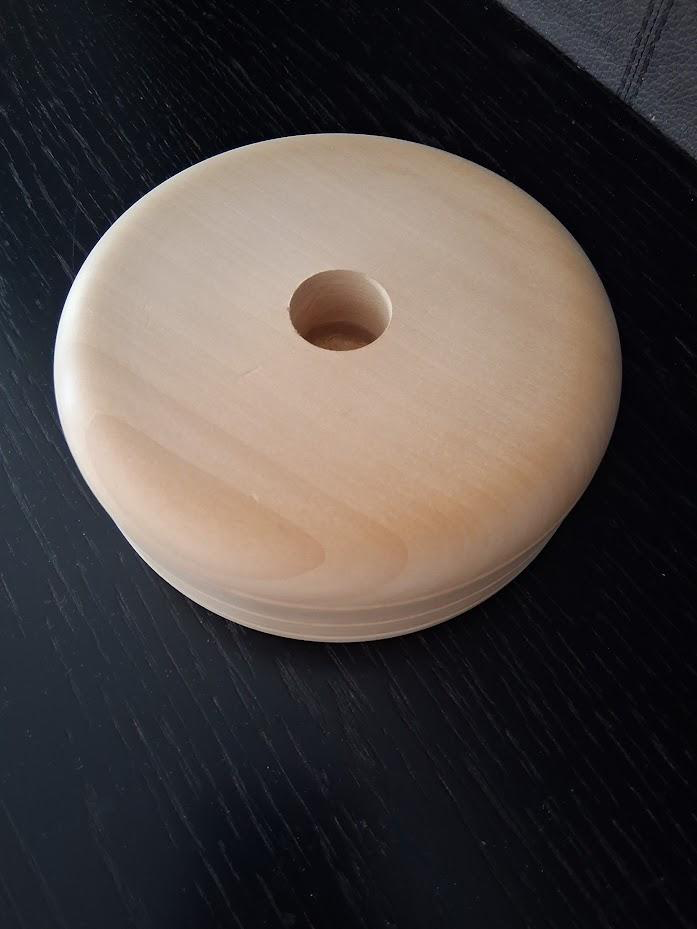
Step 2: The Stem—Cracks, Chipping, and a Mahogany Rescue
The vertical stem proved to be a bit of a learning curve:
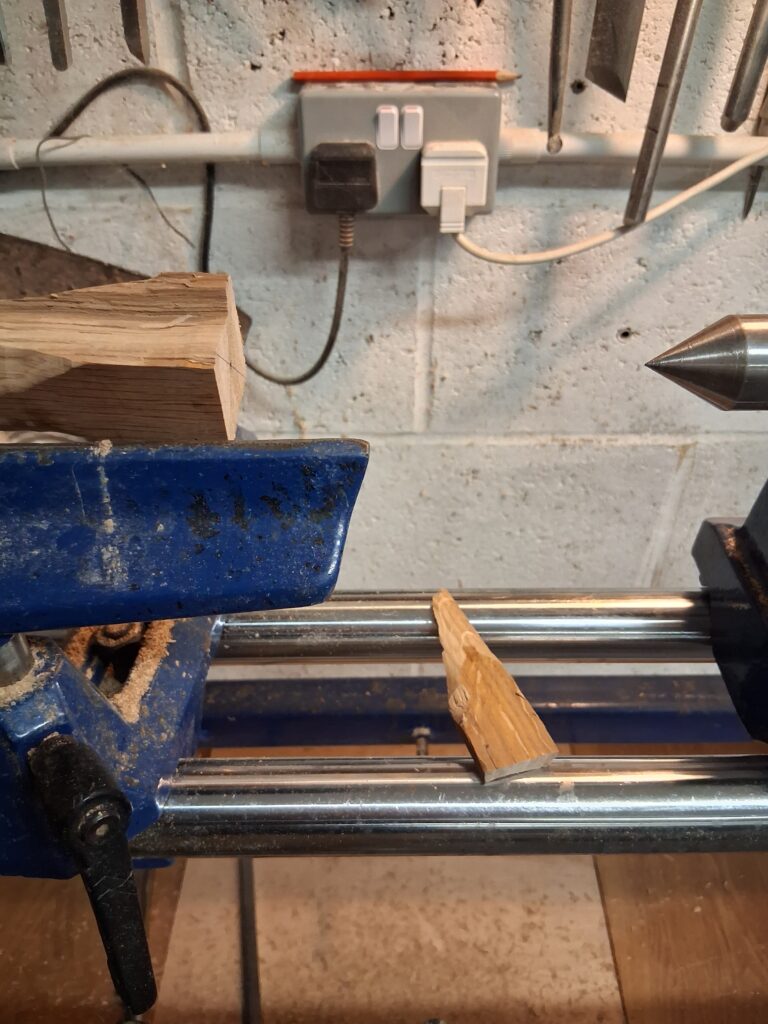
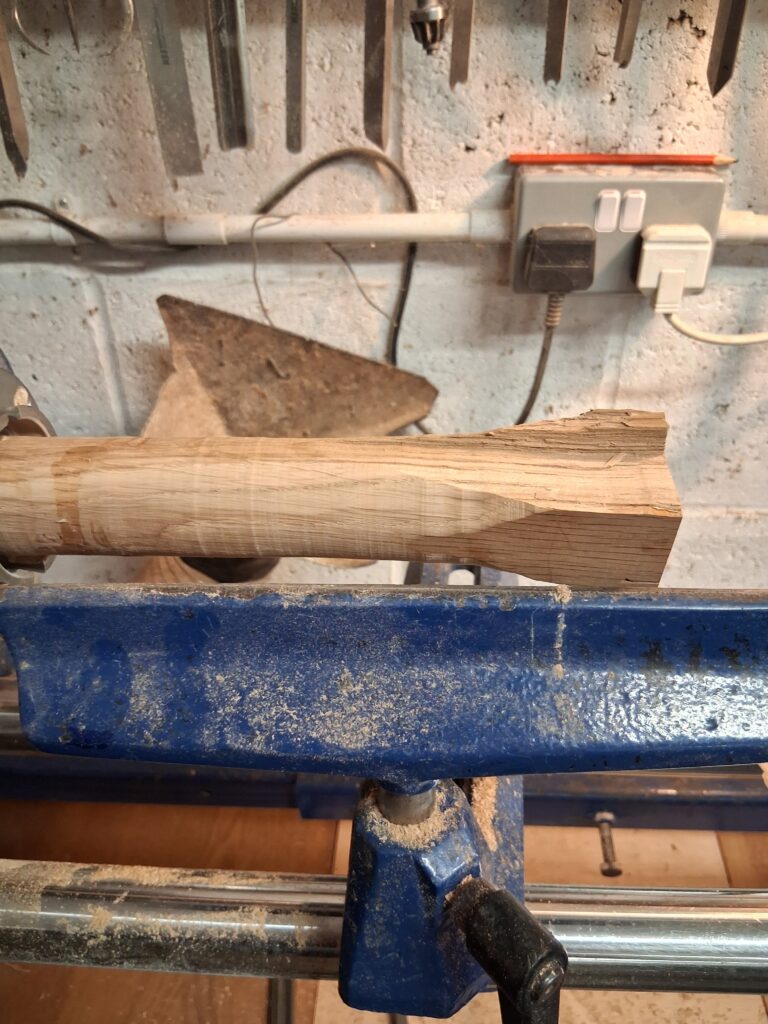
- Attempt 1 (The Oak Blank): In week two, I tried turning an oak piece I had lying around. Unfortunately, a hidden stress crack opened up. We attempted to stabilise it with super glue on the lathe—and while that section held, the far end chipped off during turning, rendering the blank unusable.
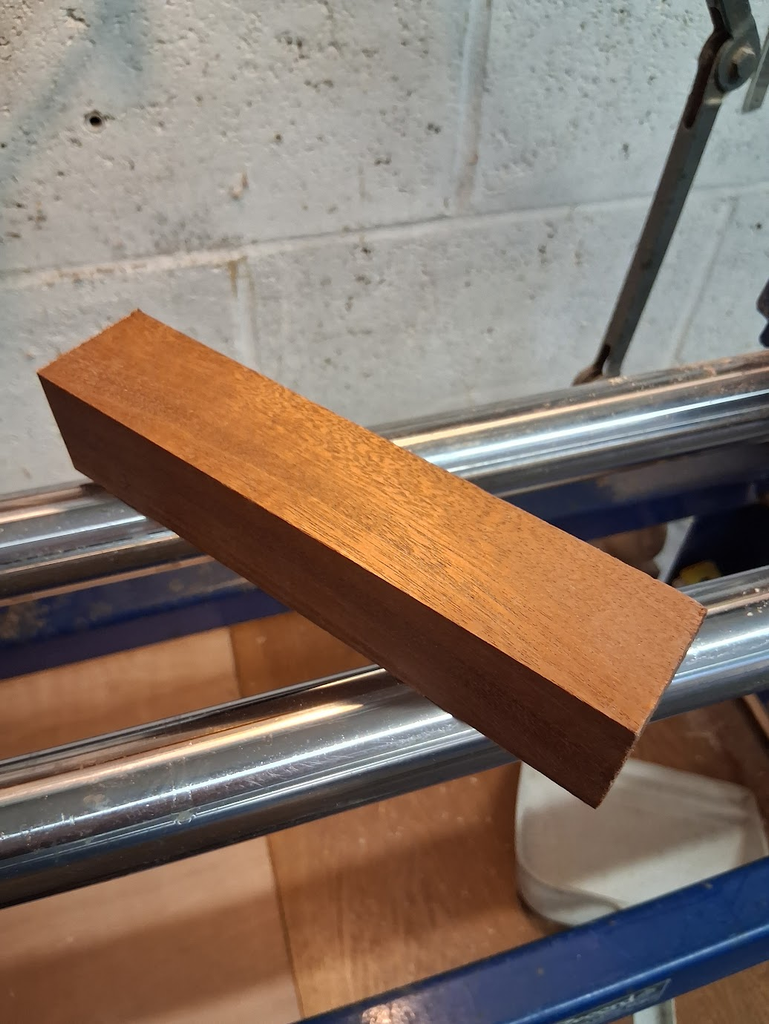
- Attempt 2 (Finding the Right Tone): I had a piece of Sapele on hand, but its dark, heavy tone clashed with the bright cherry base. Seeing my dilemma, Jim kindly stepped in and offered a piece of lighter-toned mahogany from his stash.
- Attempt 3 (The Mahogany Stem): The mahogany turned like a dream. We brought the stem to roughly 9 inches in height, mating it flush to the cherry base.
Boring the long cable pass through the 9-inch stem took a bit of careful trial and error, but using the tailstock setup got the internal channel through cleanly.
Step 3: Salvaging £2 Hardware
With the wood turned and fitted, I made a quick weekend trip to a local car boot sale for the electrical components to recycle:
- Bulb Holder: £1.00 for a solid vintage brass holder.
- Cable & Switch: £1.00 for a working secondhand table lamp, which I harvested purely for its cord and inline switch.
Total hardware cost: £2.00.
Assembly & The Final Glow
Back at the bench, final assembly took under an hour. I ran the wiring up through the stem, secured the socket, joined the mahogany column to the cherry base, and wired up the switch. After a final check, I applied two quick coats of varnish to highlight the natural timber contrast and set the lamp on my desk.
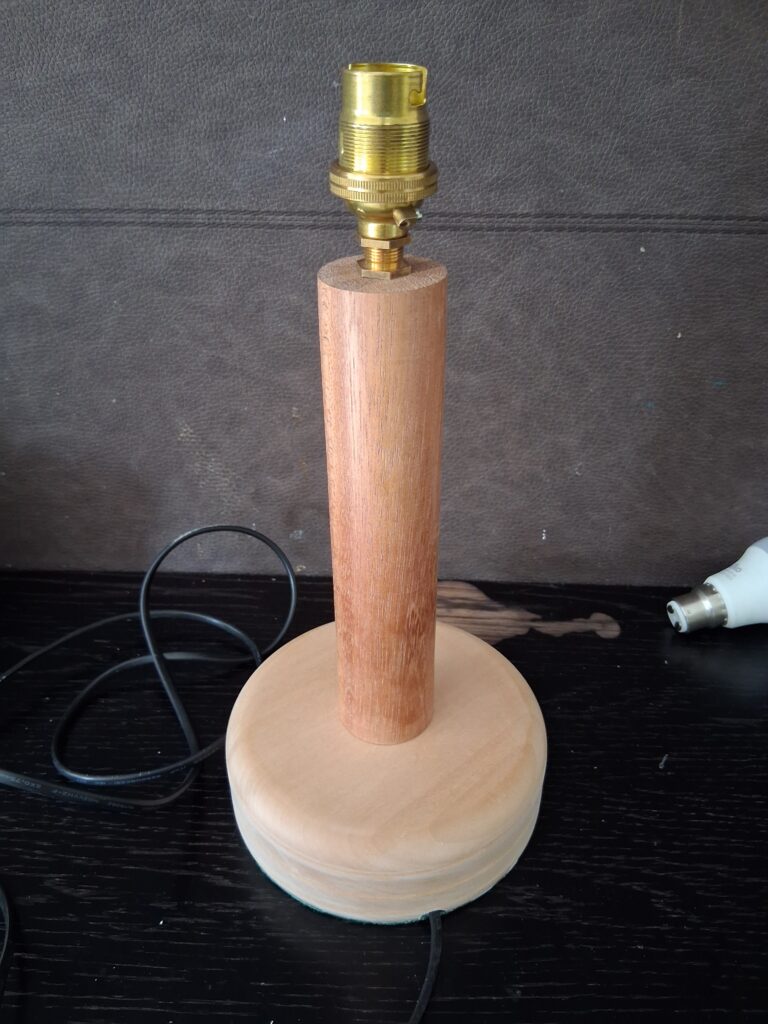
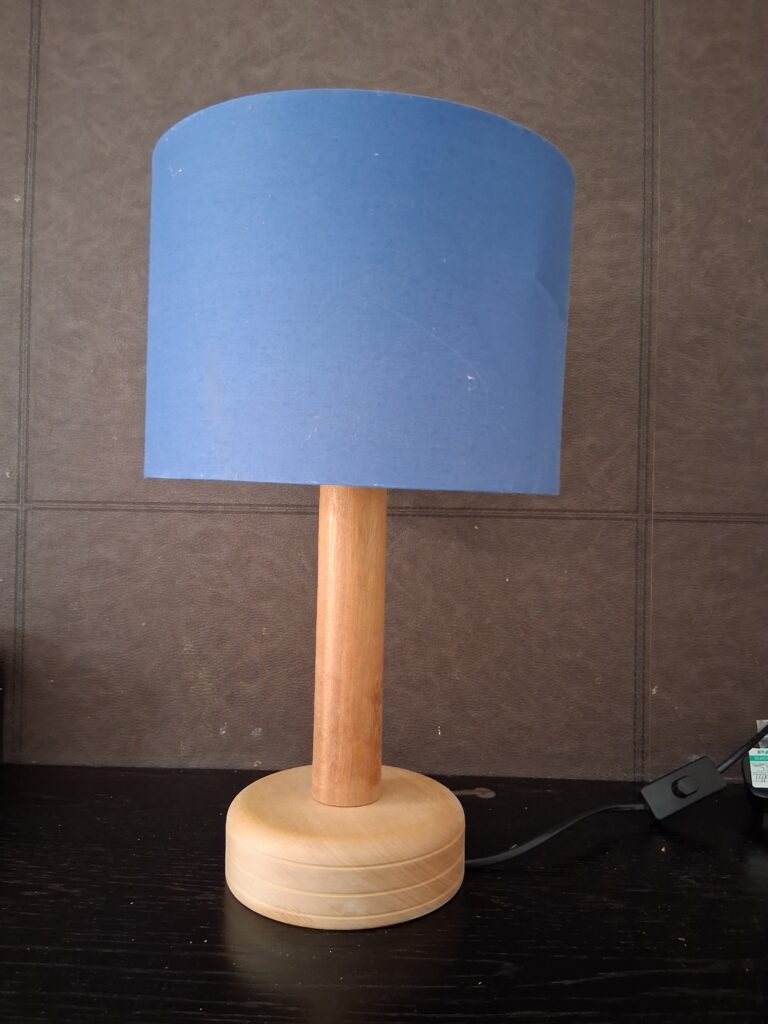
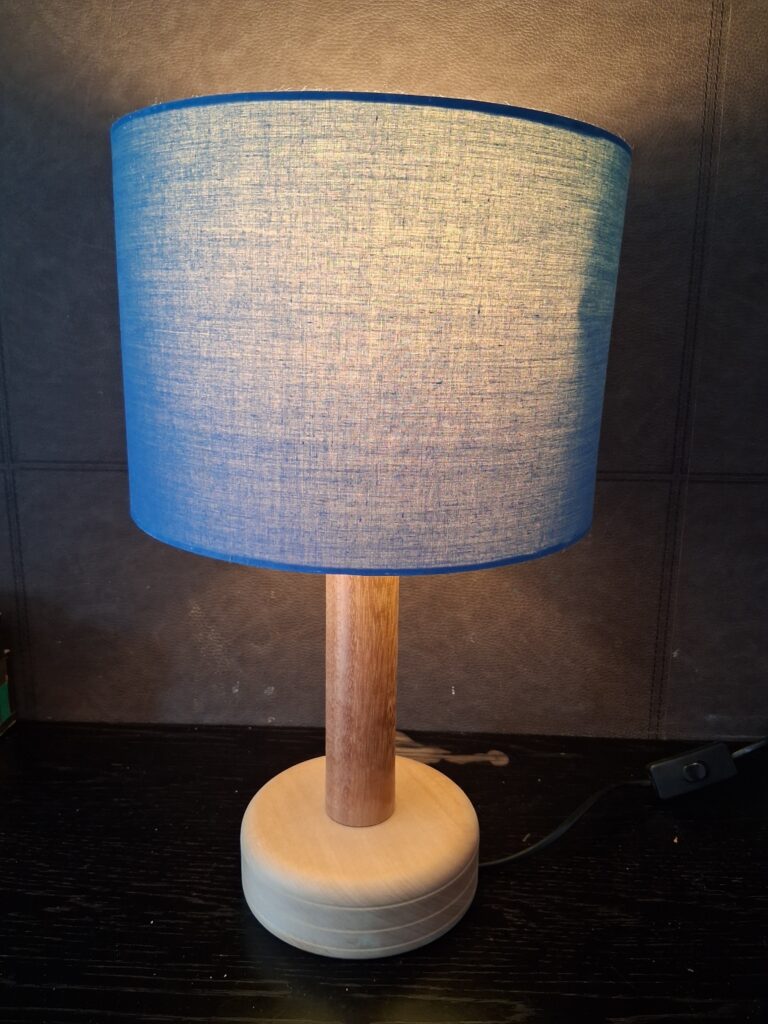
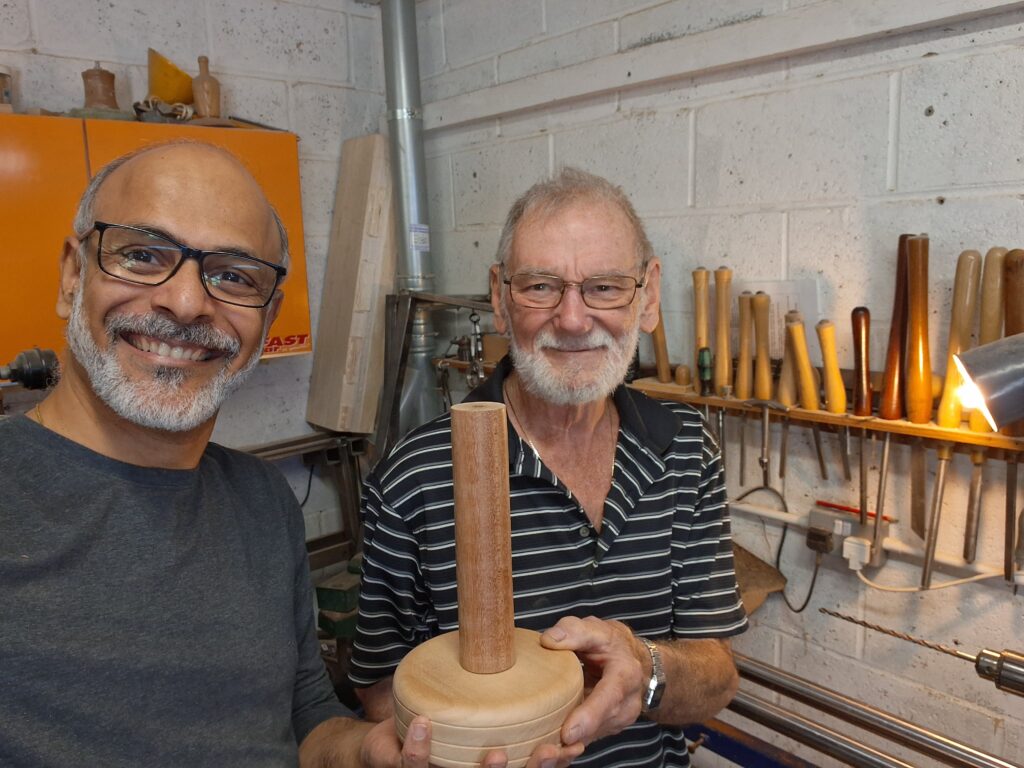
A huge thank you to Tim for gifting the cherry block and to Jim (pictured below with the assembled base and stem) for sharing his time, wisdom, and mahogany! Moving from complete lathe novice to a fully functional piece on my bedside was a wonderful experience.
Lessons Learnt & Observations
- Patience on the Lathe: Turning timber into a finished shape is immensely satisfying, but it demands absolute patience. Rushing a pass or forcing a chisel only leads to tear-out and frustration; letting the tool take light, controlled cuts yields the best finish – what Jim terms as feather touch.
- The Hoarder’s Dilemma: Never be too quick to throw a piece of timber in the scrap bin—that piece of oak sat (my first attempt) on my rack since 2024 before becoming the perfect lamp stem. The real skill is finding the fine balance between saving useful timber for future builds and preventing your workshop from becoming a storage hazard!
- Upcycling Saves Big: Electrical components like high-quality brass socket holders, cables, and inline switches add up quickly if bought new. Salvaging hardware from car boot sales or old unused lamps is a budget-friendly, sustainable way to keep project costs down without sacrificing vintage style.