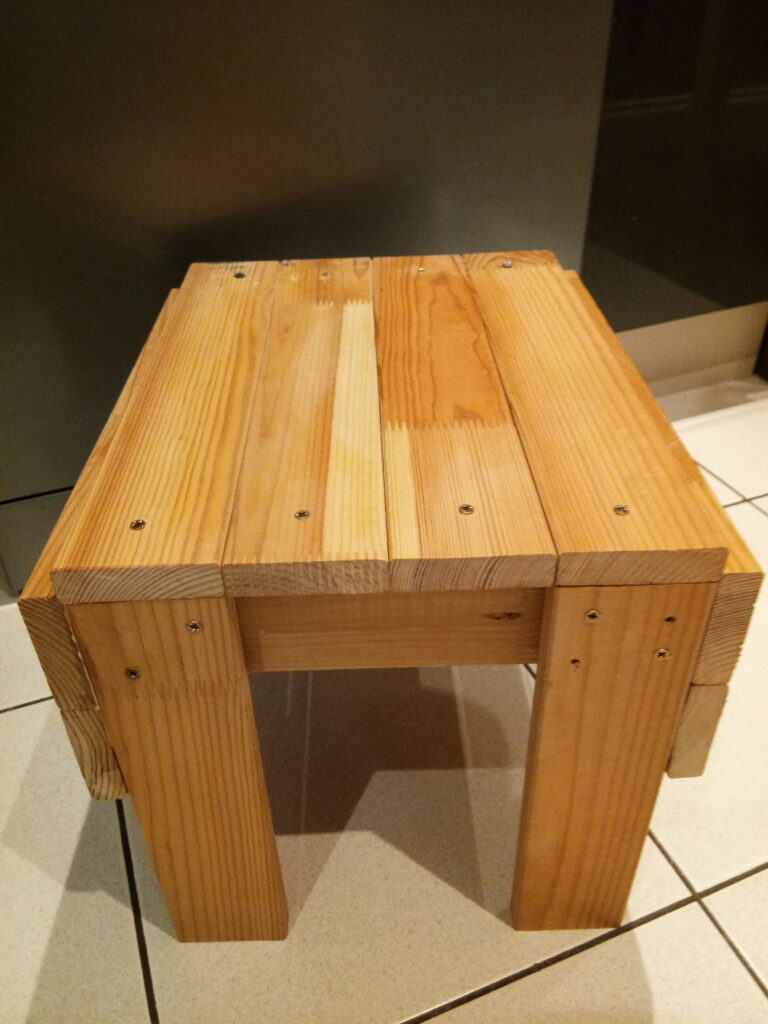
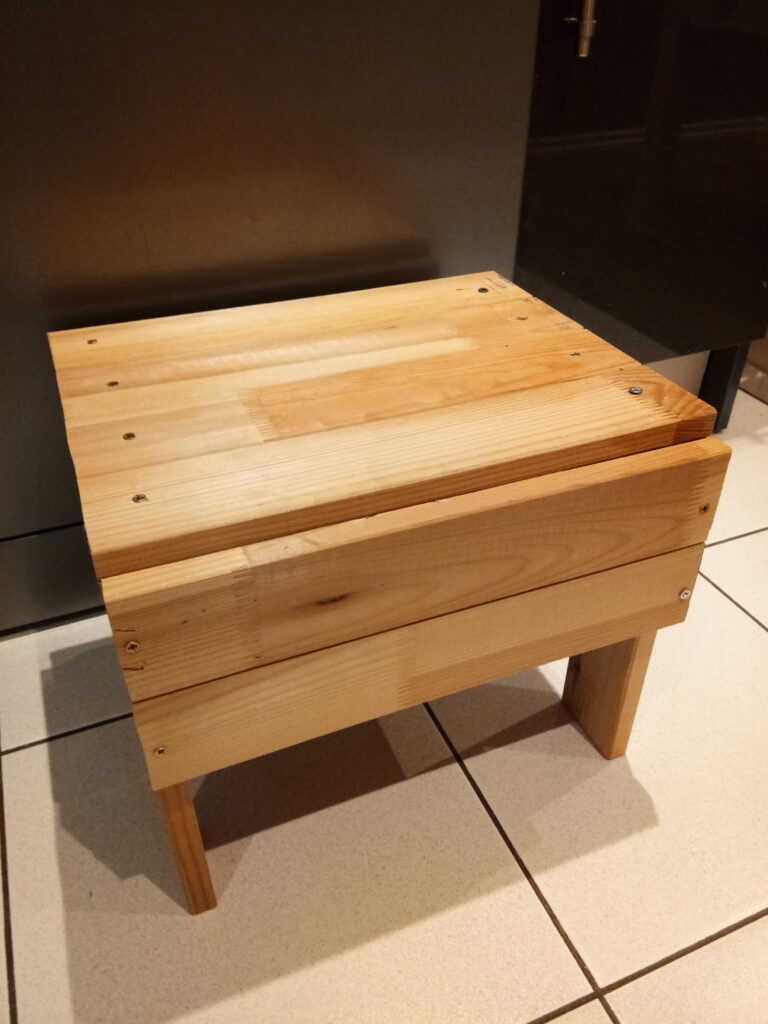
This rustic little step-stool is where theory finally met practice. It was the very beginning of my journey, which meant I had a massive wave of enthusiasm but absolutely zero inventory. I literally had no wood on hand.
Fortunately, necessity breeds resourcefulness.
The Spark & The Scavenge
For quite some time, my wife had been looking for a simple step-stool for the house. The opportunity to finally build something practical aligned perfectly with a quick trip to the attic, where I managed to forage a few discarded, repurposed pine IKEA bed slats. They weren’t premium timber, but they were exactly what I needed to get started. The only challenge that I had was to remove the polyester ribbon that was held in place by staples.
Replacement Standard Single pack from Ikea
The Ultra-Minimalist Tool Kit
Looking back, the constraint of my toolkit at the time was almost comical. I didn’t have a workshop yet. Instead, this entire project was executed using only:
An Ice Bear Japanese Ikedame Dovetail Saw
A handful of brass screws
An old drilling machine
A Manual screwdriver
A bottle of wood glue
An old kitchen dining table turned into a workbench
I joined the pine slats together using a mix of that glue and the brass screws. To be completely honest, I don’t even recollect properly using a countersink on this project—I likely just forced those screws flush with determination and a bit of muscle.
The Result
The result is a simple, robust design that gives a second life to existing materials. It sits at the ideal height for reaching high shelves while maintaining the natural, warm, and decidedly rustic aesthetic of the original pine.
The best part? Despite the lack of heavy machinery or proper workshop setup, the stool is still going strong today. It continuously wanders around the house, serving everyone, and standing as a permanent reminder of what you can accomplish with just a saw, some scrap wood, and an idea.
Lessons Learnt
Precision, Measuring, & Alignment
Since I was working with limited tools and just wanted to knock out a functional stool, I ended up taking a few shortcuts during assembly. Naturally, skipping the prep work caught up with me real fast.
Instead of hiding the fasteners, I drove the screws straight in without countersinking them or using a wood plug, leaving most of the heads sitting proud on the surface just waiting to snag a sock.
To make matters worse, I skipped using spacer blocks when laying down the top slats, turning what should have been an even layout into an unpredictable guessing game of random gaps.
If you look really closely at the front and sides, you’ll spot raw, untrimmed end grain and a surface that clearly missed its date with a sander.
You’ll also notice that the side edges are completely wavy—definitely not cut at a clean 90 degrees—which perfectly demonstrates my complete lack of experience using a saw!
What started as a quick weekend build ended up as a masterclass in why prep work, proper countersinking, and a little patience with sandpaper are non-negotiable.
Fun Fact / Quick Discovery:
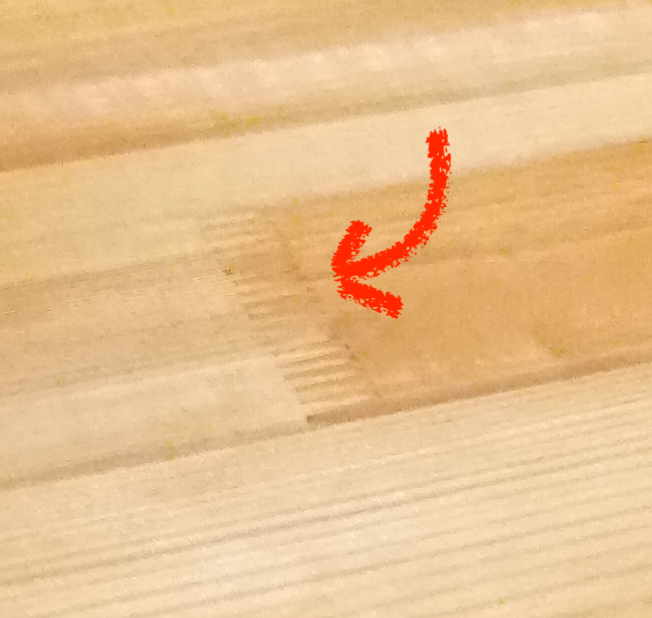
I used to look at solid wood mass-market furniture (like IKEA pieces) and wonder how those tiny, interlocking zig-zag seams were made. I finally dug into it: this is a finger joint.
Machinery cuts these micro-fingers into the ends of wood scraps, glues them under high pressure, and creates a joint that’s actually stronger than the surrounding wood! It’s how manufacturers eliminate knots and maximise raw timber. It saves them money, reduce wood waste and make long boards stronger.