My First Woodworking Tool Kit (and a Lesson from Marcus) and practicals.
Starting a new hobby can be overwhelming, especially when you step into a workshop filled with roaring machinery, sharp edges, and decades of tradition. On September 16, 2024, I sat down for my very first woodworking class, alongside 5 more similar hobbists. Our tutor, Marcus, immediately cut through the noise.
The Philosophy: Carpentry vs. Joinery
Before we even touched a tool, Marcus cleared up a common misconception by breaking down the two major fields of woodworking:
- Carpentry: Think big picture. Carpentry deals with structural timber work, framing houses, installing roofs, and larger-scale construction. It’s rugged, structural, and often done on-site.
- Joinery: Think detail. Joinery is the art of connecting pieces of wood together to create furniture, doors, windows, and intricate cabinetry. It is typically done in a workshop and requires a high degree of precision.
Our toolkit is intentionally geared toward the precision side of the craft, focusing heavily on the two key steps of any woodworking project: marking out and cutting. If you don’t mark it out accurately, you can’t cut it accurately.
Instead of telling us to buy out the entire hardware store, Marcus gave us a highly specific, curated list of essential tools to get us started. If you are looking to dive into the world of working with wood, here is the exact baseline kit Marcus recommended for beginners, along with a few foundational concepts every new woodworker needs to know.
The First-Class Tool List
Here is the exact shopping list Marcus recommended for our basics category kit:
1. Bevel-Edged Chisels
The bread and butter of joinery. We were told to pick up four specific sizes: 3mm, 6mm, 12mm, and 18mm. For brands that balance quality and affordability perfectly for beginners, Marcus highly recommended either Narex or Rider.
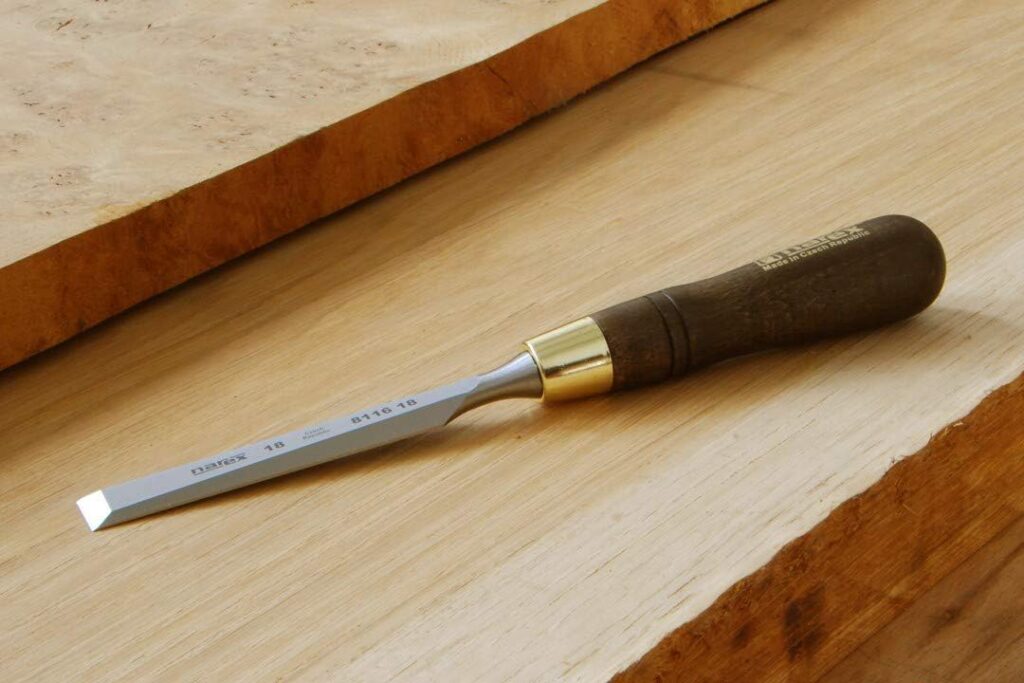
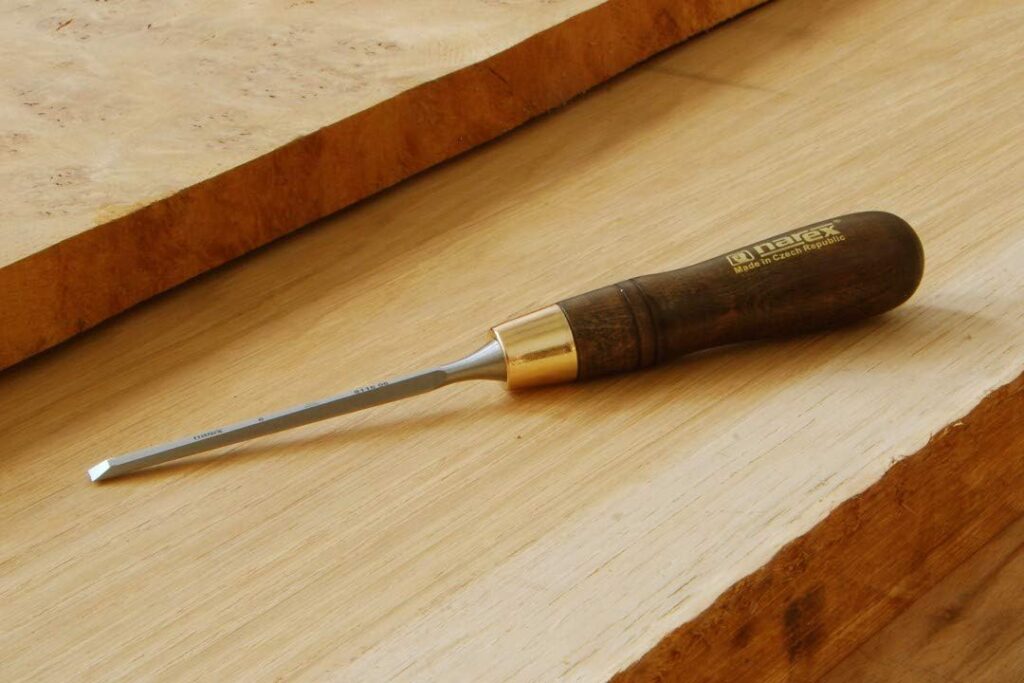
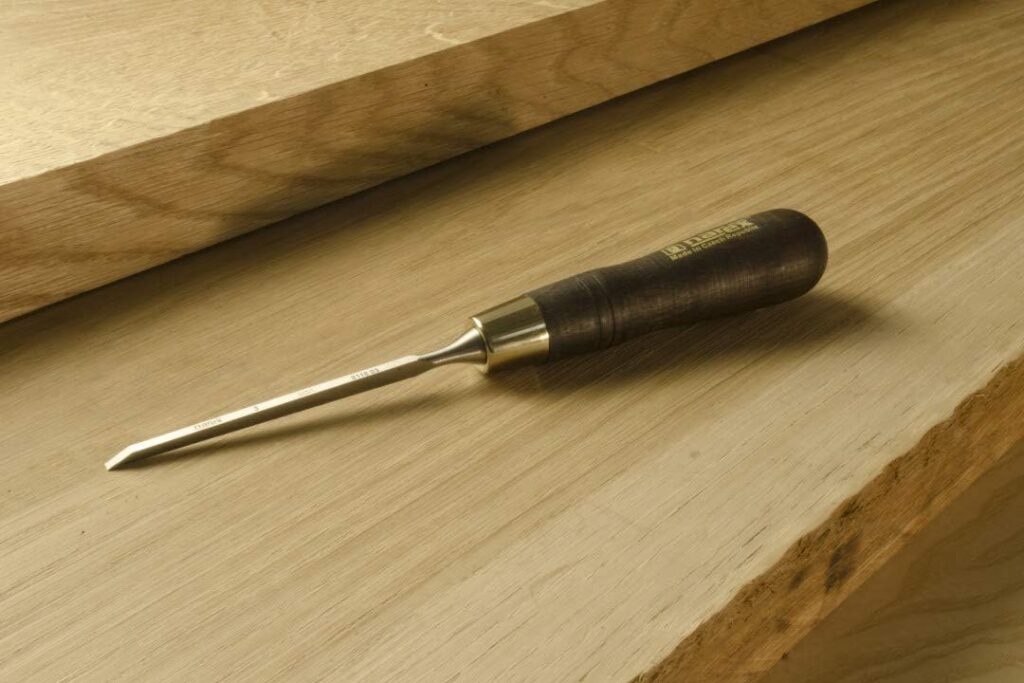
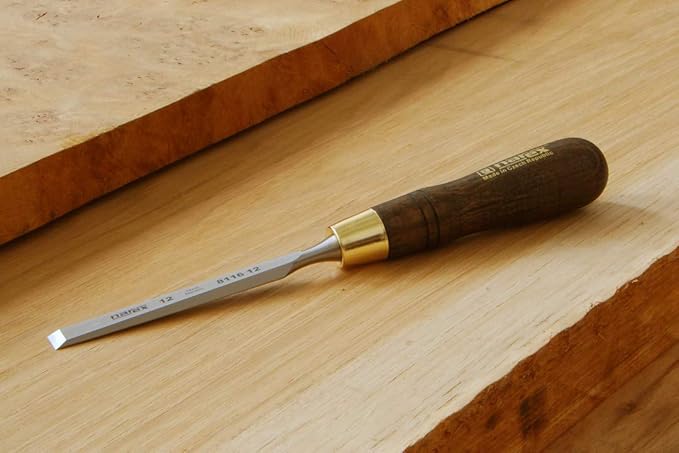
- Tutor Tip: European chisels typically come ground at standard angles of 22° (for the primary bevel) and 28° (for the micro-bevel/honing angle). Keeping these angles precise is the secret to clean cuts.
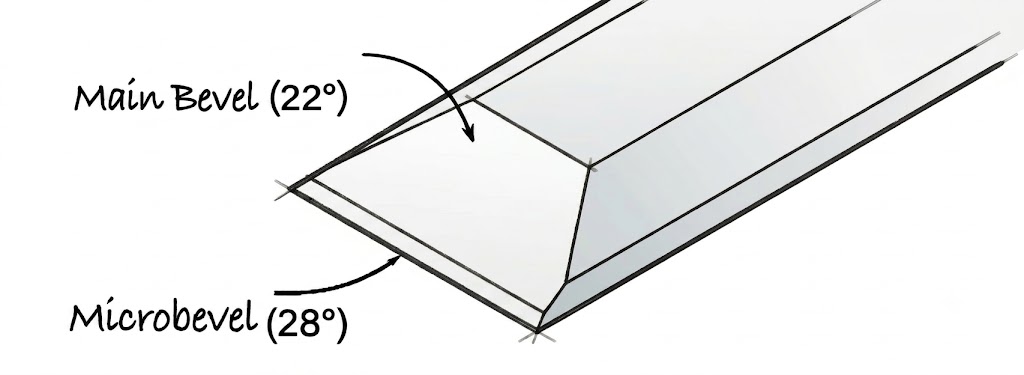
To be completely honest, as a total beginner, my only goal was getting the chisel sharp enough to cut wood—I wasn’t overly concerned with holding exact angles!
2. Japanese Waterstone (Gritsize 4000+)
A blunt chisel is a dangerous and useless chisel. To keep our new blades razor-sharp, we need a high-quality Japanese waterstone with a gritsize of 4000 or above. This superfine grit is what polishes the edge to a mirror finish.
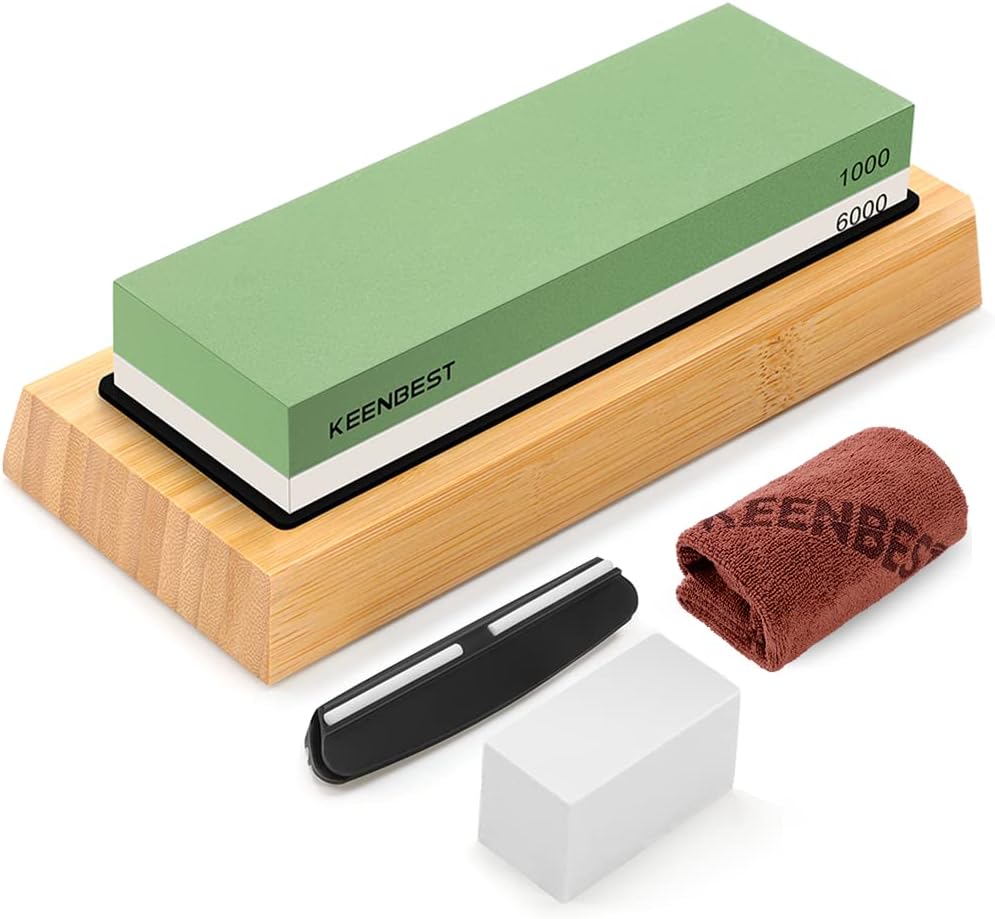
3. Surgical Scalpel (Swan-Morton Handle Size #3)
Forget chunky utility knives or pencils for high-precision layout work. A scalpel slices the wood fibers perfectly, creating a physical track for your saw or chisel to seat into. Marcus specified a Swan-Morton Handle Size #3 with compatible layout blades.
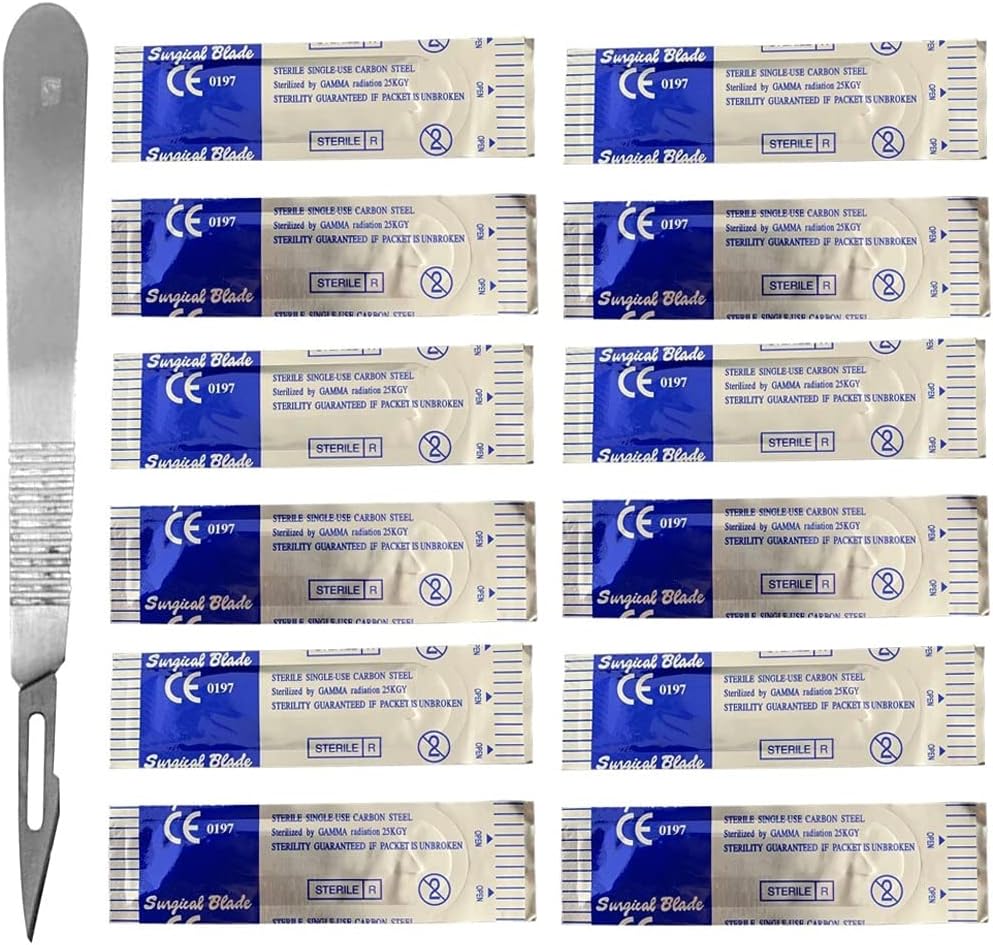
I remember using a scalpel for the first time during school dissection projects. However, buying one from Amazon years later was a completely different experience. Before handing over the package, the delivery driver had to verify my identity and age by taking a copy of my ID. I really appreciated Amazon putting such strict safety controls in place for selling sharp tools.
4. 3-Inch Engineer’s Square (All-Steel)
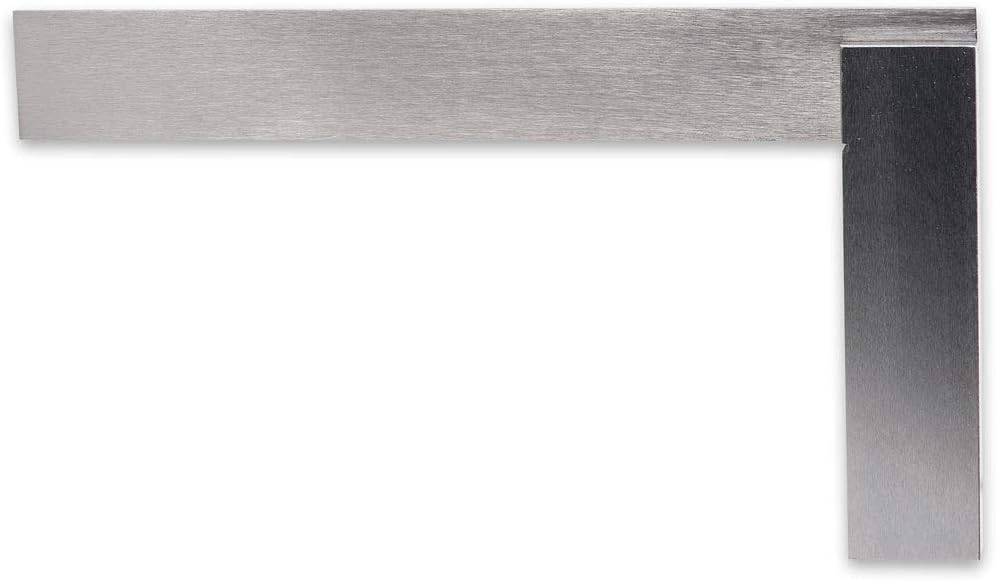
When checking for squareness, there is no room for error. Marcus explicitly stated no wood/steel combinations—wood can warp with humidity. A solid, 3-inch all-steel engineer’s square ensures your 90-degree angles are absolute.
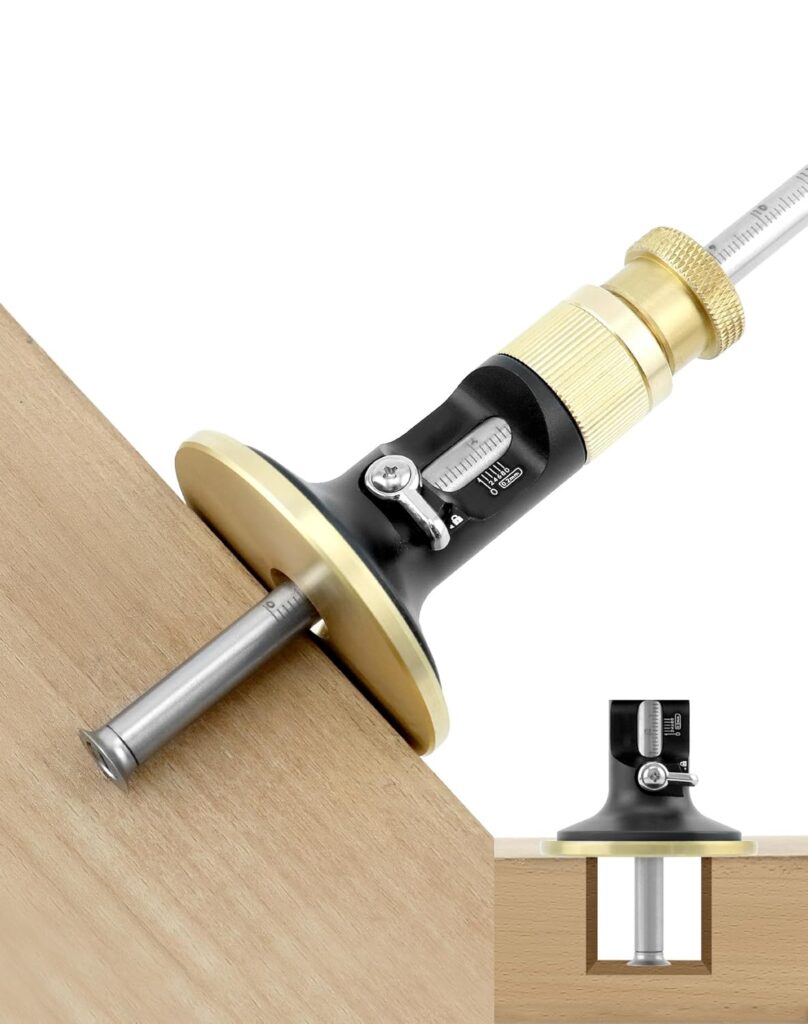
5. Marking Gauge
Essential for scribing accurate lines parallel to the edge of a board. A classic woodwork staple that ensures consistency across your joints. Of course Marcus didn’t recommend this style of marking Gauge, I fell for this one. You could well pick up a cheaper one on Amazon or a flea-market one.
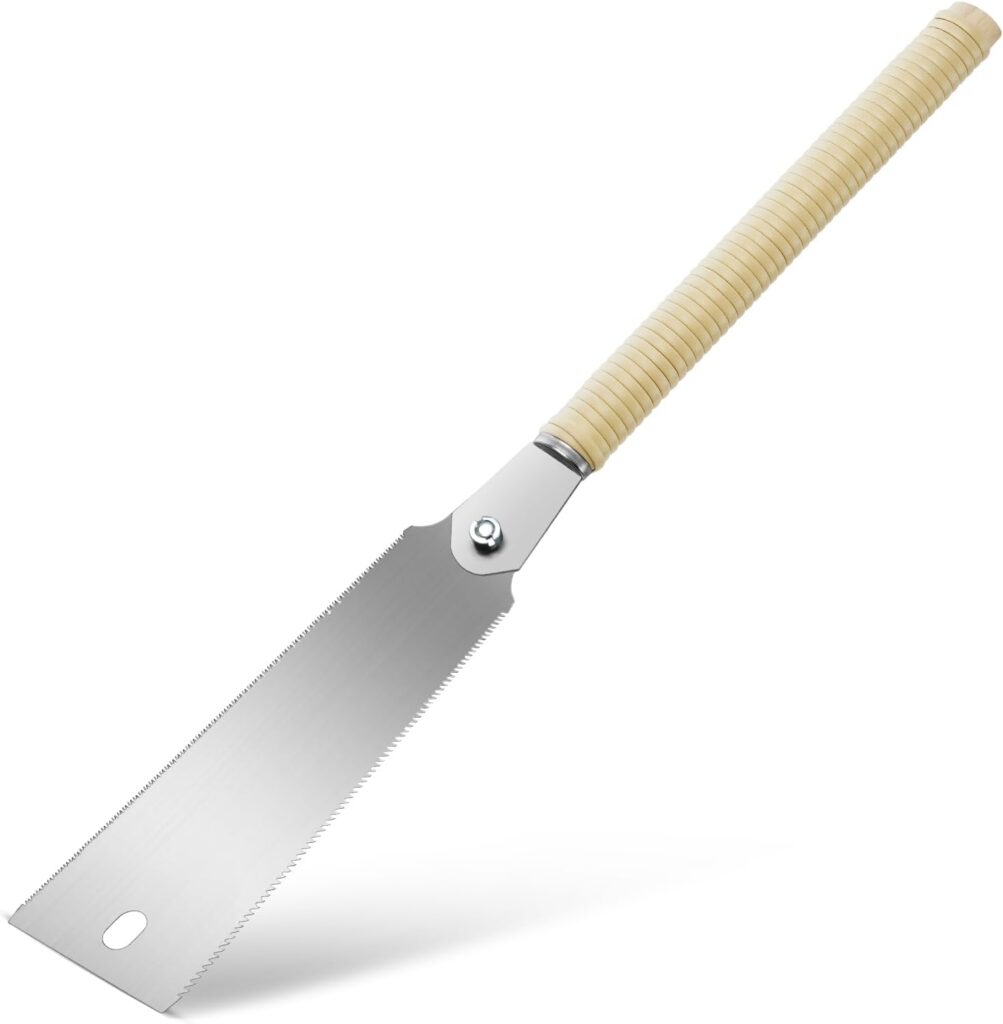
6. Japanese Pull Saw
Unlike Western saws that cut on the push stroke, Japanese saws cut on the pull stroke. Because the blade is under tension when cutting, it can be made incredibly thin. This results in a much thinner kerf (the width of the cut) and effortless precision.
7. Practice Wood
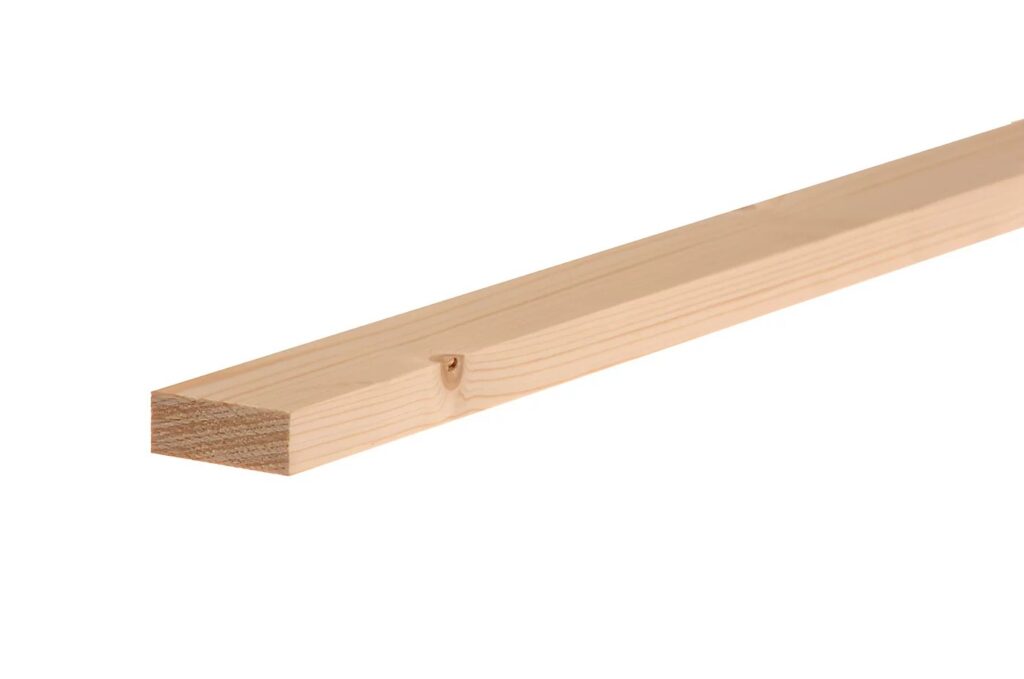
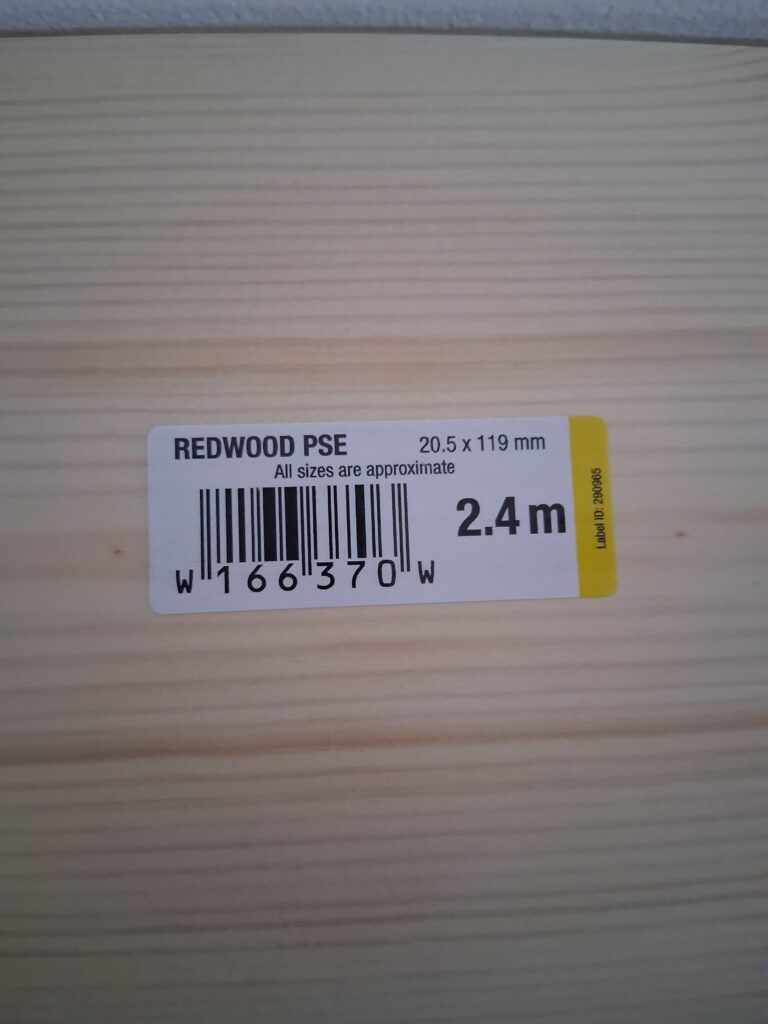
You can’t practice without material! Our homework was to head to B&Q and pick up planed wood measuring 45mm wide and 18mm thick, in either 1.8-meter or 2.4-meter lengths.
The total damage for the essential set was about £150–160. Did I end up buying a few extra things that I had absolutely no business buying as a beginner? Of course I did—the excitement got the better of me!
8. Workbench
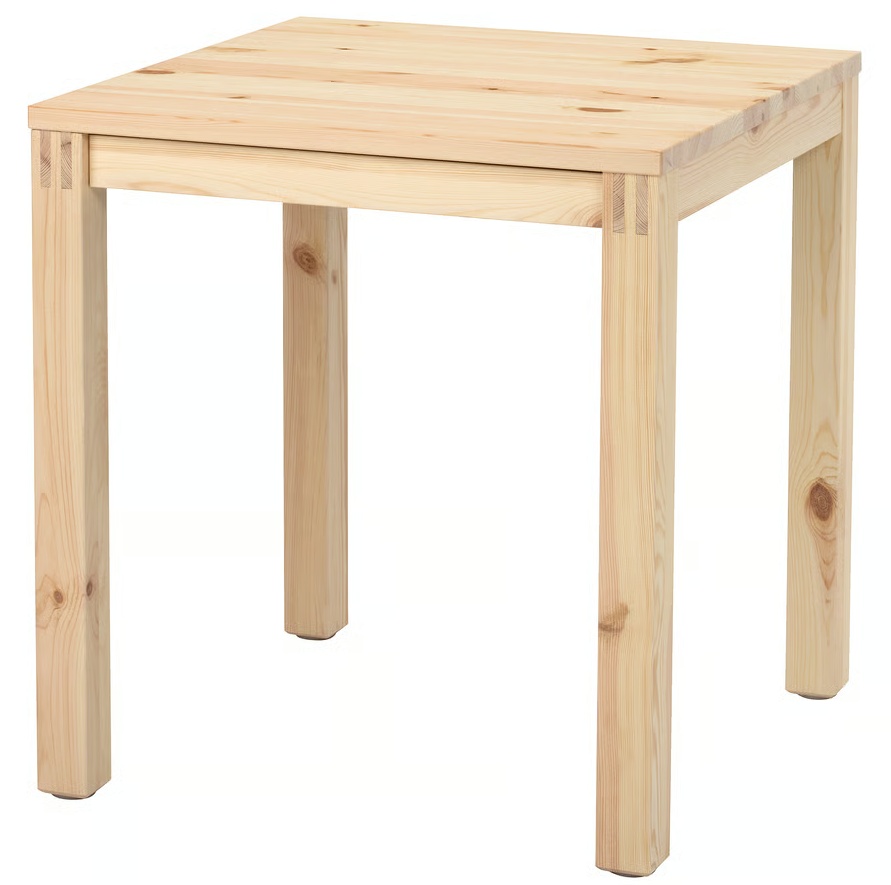
Instead of shelling out for a fancy workbench, I simply repurposed an old IKEA kitchen table (similar to the image below). While it’s no heavy-duty bench, it served me just fine to get started. Proper workbenches are surprisingly expensive, and even if you manage to find a bargain on the second-hand market, transporting a heavy, bulky slab of wood is a massive hassle in itself.
9. Work-holding / Clamping
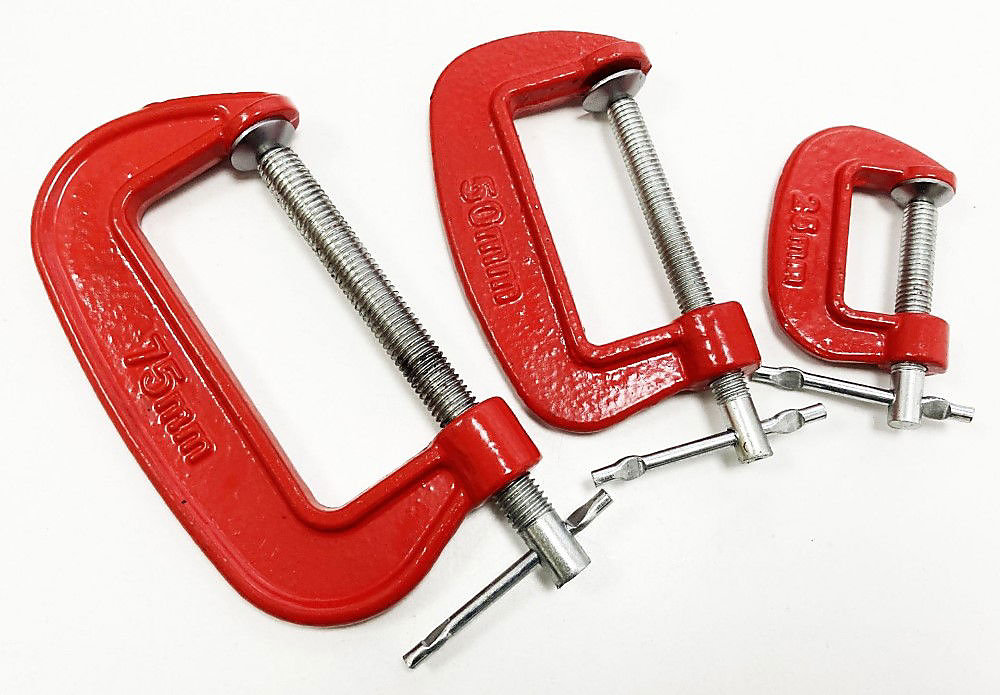
Keeping your wood completely stable is non-negotiable—if your timber shifts mid-cut, your accuracy goes right out the window. If your budget allows, investing in a proper woodworking vice and mounting it to your bench is a game-changer. But if you’re looking for a more wallet-friendly entry point, a set of basic G-clamps or quick-action clamps will easily do the trick. I started out using a simple pack of G-clamps from B&Q on my IKEA table, and only upgraded to a proper vice later on.
The practicals
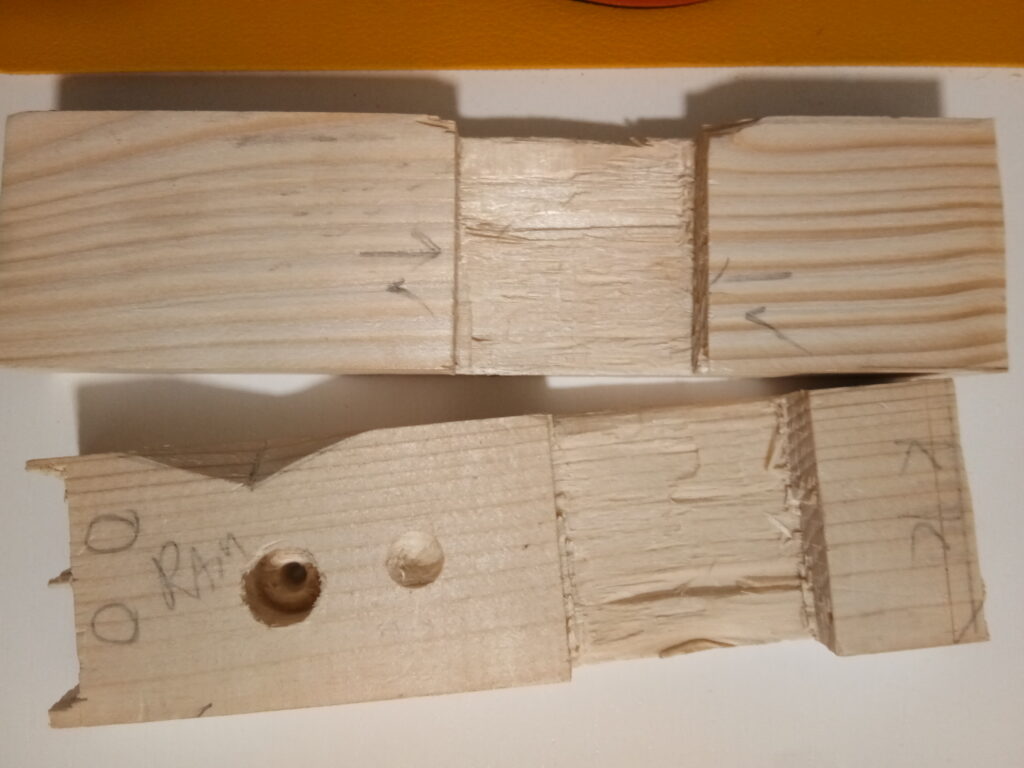
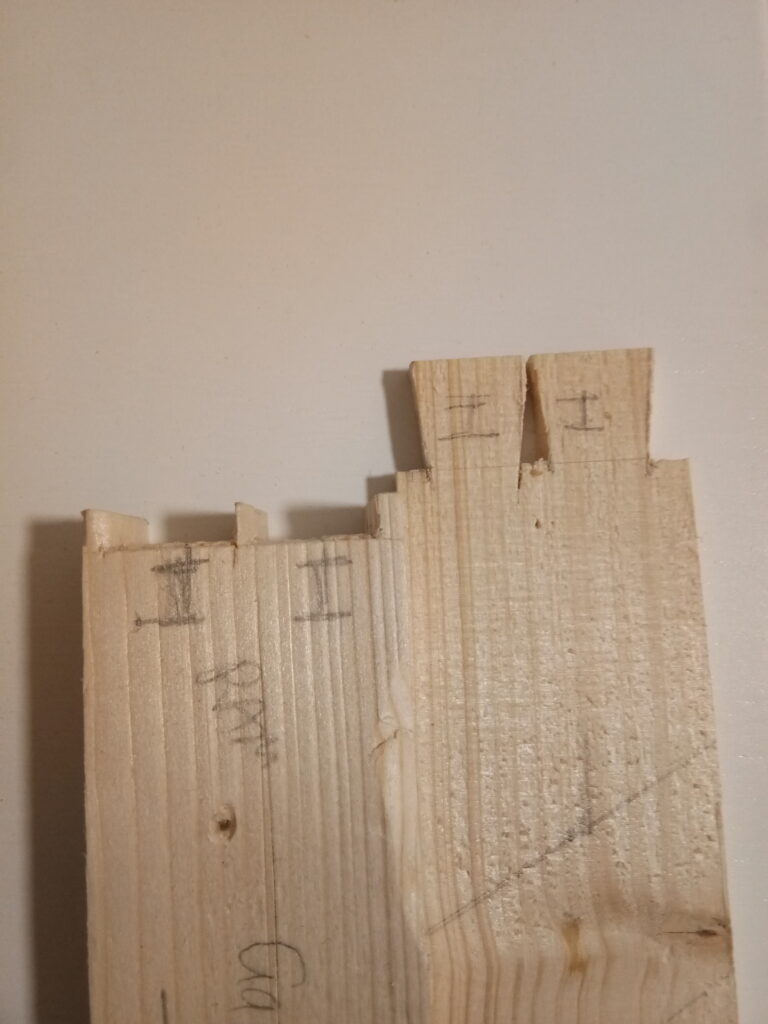
I am pretty sure every woodworker’s journey starts with a bit of a battle, and these practice pieces were my absolute first round. Looking closely, you can see all the classic beginner badges of honour: torn-out grain at the bottom of the lap joint from forcing the chisel too hard, ragged cut edges where I didn’t score the layout lines deep enough with a knife, and a few accidental saw kerfs diving past my target depth lines. Softwood is wonderfully unforgiving when your tools aren’t razor-sharp. It’s rough, splintered, and completely imperfect, but it taught me more about chisel control, blade sharpness, and respecting grain direction than any textbook ever could.
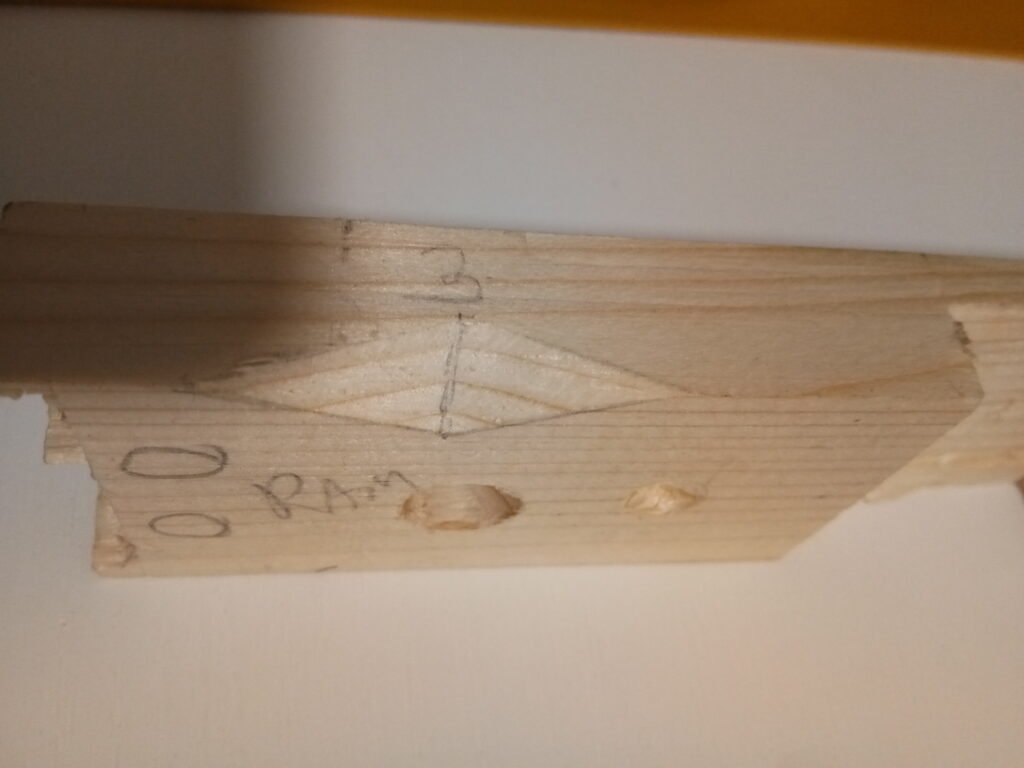
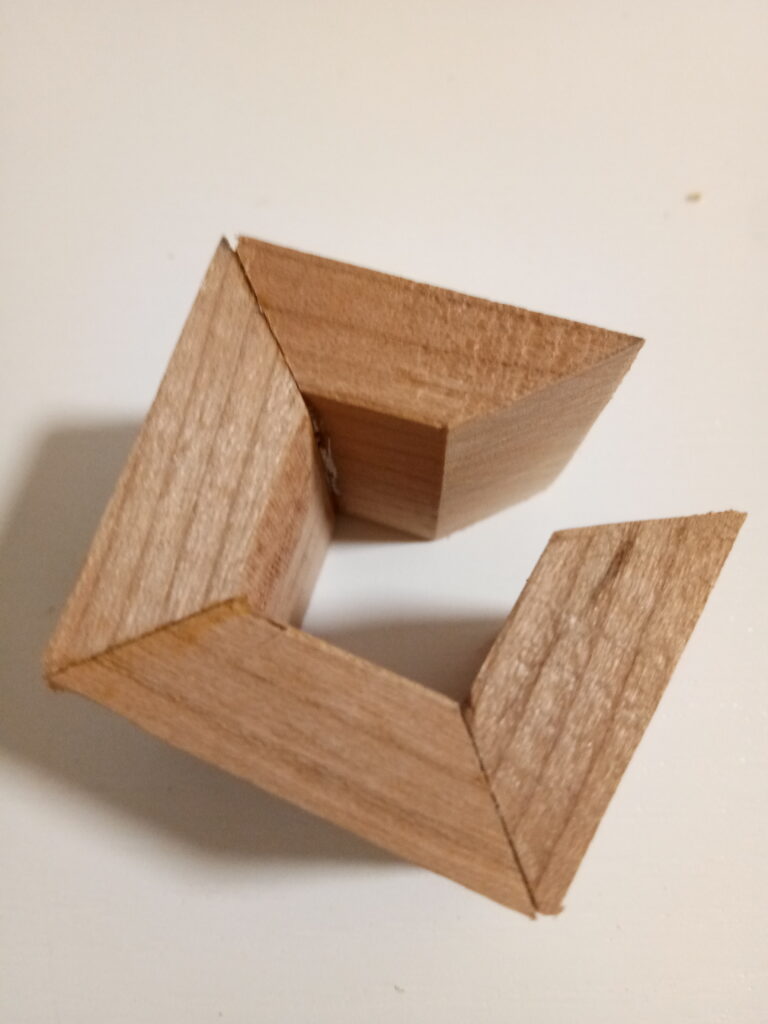
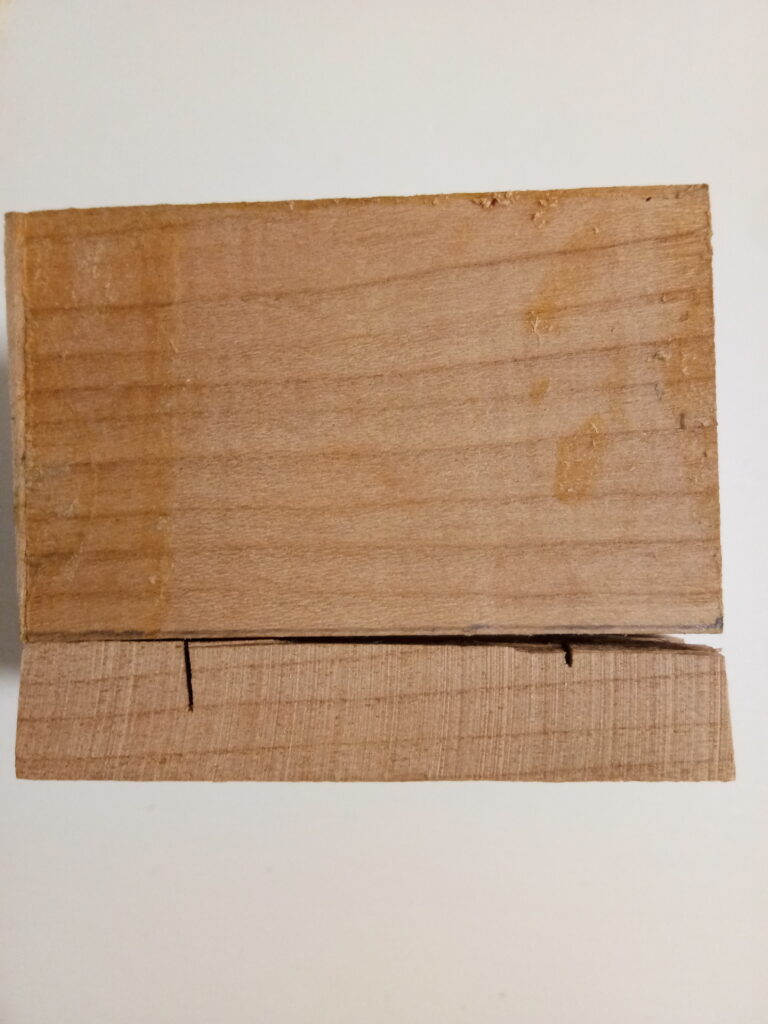
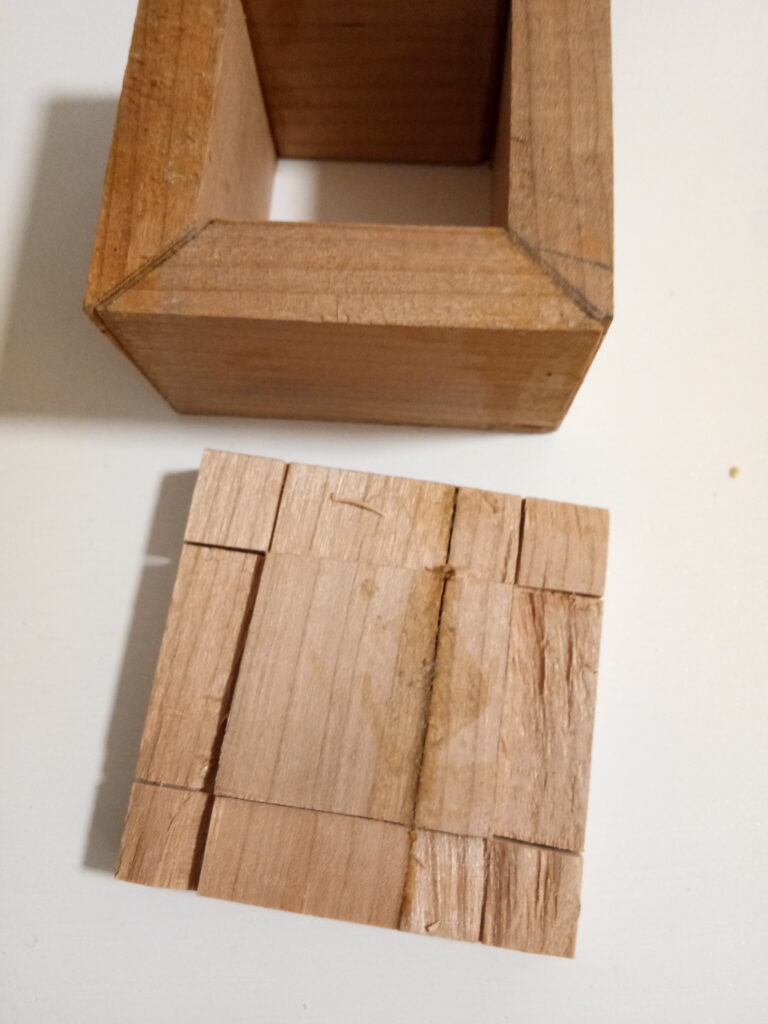
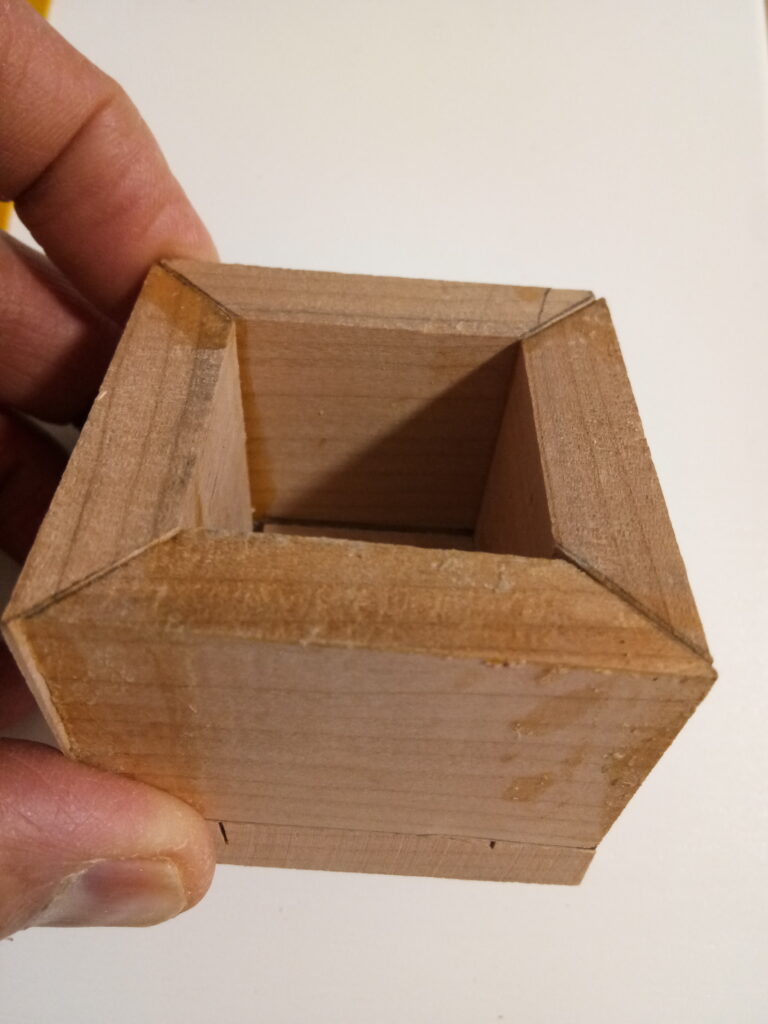
An attempt at the humble mitre joint box—a simple craft project designed to instantly shatter a beginner’s confidence. My first attempt looked less like a container and more like a wooden frame giving up on life. But after a few rounds of feeding the bin and wrestling with misaligned angles, I finally assembled something that Google Lens might reluctantly identify as a box!
Ready to Make Some Shavings
Now, looking at this pile of tools on my spare IKEA table workshop, it’s exciting to realize that these few items are all it takes to unlock centuries of woodworking tradition. By focusing on marking out accurately and cutting cleanly, the sky is the limit.
If you’re just starting your journey like me, don’t overcomplicate it. Stick to the basics, invest in decent steel, and keep your blades sharp.
Beginners like me: What tool are you most excited to try out first? Let me know in the comments below!