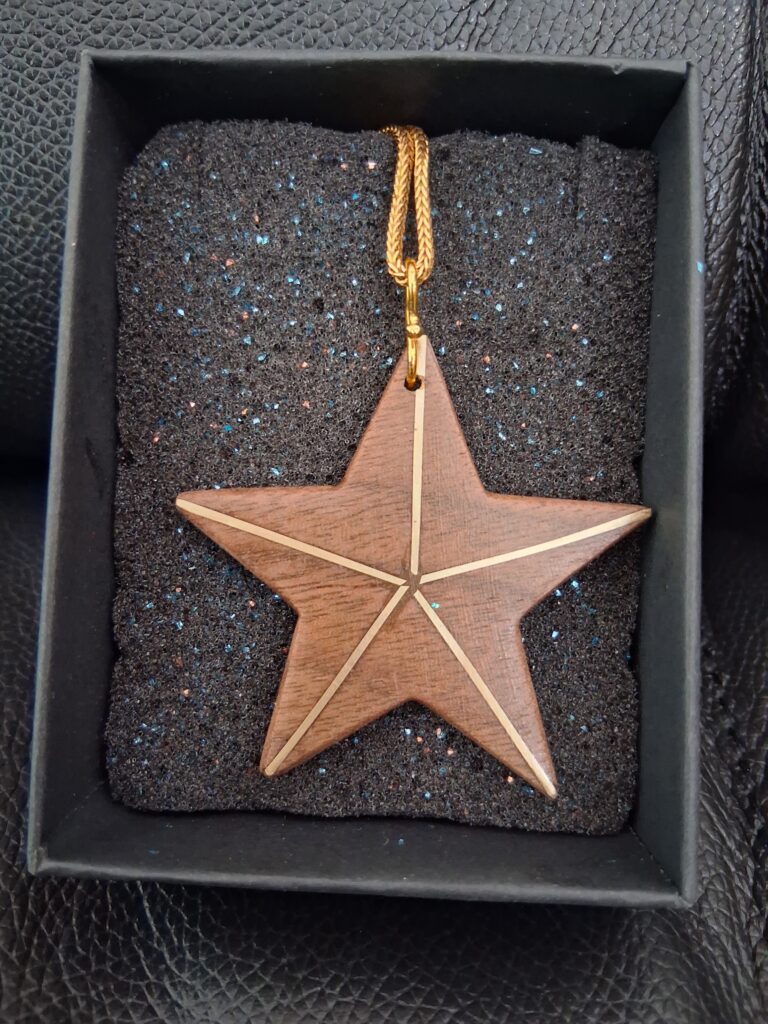
When my daughter asked for a small star pendant for her birthday this year, I saw it as the perfect excuse to tackle a personal first: working at a miniature scale. Up until now, my workshop projects have been larger-format timber builds, so scaling everything down to something tiny, delicate, and wearable was an entirely new game.
Materials and Initial Shaping
I knew right away that I wanted a deep, rich wood tone, making a spare block of American Black Walnut the obvious choice.
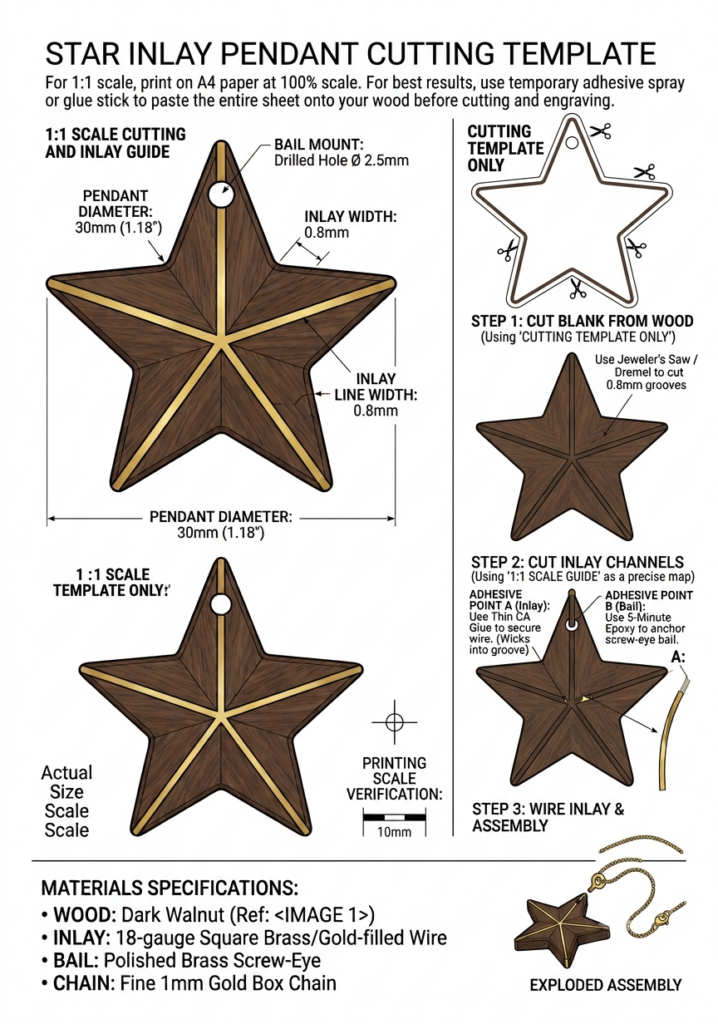
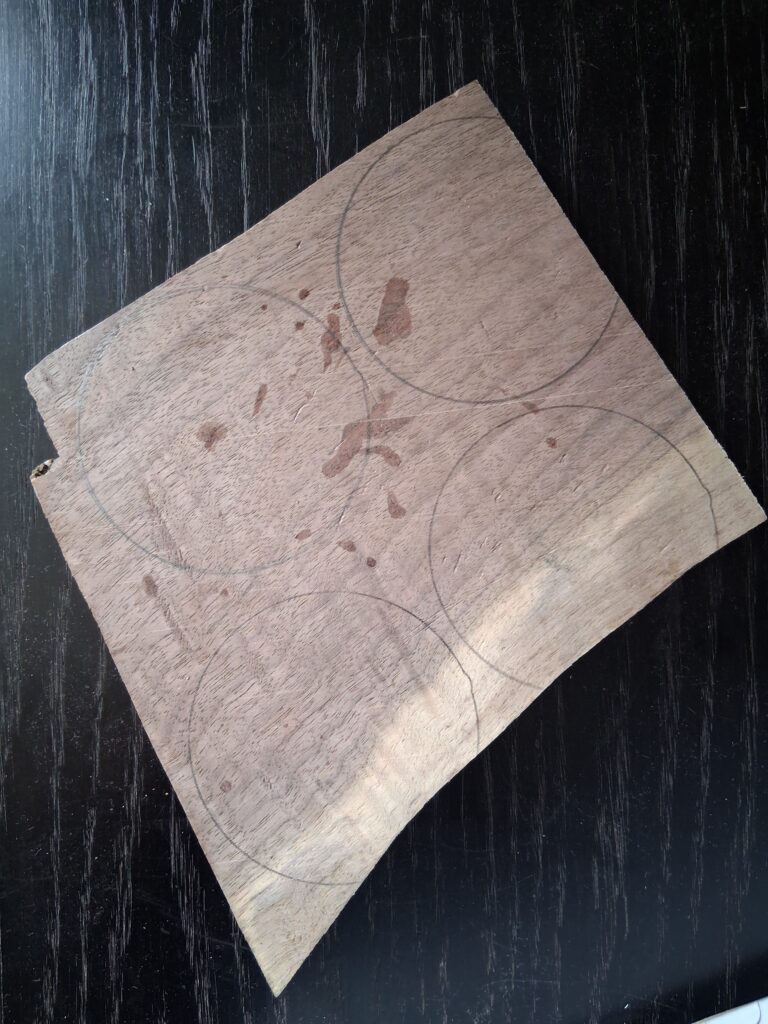
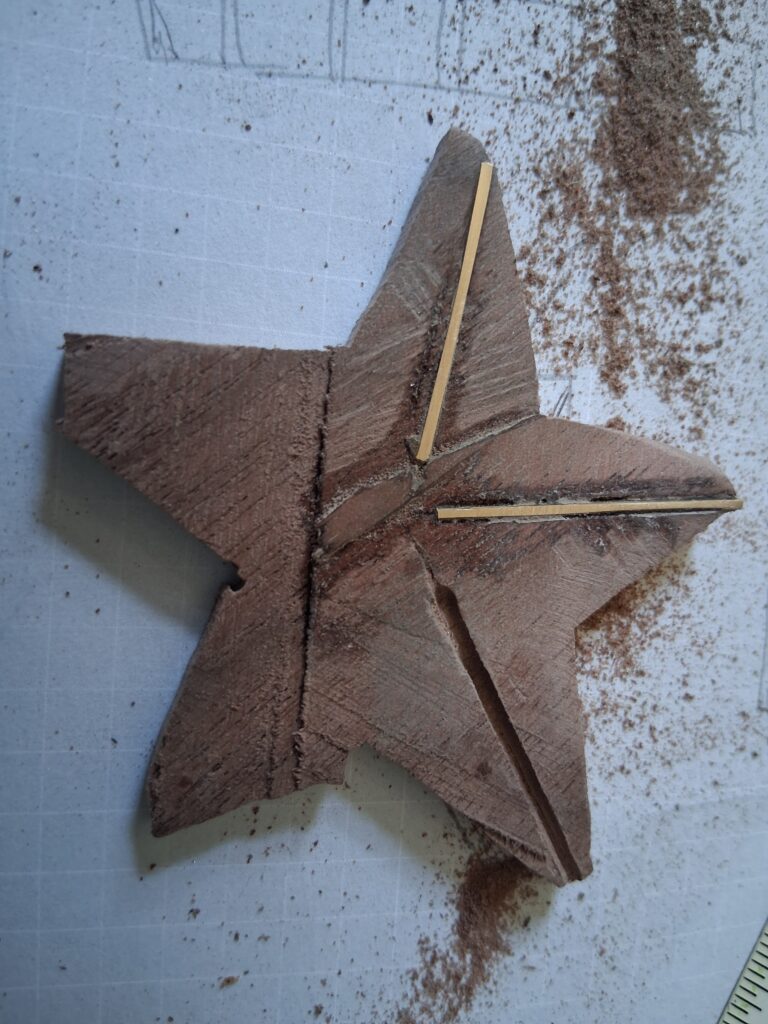
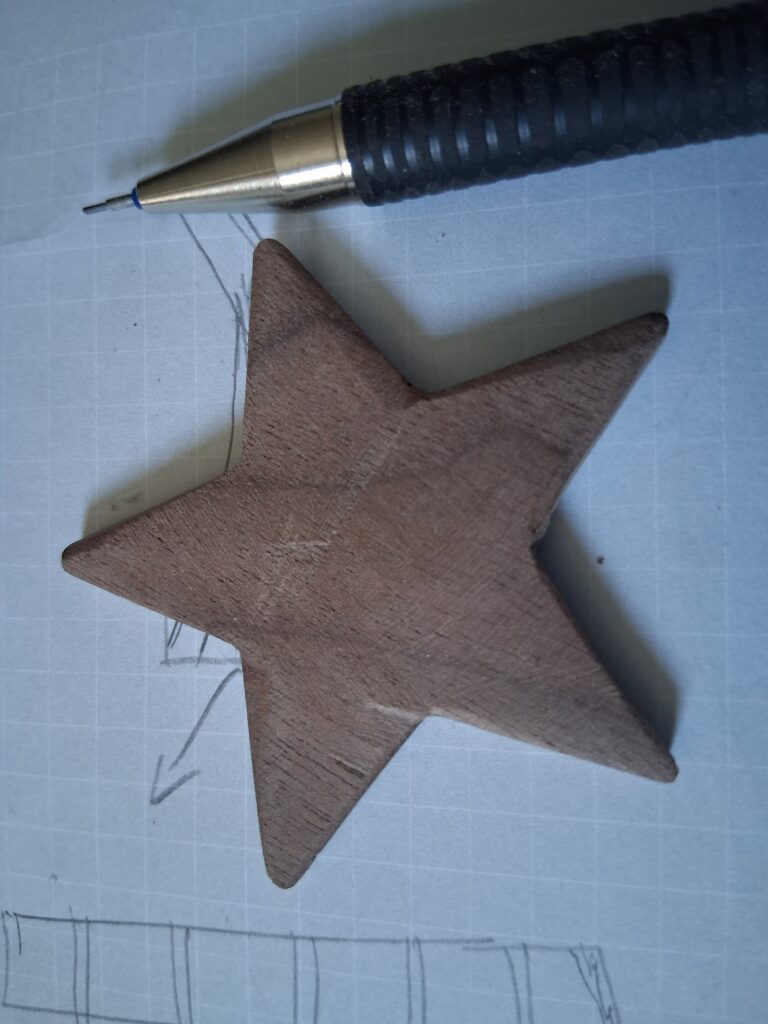
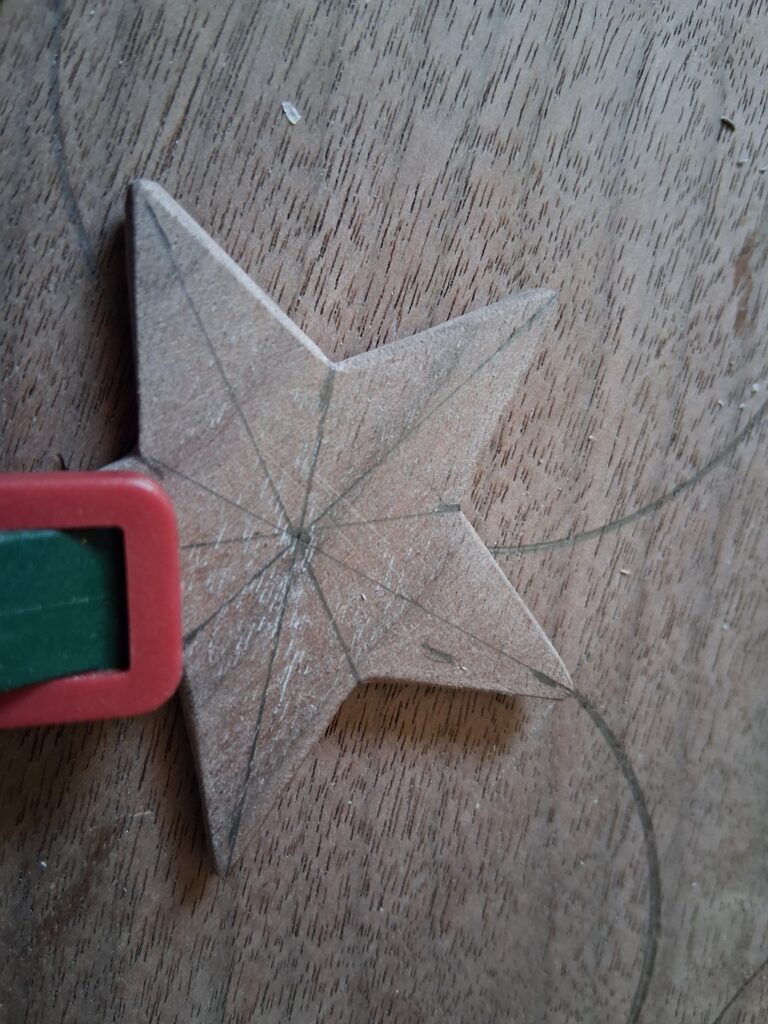
- Template Creation: I used AI to generate a clean star layout and printed off a cutting template – this turned out to be real good. Given the right prompts, it generated a template that I was able to cut off (top right), paste it on a piece of wood to be sawn off.
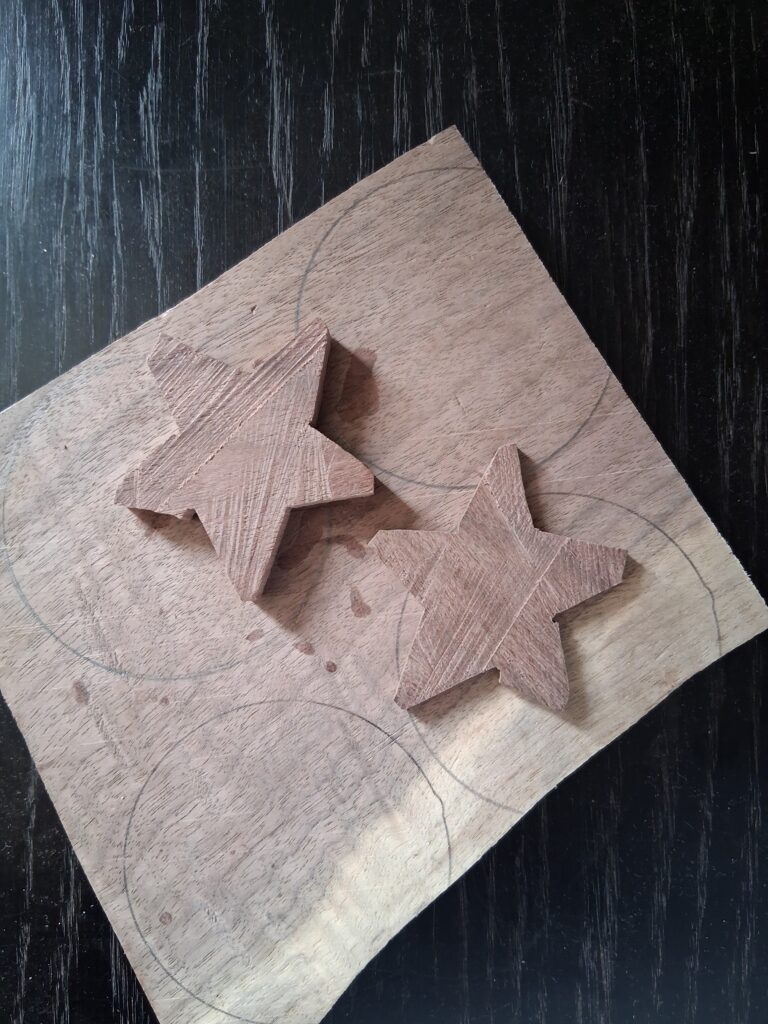
- Rough Cut & Resawing: I used the bandsaw to cut out a chunky initial star profile, then switched to a Ryoba hand saw to carefully resaw it down the middle into two thin blanks.
- Surface Preparation: The hand saw left a fairly rough surface on the freshly split faces, so I ran them across the belt sander to flatten and smooth both sides before moving on.
- Refining the Profile: With smooth surfaces to work on, I used a scroll saw to slice away the rough edges and clean up the outline into a crisp star shape.
- Material Choice: I initially debated whether to go with gold wire for the inlay. However, with no previous experience in micro-inlays, I decided to take the safer, much cheaper trial route using 1 mm hard-brass wire instead.
- Workholding Workaround: Once the star was down to size, standard bench vises were off the table. I relied on a combination of a tiny Parkside micro-clamp and double-sided tape secured to a flat piece of walnut backing to hold the piece steady for filing without sending it flying across the garage.
- The Test Run: The resawn blanks worked out perfectly—giving me two complete stars so I had a practice piece to work out the kinks and a final version for the gift.
The Brass Inlay Process
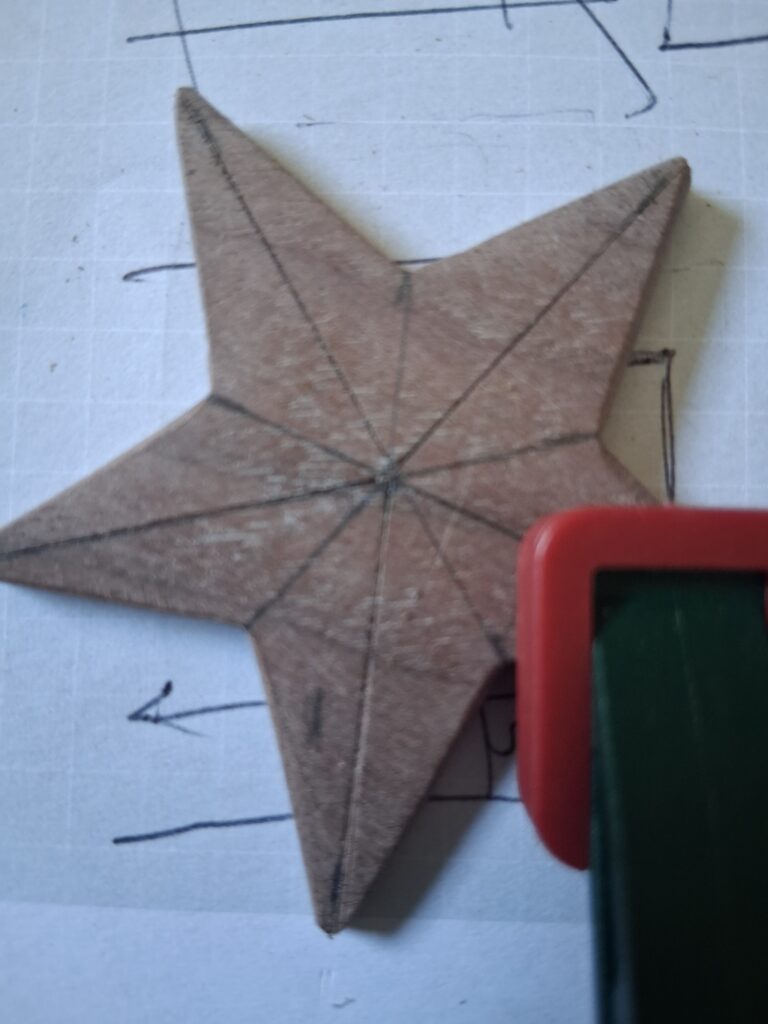
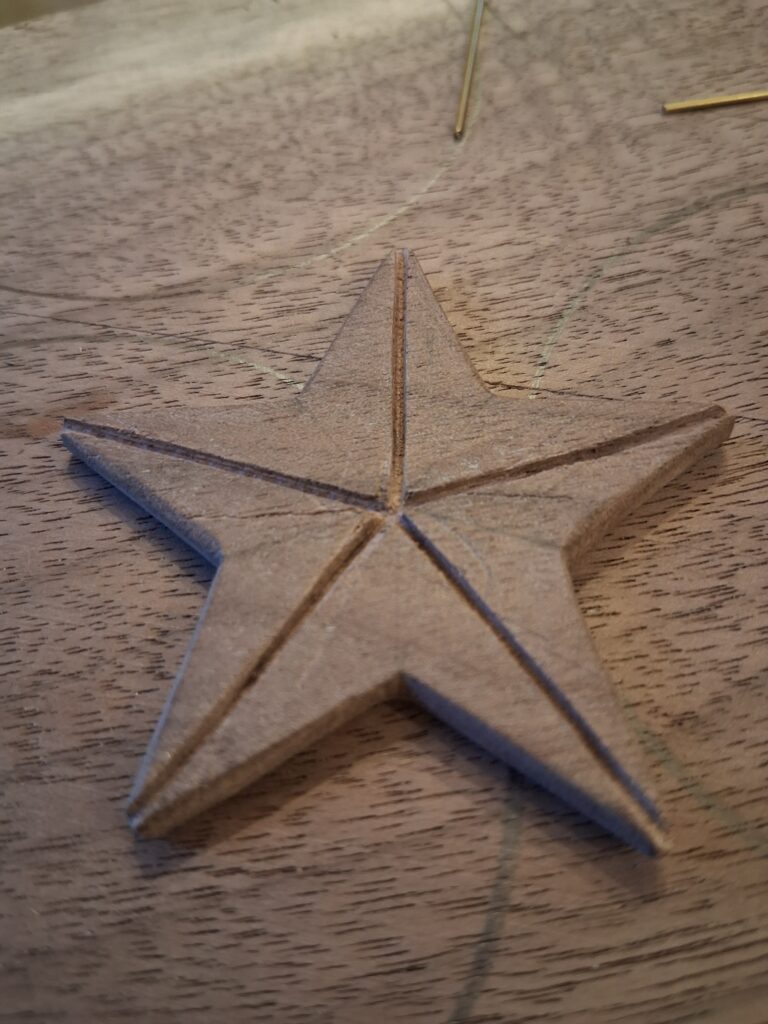
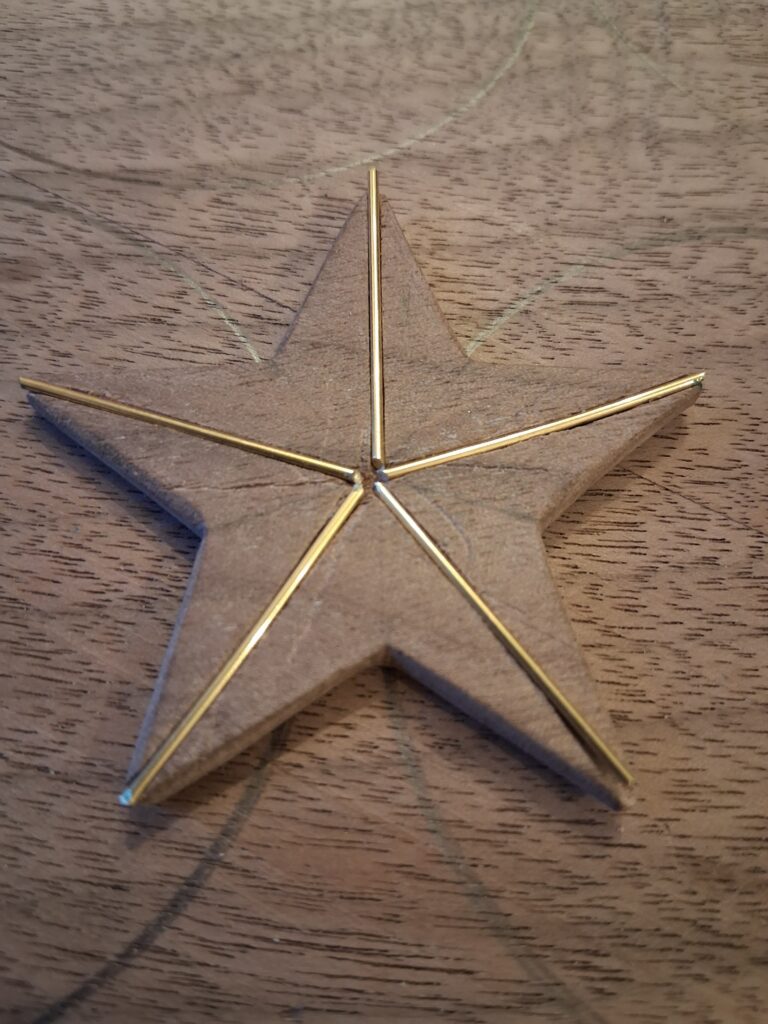
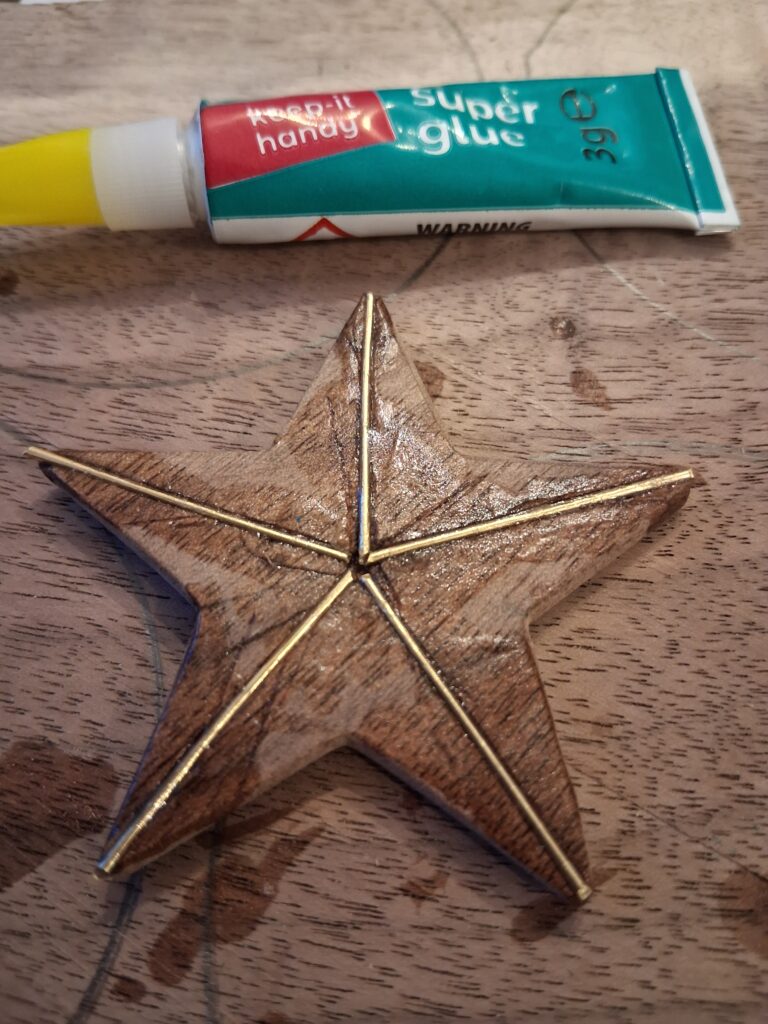
Adding the 1 mm hard-brass wire along the five points proved to be the trickiest part of the build. Without specialised micro-carving chisels or a tiny router setup, carving five uniform channels to hold the wire required some improvising (and few helpful tip from Bob at the shed).
I dusted off a head-mounted magnifying visor with an integrated LED light (see image below) that was lying around. Having both hands free while getting an up-close, brightly lit view made all the difference when working at this scale.
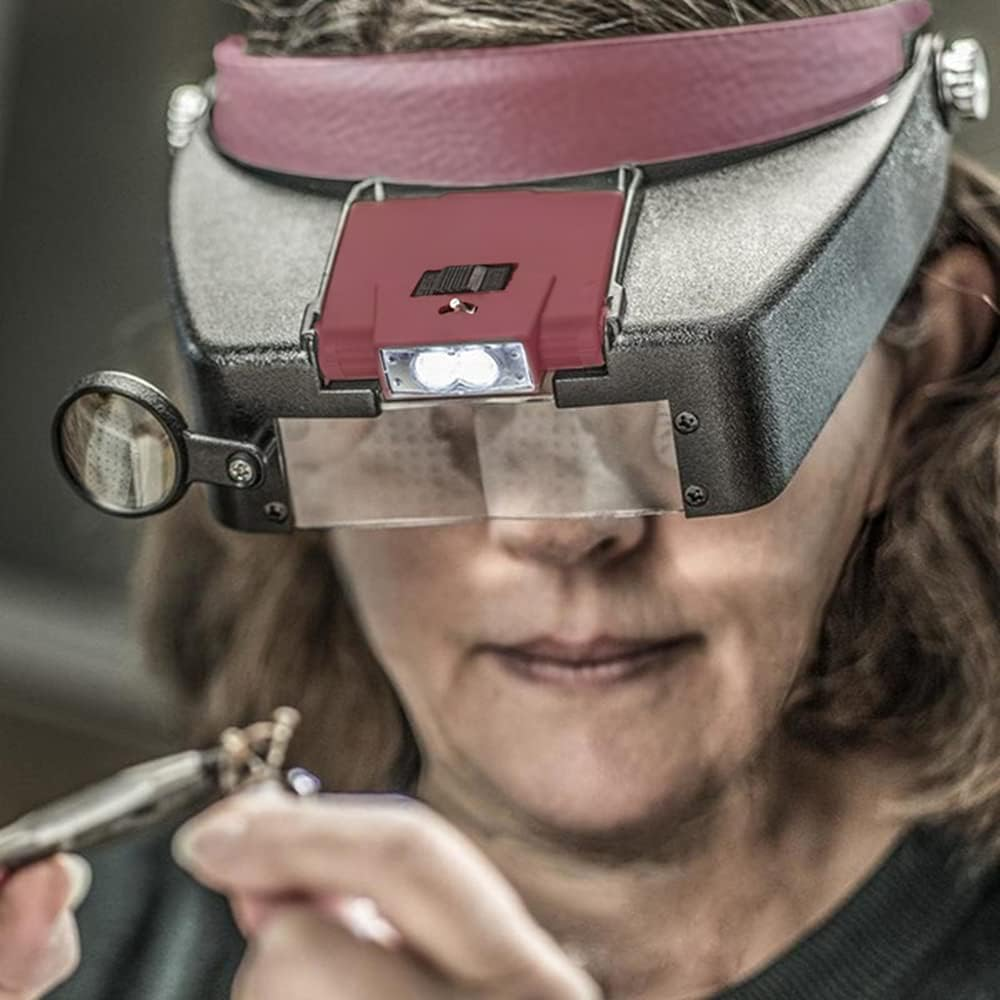
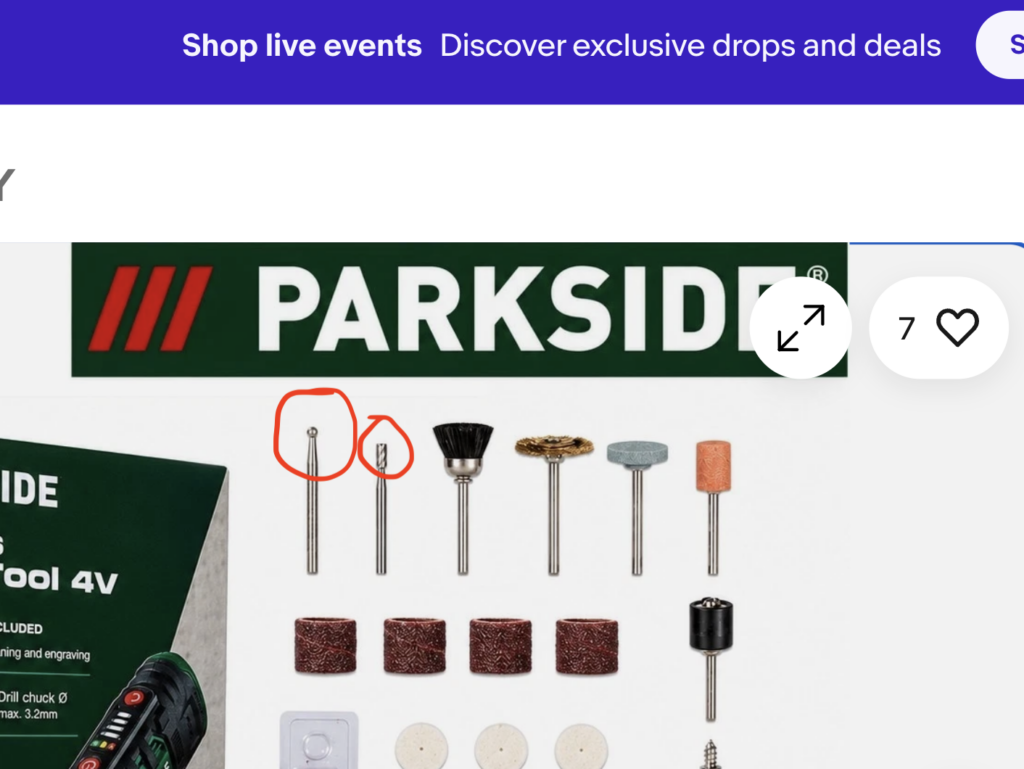
Using a sharp knife, I scored the center lines on each point under magnification to establish a clean track. Next, I grabbed the tiny 1 mm diamond engraving and milling bits from my Parkside rotary tool (see the bits circled in red) set—holding the cylindrical cutter by hand to manually scrape along the score marks until I got the exact channel depth needed for the wire.
Once the brass wire sat flush in the channels, I flooded the inlay with thin super glue (CA glue) to lock everything in place.
Finishing Touches
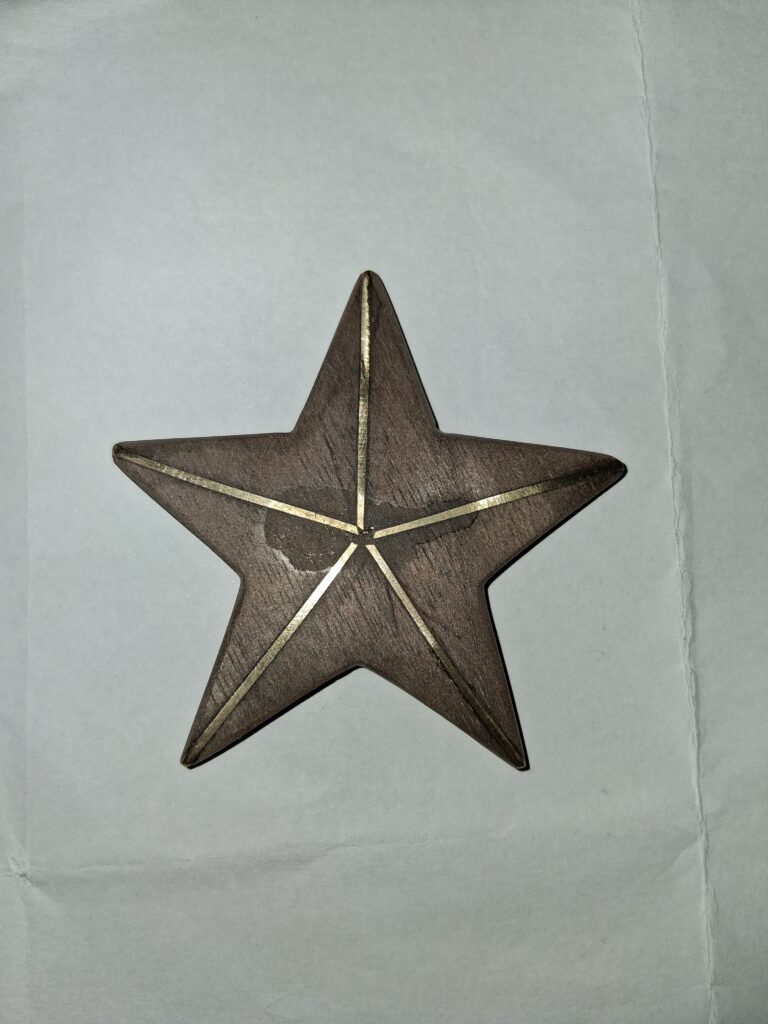
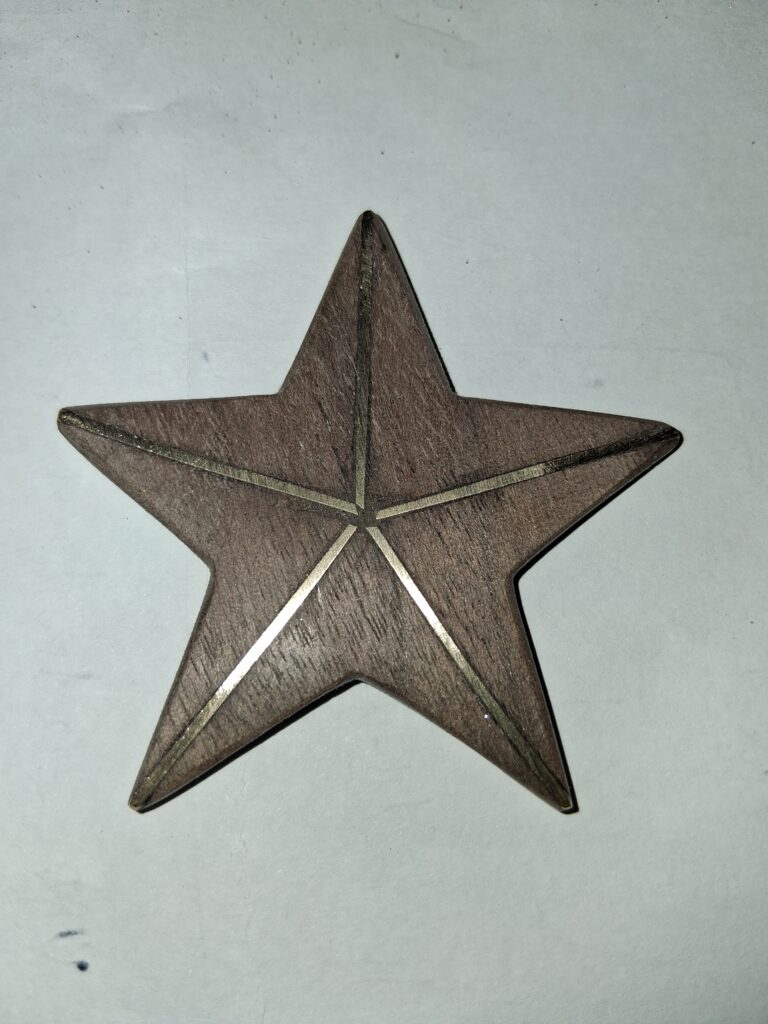
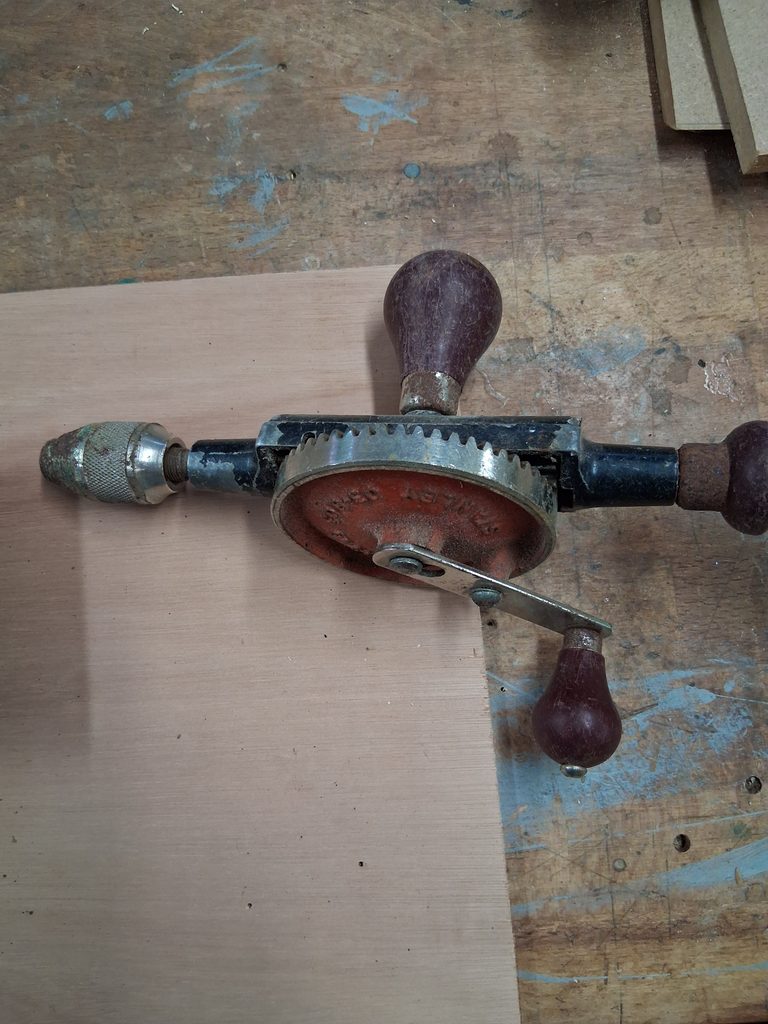
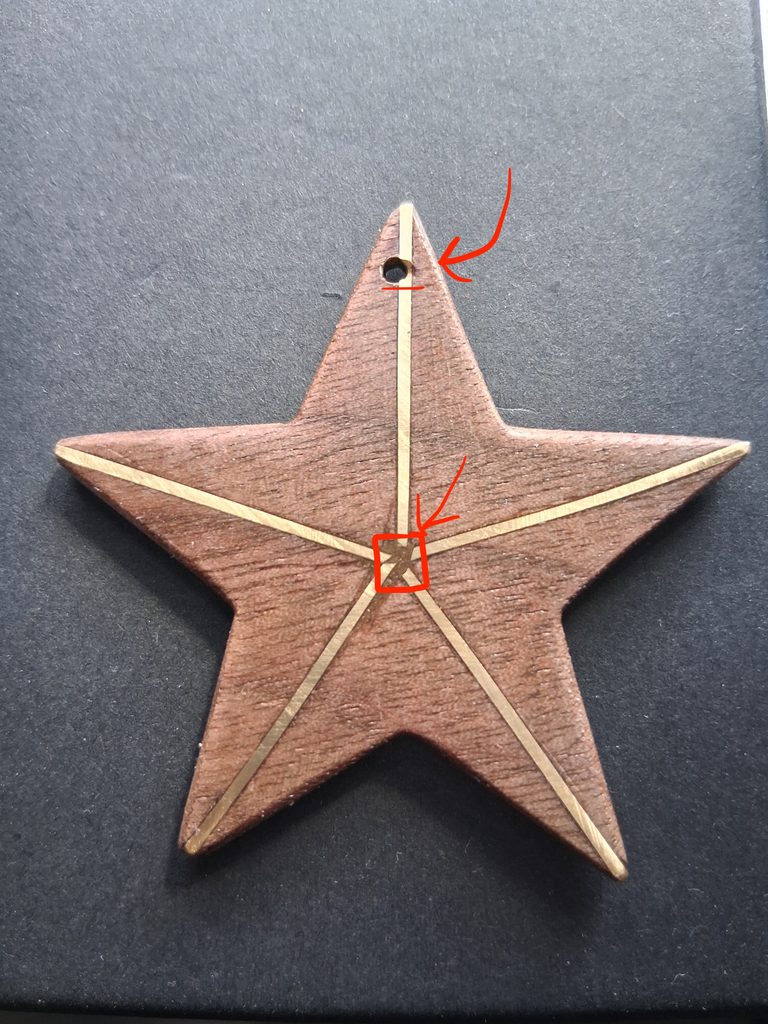
With the brass set, I worked through a long sanding progression—starting at 120-grit to level the brass flush with the wood, then stepping up through to 1500, and finally 3000-grit for a silky polish. To wrap up, I drilled a fine hole at the top point using a hand-drill for a necklace hook and applied a few coats of clear lacquer spray to pop the contrast between the dark walnut and bright brass.
Daughter happy, father happy!
Lessons Learnt & Observations
- Two-Step Resawing Strategy: Cutting a thick star on the bandsaw first gives you better control than cutting a wafer-thin piece directly. Splitting it with a fine-toothed Ryoba saw, clean-flattening the rough hand-saw cuts on a belt sander, and dialing in the final profile on the scroll saw yields two identical, workable blanks safely.
- Micro Workholding: Standard clamps and full-sized vises are useless on small jewelry pieces. Combining double-sided tape on a flat walnut backing board with a tiny Parkside micro-clamp gave me the exact flexibility needed to secure the workpiece at different angles while keeping my fingers safe.
- Hands-Free Magnification is Vital: A head-mounted magnifying visor with a built-in LED light makes tracking 1 mm channels immeasurably easier, taking the eye strain out of micro-carving.
- Tooling Workarounds: Small engraving bits from a Parkside rotary cutter work brilliantly as manual scraper chisels when used by hand, offering far more control than running the power tool at high RPMs on delicate work.
- Hiding Mistakes with Dust: Hand-scoring near a central point is risky. Deep accidental gouges at the star’s center were completely erased by packing them with fine walnut sanding dust and wicking in thin CA glue before final sanding.
- Focal Point Alignment: Meeting five brass wire ends precisely at one microscopic centre point is extremely difficult freehand. On the next iteration, I’ll cut the wires slightly long, pre-miter the center tips under magnification, or use a tiny centre ring to mask the joint.
- Aerosol vs. Hand-Applied Finishes on Micro-Work: Spray cans deliver too much volume for tiny jewelry-scale pieces, making pooling and glooping almost inevitable (I thinik). Stripping the botched coat with acetone and switching to a light, hand-brushed application of water-based lacquer gave far greater control and a pristine, flat finish.